Sewing machine setting
Sewing machine - an indispensable equipment in every home. This applies equally to old and new models. Do not be afraid to start work - the main thing is to know how to set up your sewing machine correctly.
Content
Rules for setting up modern machines
It is quite possible to do the debugging procedure on many sewing machines with your own hands - this will help the instructions attached to the technique. And although in many devices the same principle of operation, methods of regulation may differ.

Preparation for work
It is important to properly prepare the device for operation. In most modern models with customization help special control wheels, but sometimes you have to work manually.It is enough to adjust the position of the parts.
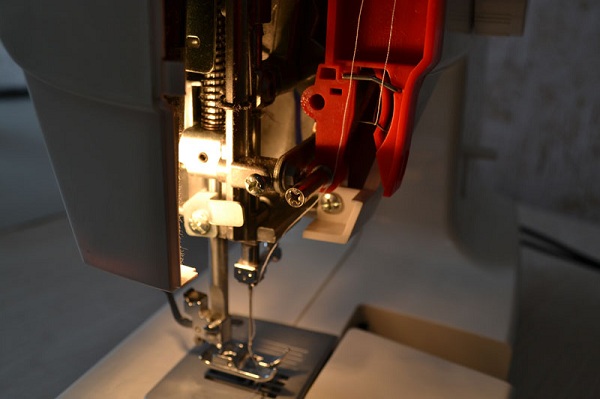
First, adjust the spring, clamping the thread (winding on the bobbin) - it is twisted so that the thread did not allow the bobbin cap to loosen. It is necessary to achieve the necessary tension. The upper thread passes through the whole system. In the process, the following thread motion algorithm is observed:
- ears of metal;
- tension regulator;
- hole of the thread tensioner lever;
- staples;
- eye of needle.

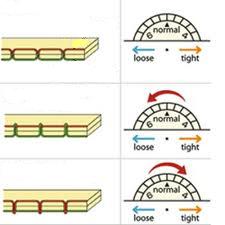
Now let's deal with tensioning threads in a sewing machine. The correct installation will provide mechanisms located on the end panel for the lower thread and in the subscript screw of the shuttle for the upper one. The latter is done like this: dish-shaped shuttle washers squeezes the screw - it should be tightened up to achieve the desired result.

After the result is checked on a small piece of material:
- the hanging loops say that they overdid it with the tension of the top;
- nodules are examined in an even seam (ideal - in the middle and not palpable).
Actually work with presser foot pressure. Adjustment is a spring. It is important to find the optimal "middle ground":
- a large impact of this detail on the material will shift the layers folded together, make it difficult to move and may even tear the fabric;
- weak pressure will give the wrong seam.
Before you do this part, you should pay attention to the thickness of the material. In especially “thick” cases, the foot is recommended to be raised to 1.2 cm. And the thicker the fabric, the stronger the foot should be pressing.
The value of the pedal
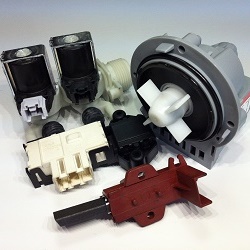
In electric vehicles, the normal functioning of the device may be impaired by the imperfections of the drive. In the pedal is speed adjuster - if it breaks, it may behave abnormally, for example, to tear from the spot even when lightly pressed.
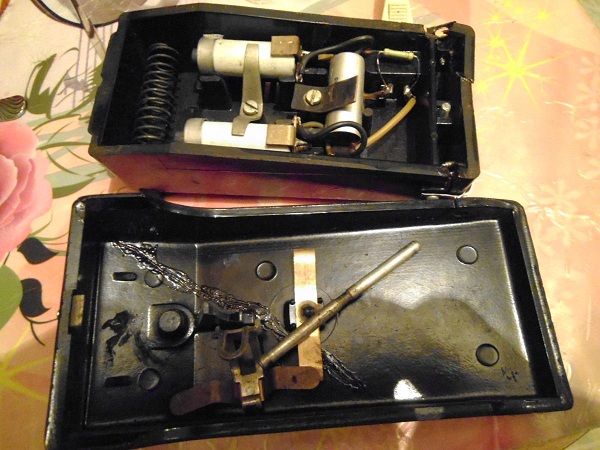
You can solve the problem yourself: graphite "tablets" are compressed together through a spring with a pressure lever, the resistance decreases and the speed of rotation increases. In this case, it is sufficient to disassemble, clean and reassemble.
However, if after that the machine did not restore the normal operation of the speed controller, it means that it should be changed (contacts were likely oxidized).
Other important points
It is worth paying attention to needle holder - the needle in it must be inserted firmly against the stop with a large groove, turned to the left. Is there a tooth height adjuster in the machine? Then with its help it will be necessary to establish the optimum height.
Be sure to pay attention to stitch length:
- 1-2 mm for a thin thread;
- not less than 3 mm for thick.
Important and shuttle position: for example, in Astralux 235 (as well as many other models of the brand) it will be vertically installed, and setting up a janome sewing machine involves working with a horizontal shuttle. In more detail to deal with this issue will help such video instructions:
How to set up old type sewing machines
It is surprising how well old hand-sewing equipment can sew. Having studied the subtleties of setting, you can reanimate such a unit and enjoy the fruits of their labors. First of all, you need to familiarize yourself with the principle of operation of the device like a sewing machine "Zinger" or "Podolsk".
- The right side is represented by a wheel (in another name - a winder). His hand is twisted. The stitch length is adjusted using the lever next to it.
- The shuttle can be found on the left, near the presser foot with a needle.
- On the working surface there are slats that will promote the material during sewing.
How to set up a long-life sewing machine? First selected needle and thread numbers - It will help to work with different tissue species. Next, let's worry about the quality line:
- regulation of the tensioned thread from the bottom is similar to that of Janom; it can be done using a screw on the bobbin case;
- a special regulator pulls the upper thread (it is located near the lever that lowers the foot).
Before work, be sure to study the settings!
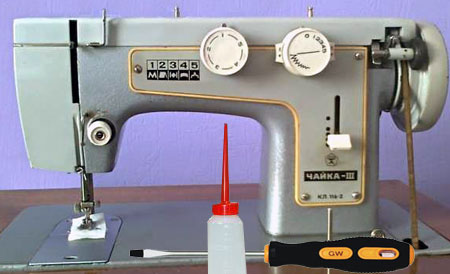
Gull
Setting up the sewing machine "Chaika" includes several important points. The main thing here is to set the needle and thread from the very beginning. It all depends on the location of the latter.
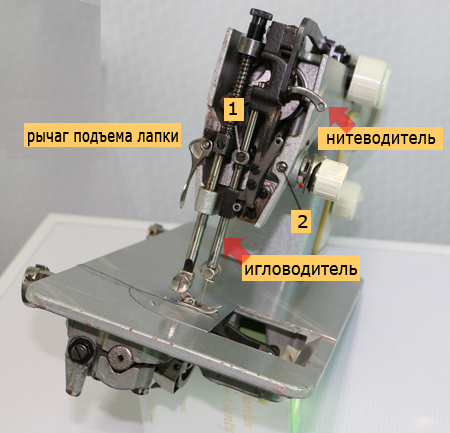
In a relationship upper thread You must complete the following required steps.
- Turn the knob to install the thread-through mechanism in the uppermost position.
- As far as it goes, it is inserted into its holder - in this case, it should be turned with its flat side to the rod with the foot. Further, it is fixed with a screw.
- Now let's do the installation of the spool with threads - let us hoist it onto the intended rod.
- The thread will follow this path: the thread guide - friction washers - thread tensioner - thread guide - needle holder. The destination is the eye of the needle.
Have bottom thread The process will be a little easier: it is wound onto a bobbin. The latter is inserted into the cap and output to the outside. The cap is inserted before the appearance of a characteristic click sound. At the typewriter, the handle turns for thread tension, each thread tucks under the foot.
There are important rules when using the unit.
- Before work the foot with a needle fall.
- Turn the handle, directing it towards you.
- The machine is lubricated with oil intended for this.
- For work only the fabric basis, suitable for all types of stitches, is used.
- In “The Seagull” there is a disc with 4 positions. With a thick fabric, these teeth will protrude strongly, and hide during embroidery.
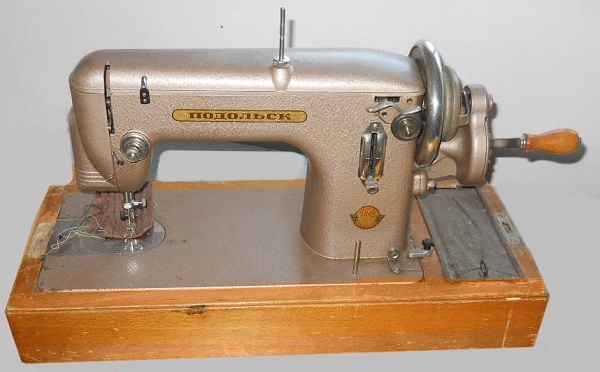
Podolsk
Many of today's professionals in the brand of the Podolsk sewing unit like that this device is capable of sewing thick enough and thick fabrics. It will only be necessary to set up her work. Should be right first thread the thread.
- The reel at the Podolsk is located behind the flywheel itself. The tensioner itself is connected to the winder (from the right corner of the platform). It is important at this time to turn off the flywheel wheel so that the sewing part does not work. To do this, simply turn the friction screw towards itself.
- The bobbin is mounted on the winder, and the thread spool is placed on the corresponding rod.
- The thread from the spool is passed under the washer at the tensioner and sent up to the bobbin.
- Now the frame at the winder goes down: at the pulley, the rim touches the flywheel.
- It is necessary to hold the free tip of the thread until the end of the winding. Properly executed actions will help to do it smoothly.
The bobbin is inserted into the cap in such a way that there is an oblique slot at the top. A thread will go through it to the spring, which at the end will leave again through the slot. All this is installed in the device, the free end is displayed at the thread. The shuttle can be closed.
Needle set with the needle bar in the upper position. The flat part of the bulb looks to the left, and the long chute of the blade - to the right side.The upper part of the thread starts when you turn the flywheel towards you and install the thread-propelling lever to the highest position. All refueling goes from right to left and from the coil to the eye of the needle. The lower thread is pulled out by turning the flywheel - this will allow the needle to drop and grab the thread from the shuttle, and then climb up with it.
And a few more recommendations.
- Rotate the flywheel should be on yourself - from a working person. This prevents the hook from tangling.
- When not in use, the presser foot should be raised.
- Before running the device under the foot should already lie the fabric - "idle work" will dull the teeth.
- To stretch and push the working material is impossible - there is a risk that the needle will break.
- Tightly close the plate above the shuttle.
- Podolsk has 3 degrees of teeth regulation.
There is one more general tip for all old cars. The new models have bobbin springand in the obsolete there is none. One trick will help in customization: a circle is cut from a cloth or thin paper that is smaller than a bobbin in diameter. An axial hole is cut through its center. The circle is inserted into the bobbin case, the oil for the sewing machines is dripping onto it, and then the bobbin is inserted.
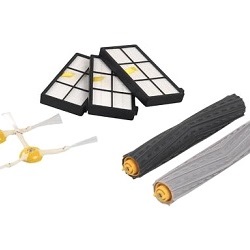
Preventive measures for the maintenance of devices
In order to rarely resort to the adjustment procedure, it is enough to observe the simplest preventive measures for the care of equipment.
- A machine needs lubrication Once every six months or a year, this should be done only by special means.
- But from dust it is necessary to protect the technique much more often. The procedure is simple: upon completion, it is swept from the surface, the shuttle cover and the needle plate.
- After sewing, a small square of some thick paper is placed under the foot. Paw with a needle when it goes down until it stops.
- Before you hide the machine, you need to check if there are any torn threads and fabrics left in it.
- Unused device contained under the cover.
- For a car with a drive, it is important to pay attention to the condition of the pedal and the wire. If the wiring is constantly twisted, it will just break inside.
/rating_off.png)