How to disassemble the iron
Iron is an essential attribute of every home, without which it is difficult to imagine the life of a person. Often there are cases when it is necessary to self-disassemble and minor repairs without the need to visit a service center. In these cases, you will need knowledge of how to disassemble the iron.
Device
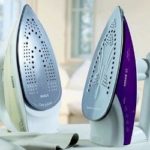
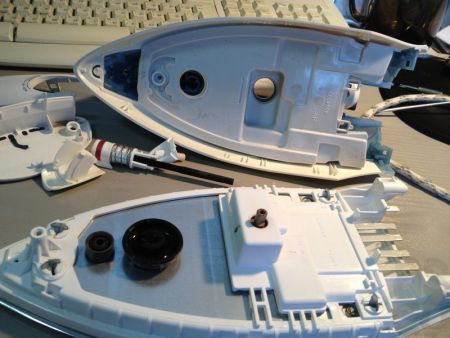
In order to repair the iron yourself, you should understand its device. Let us analyze the internal parts of the device on the example of a model from the company Vitek. It should be noted that the design of all irons about the same. It:
- The sole made of aluminum or cast iron material, in which a tubular electric heater (TEN) is pressed into.
- The body of heat-resistant plastic, separated from the sole heat-insulating gasket.
- Handle, integral with the water tank.
- Power cord.
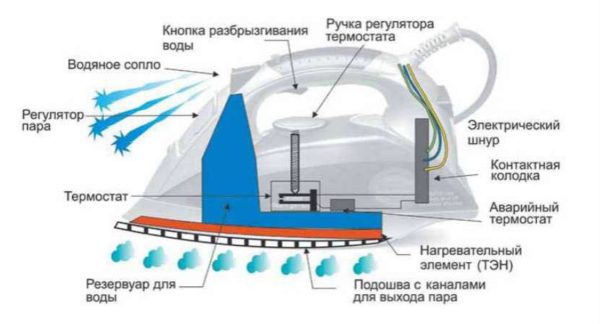
Iron device
These are the details of all modern irons.
Disassembly work
Despite the small dimensions of the device, it is not so easy to disassemble it as it may seem at first glance. The fact is that fasteners are under decorative trim in hard to reach places.
The fastener latches are made of plastic, and in order not to break them, the iron should be disassembled with utmost care and tranquility.
How to properly disassemble the iron from Philips? The order of execution of works consider the example of the device firm Brown. The fact is that the designs of these two irons are the same, therefore their disassembly is carried out according to a single scheme. Before you begin disassembling, you need to prepare a tool, namely a cross and a flat screwdriver. Disassembly works are performed in the following order:
- Using a screwdriver, unscrew the two mounting bolts of the back cover.
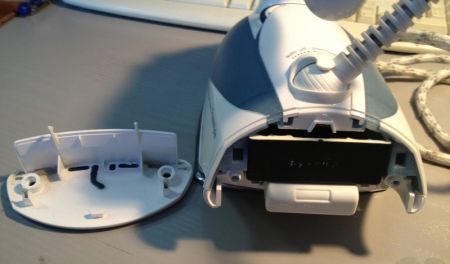
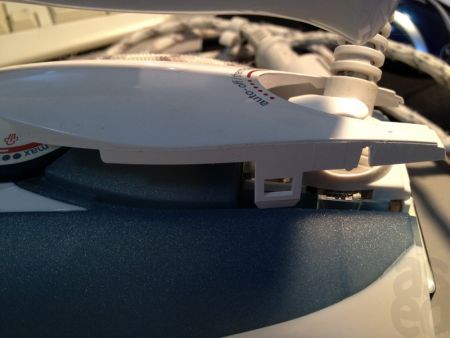
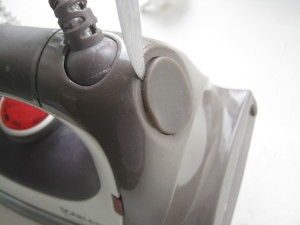
- The central pad, which goes from the back wall to the regulator, is removed. It is hooked with a flat screwdriver and can be easily removed.
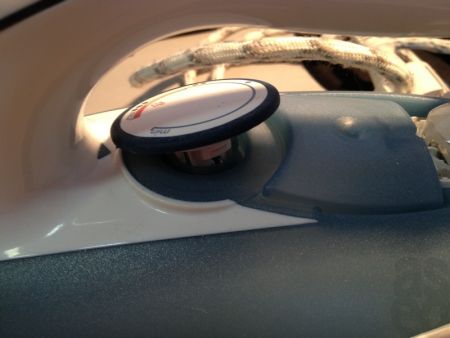
- Removed the temperature control knob. When removing the handle should be careful, as there is a spring (for the ratchet), it is important not to lose it.
- Next, remove the control unit with the connector of the heating element.
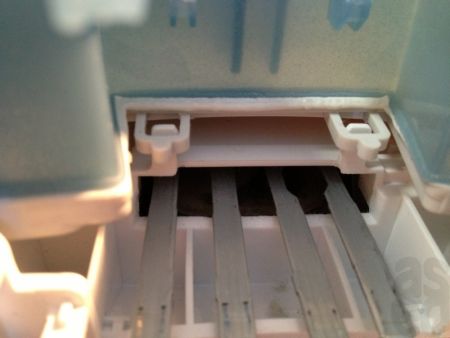
- The indicator is removed along with the power cord. The body of the indicator is mounted on two latches to the body of the iron. To extract, you need a long screwdriver with which the latches are bent in turn, and the indicator is removed.
- Next, remove the entire electrical part, just pull it back, putting a little effort.

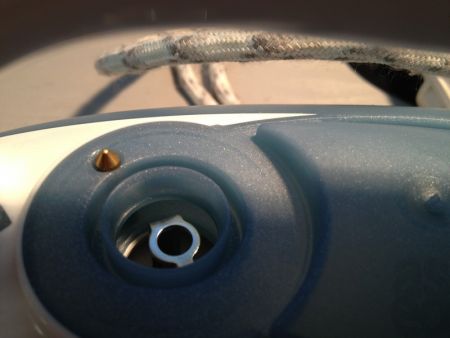
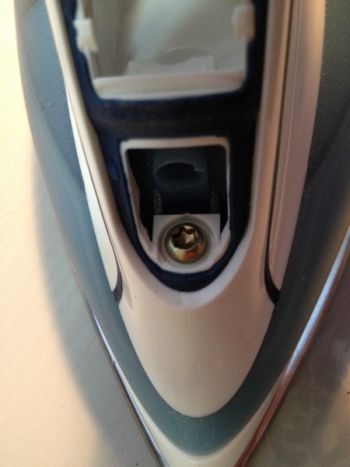
- The cap of the water dispenser is removed, behind which is the fastening screw. He unscrews with a cross screwdriver.
- On the back of the two latch attachment fasteners are detached, and the sole is removed.
- After performing the troubleshooting, the assembly is carried out in the reverse order.
This simple method is dismantling the iron. The main thing is to have a little time and patience. By the way, such a disassembly procedure is also suitable for Bosch iron.
Only having completely disassembled the device, you will be able to eliminate the arisen malfunction.
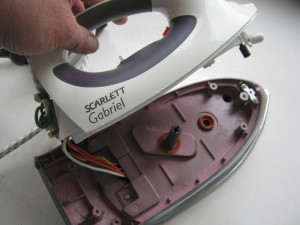
You also need to consider how to disassemble the Scarlet iron. The principle of disassembly in this case is slightly different from previous models. The sequence of actions is as follows:
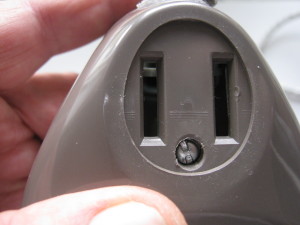
- Using a knife or scissors, remove the protective cap in the back of the device, behind which is the fastening screw.
- The screw head has a specific shape, for unscrewing which neither a cross-head screwdriver nor a flathead screwdriver is suitable. In the absence of a special tool, you can use scissors. It is recommended to replace the screw with a new one, with the shape of a screwdriver head.
- Next, remove the cover that closes the hole for the gulf of water, and with a cross screwdriver unscrew the bolt.
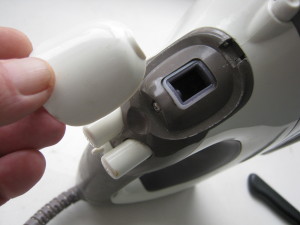
- The top part of the handle and the back cover are removed, behind which the power cord connection contacts are hidden. After that, unscrew the remaining screws.
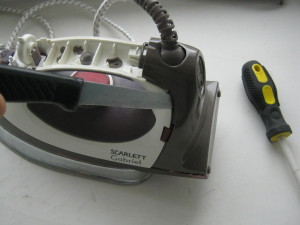
- The thermostat knob is removed using a knife blade and a small physical effort.
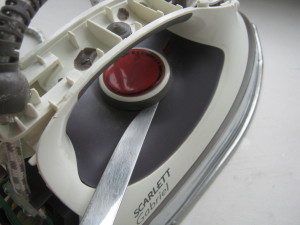
- Next, the facing part of the iron is removed.
- Using the Phillips screwdriver, the remaining screws are unscrewed and the base is removed.

That is actually such actions and produced an independent disassembly of a modern steam iron.
Safety during the work
While disassembling, you should not forget about safety measures, because this is an electrical device in contact with water, which greatly increases its danger.Before starting work, unplug it and drain it. If there are serious problems in the electrical part, then it should be attributed to the service center to specialists.
/rating_off.png)