Disassembling a Philips hair dryer at home
The popularity of self-repair of various household appliances is growing: users tend to save on the call of the master from the service center. Especially this rule applies to small household appliances. Indeed, the device of such a technique is simple, but sometimes there may be some difficulties. How to disassemble a hair dryer, for example, Philips, when there are no instructions and recommendations? We will try to tell you everything in detail.
Content
We disassemble the body
Like any household appliance, a hairdryer at one, not quite beautiful morning, stops working. The causes of failure can be different: a mechanical effect associated with an accidental fall, or there was a sudden power surge in the network when the device was turned on. To find out exactly what happened, you need a partial or complete disassembly of the Philips hairdryer, which you can do yourself with certain skills and skills in electrical repairhousehold appliances.
It is very important! Before disassembling - disconnect the device from the electricity network.
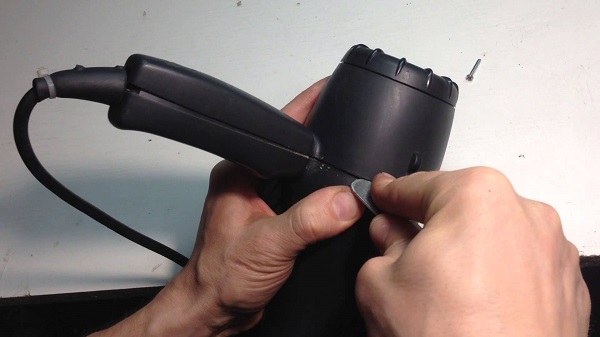
Most models of hair dryers from the company Philips from the Netherlands is disclosed in two halves, but for this you need to remove the plastic ring that holds both parts. It has four latches, in order to squeeze them, you need a flat tool - a flat thin blade or a sharp, durable knife. We must work very carefully - the plastic is fragile, if you break the latch, then the repair can be considered complete, you have to go to the store for a new hairdryer.
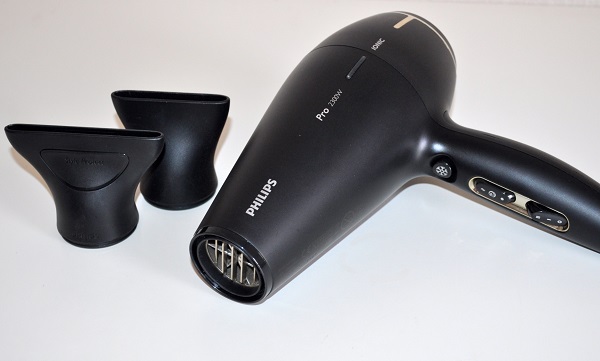
Philips Salondry Control and Philips HP8656 models of series Pro Care Ion they differ only in that the latter is a brush-dryer, and their principle of operation and construction is almost the same. The addition of Ion at the end of the name means that the dryer has a function of air ionization. Such a function is necessary for “pacifying” unruly hair - negatively charged ions (ion) prevent magnetization, hair styling occurs without problems.
On the inner surface of the casing of these models in the front there are quite small, but powerful latches. To squeeze them, push the tool between the casing and the body until a gap is formed between them and pull the casing tightly. Now you need to unscrew everything fastening elements - there are only eight of them: 2 in the handle, 3 are under the removable part of the nozzle and 3 hold the upper part of the body. The screwdriver must be prepared in advance, taking into account what type of slots on the screws. Disassembly of the Philips dryer is over.
To help users there will be such a video about the phased disassembly of a hair dryer:
What could break
After opening the case, you must carefully inspect all the details for their performance. Quite often, the cause of the breakdown is the power supply lead, its contacts can burn, you need to clean and update them. If the wire is broken inside, then it is changed to a new one.
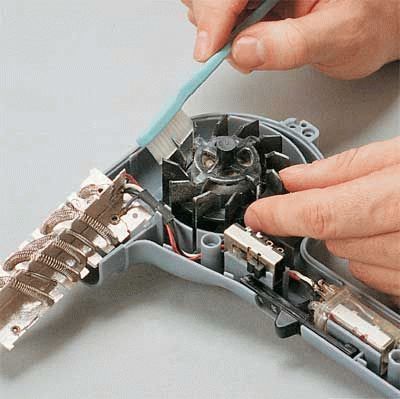
Fan
This main unit of the product is driven by an electric motor, with the help of a fan, the air is sucked into the inside of the dryer. Often, breakage is due to the contamination of this device with dust, especially fast electric motor brushes clogged. To clean the fan - disassemble the device according to the above scheme.
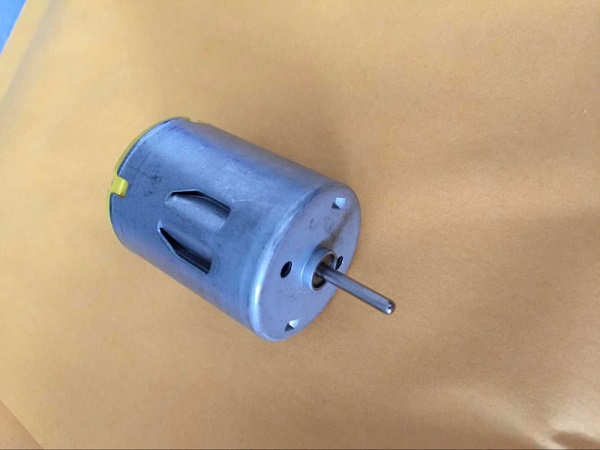
Electric motor
If when you turn on the hair dryer, you hear a crash and see sparking flashes inside the body of the product - this is how the brushes behave when their wear is above the norm, an urgent replacement is required.When the engine does not turn on, one of the failure options can be quite trivial: between the rotor and the brushes wad of dust, it is a dielectric, therefore the motor anchor does not rotate.
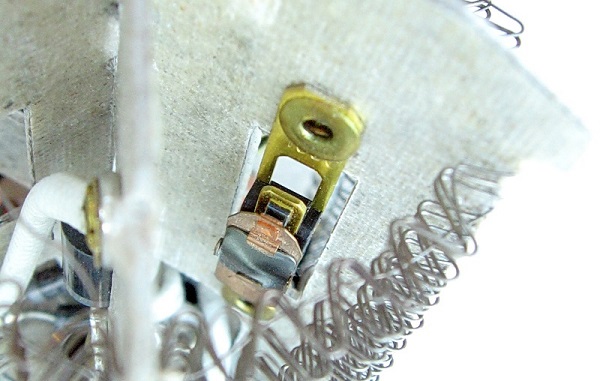
Thermostat
The air passes through the grid of a special wire, which plays the role of a heating element - it must be intact. If a gap is found, then it must be soldered; simple twisting will lead to an increase in the resistance of the entire grid, which will negatively affect the thermostat's activity.
Many home craftsmen are used to soldering everything from the times of the USSR, but today all the parts of the devices have become much softer - the wires are so thin that an ordinary soldering iron just burns through them. Capacitors are soldered to the printed circuit board, to replace them, you need skill and special low-power soldering iron with a thin sting, and this extra cash costs.
Microcircuits
These miniature products are so delicate that if something happened to them, then they cannot be repaired, change completely. Condensers should be sought in specialized stores or on the radio market.
Important! When choosing these parts, it is necessary to select them exactly with the parameters of the broken ones; for this, compare the marking on the burnt samples.
It is necessary to work with microcircuits in rubber gloves, so as not to leave fat marks on the contacts. If you find that the printed circuit board has burned out, then go to the store for a new hairdryer, you can disassemble the old one into spare parts - you will not be able to reanimate it.
Remember: self-repair can be quite expensive if very important parts of the product are broken. Therefore, we must consider whether it is worth starting a repair, if it is easier and cheaper to buy a new hair dryer.
/rating_off.png)