How to repair the circular DIY
Circular hand saw is quite practical tool with which you can quickly cut a wooden piece of any length and width along or across, cut any sheet material on a wood base. In addition, after changing the equipment with a circular saw, plastic, metal decking and professional sheet can be cut. Despite the simplicity of the design and high reliability of this unit, it is prone to breakage, like any power tool. But in most cases, repair circular saw can be carried out independently at home.
Content
The device and the principle of the circular saw
The manual circular saw differs from a miter saw by the absence of a bed with a rotary table, as well as the placement of a handle. But in general, both models are similar in their internal structure, principle of operation and do not differ in the complexity of their design. The following figure shows the device of a hand-held circular saw.
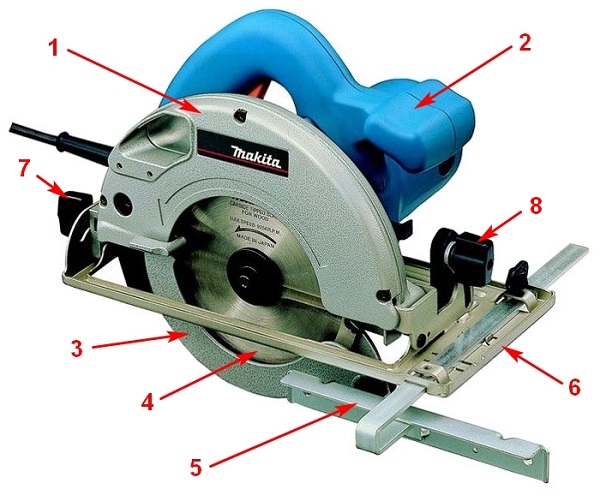
The unit includes the following main elements.
- Upper protective casing, having a hole for ejection of sawdust.
- The housing, which houses the electric motor and the start button. Some models of electric saws can run on batteries. In this case, the battery pack is also placed on the case.
- The lower (movable) protective casing, which automatically closes the cutting element after it leaves the workpiece.
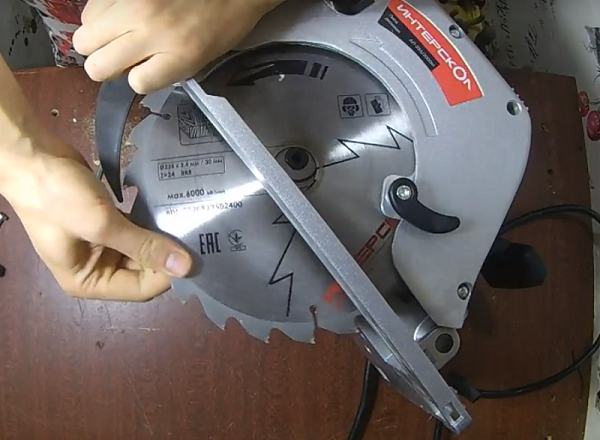
- Saw blade. Mounted on the gearbox shaft with a nut or bolt.
- Parallel stop. Allows you to make a smooth cut without the use of additional devices.
- Base plate (outsole) unit. Thanks to her, the tool is installed on the workpiece or tire at different angles.
- Depth adjustment.With it, you can adjust the departure of the saw blade relative to the base plate.
- Regulator of a tilt angle of a sole. Allows the saw to be tilted at an angle.
This tool works as follows. Power from the mains or battery is fed to the start button, which breaks the circuit. When you press the start key, the current begins to flow to the electric motor. Below is the electrical circuit of the unit.
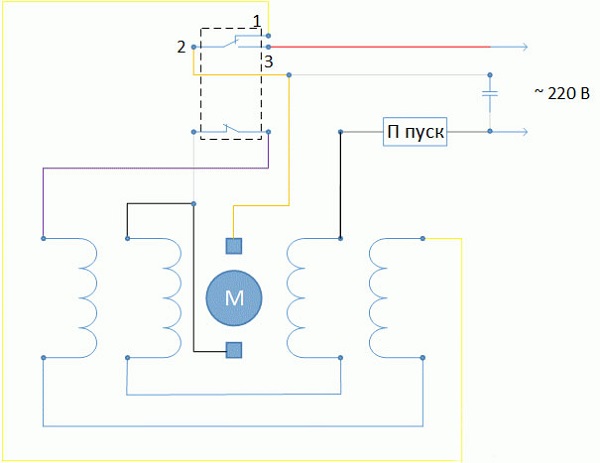
The electric motor starts and transmits the rotational movement through the gearbox to saw blade. The unit is installed with the help of the sole on the workpiece or guide rail, after which the process of both longitudinal and transverse sawing is performed.
Major faults and their symptoms
The following situations can be attributed to typical malfunctions of manual circulars.
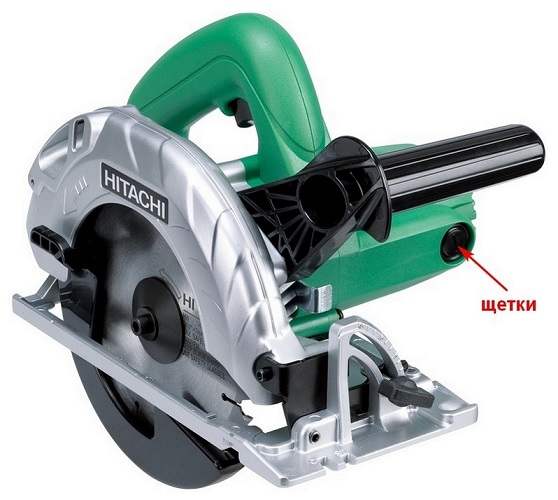
- Saw does not turn on. A power cable, electrical plug, start button, or electric brushes may be faulty.
- Engine tool is hot. Such symptoms may be due to interturn circuit (break) in the armature or stator coils, as well as excessively intensive operation of the unit.
- Gearbox overheats. Overheating of this unit may occur due to the failure of the bearing or lack of lubrication on the gears.
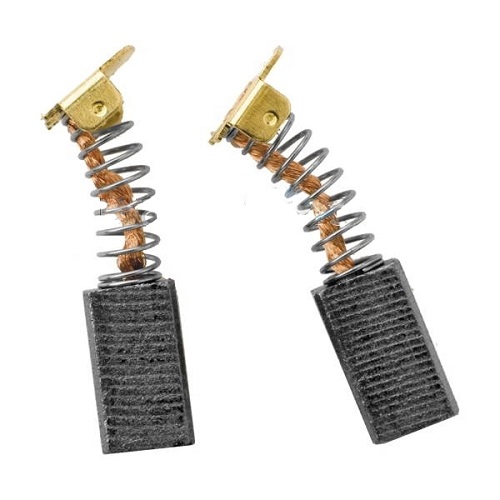
- Brushes sparkle. This is usually due to excessive wear.
- Burning ring visible around engine manifold. If during the operation of the unit a circular spark is observed around the engine collector, then its appearance may cause malfunction of the armature winding or clogging of the space between the lamellae of the collector with graphite dust.
- The unit does not develop the required power. The power loss may be due to a voltage drop in the network, a malfunction of the motor windings, wear of the electric brushes, a malfunction of the start button.
- Grinding is heard while the machine is running and other extraneous sounds. These symptoms may be caused by a broken gear teeth or a bearing failure.
- Engine buzzes but unit doesn't work. There may have been a jam in the gearbox.
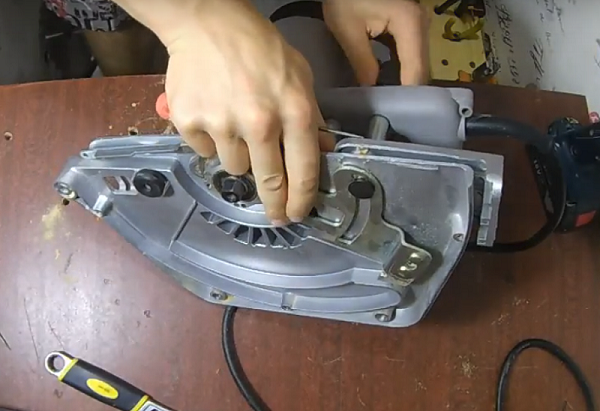
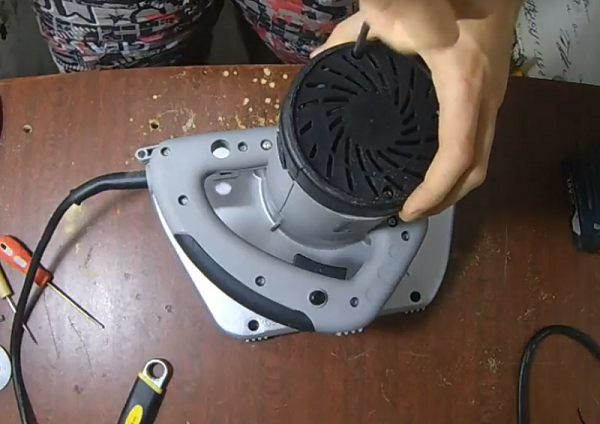
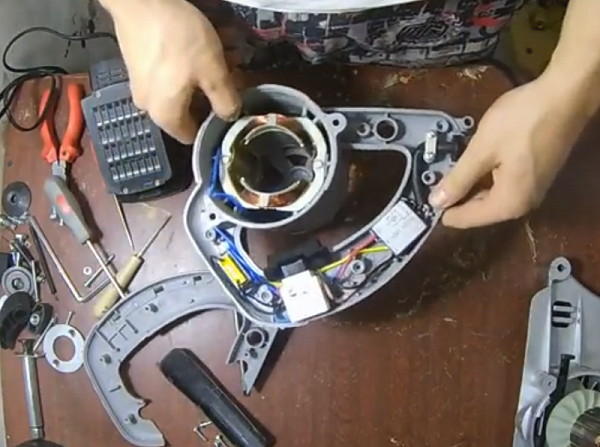
Tool disassembly
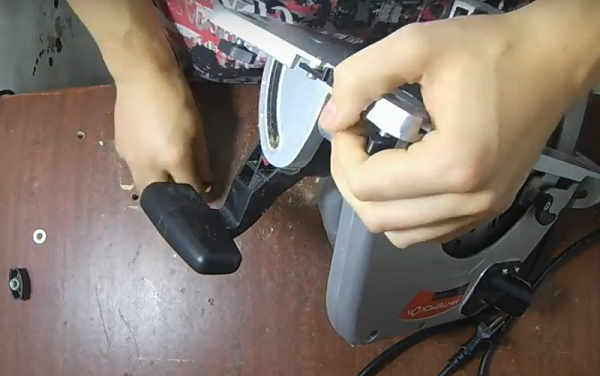
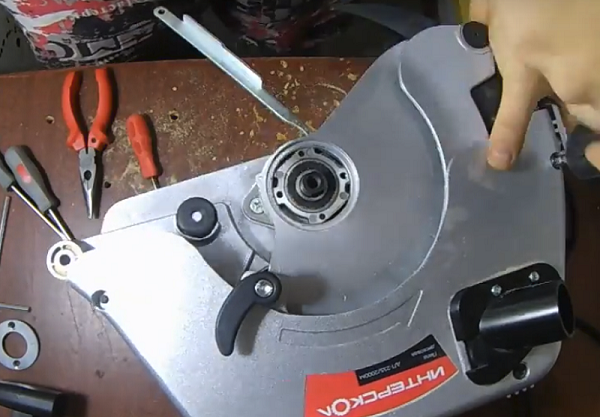
Practically all the malfunctions of electric circular saws cannot be repaired without disassembling the device partially or completely. A complete disassembly of the electric hand saw using the example of the Interskol unit is performed in the following order.
- Unscrew the angle and depth adjustment screws attached to the bottom of the machine.
- Press the gearbox shaft locking button and using the hex key to unscrew the bolt holding the saw blade.
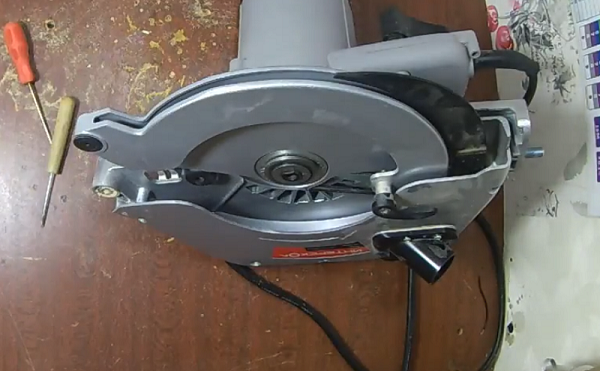
- Move the lower protective cover to the side, remove the circular disk.
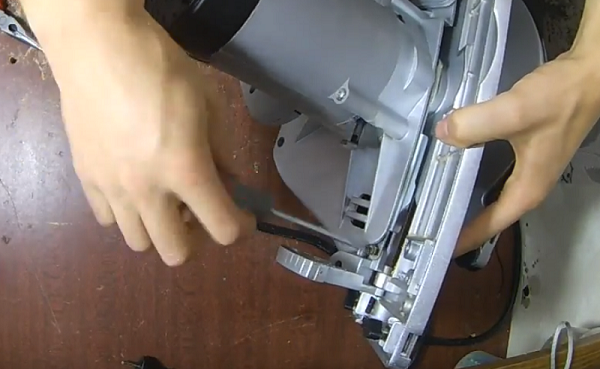
- To remove the support solefirst unscrew the fasteners on its underside.
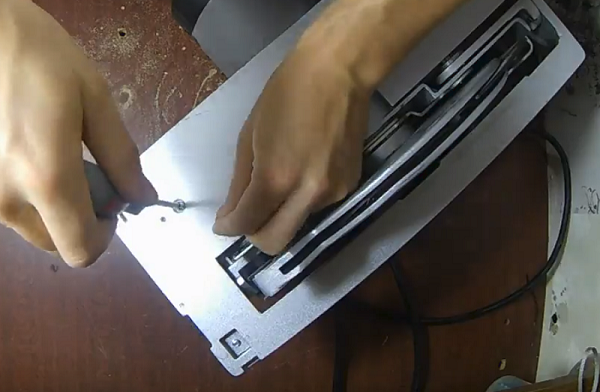
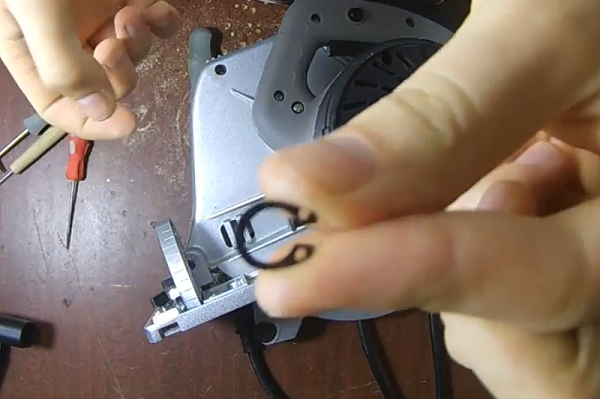
- Further, it is necessary with the help of two screwdrivers to remove the Sieger ring, locking the rod, on which the base is rotated, to change the angle.
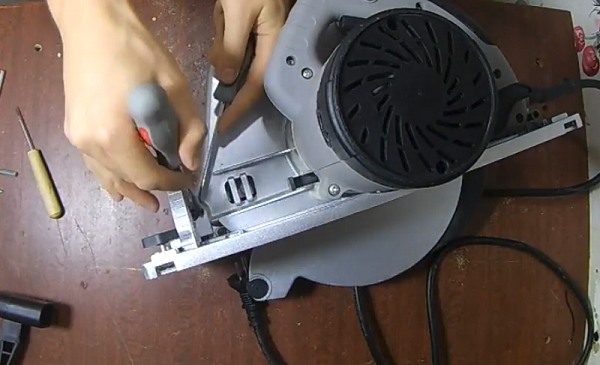
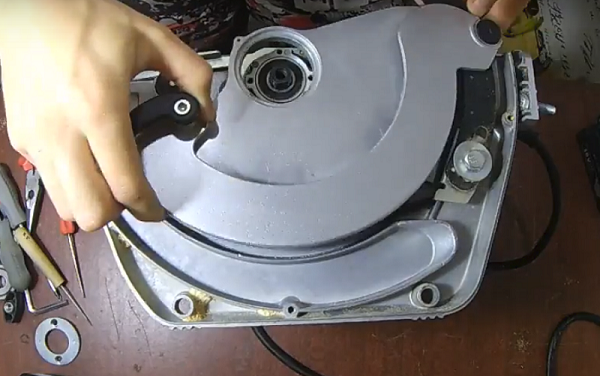
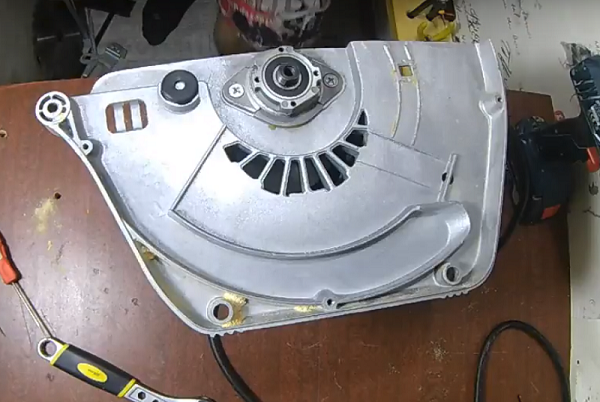
- Insert a screwdriver into the slot between the body of the shield and the sole, then slide it away and remove.
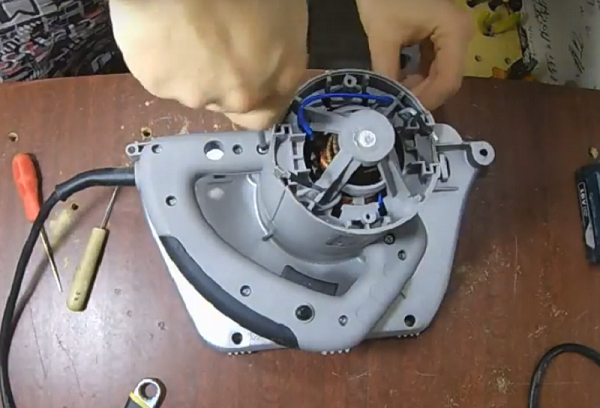
- In the next step, unscrew all fastening screws located on the upper casing of the unit.
- Also loosen the screws holding the movable blade guard.
- Disconnect both shields from the power saw.
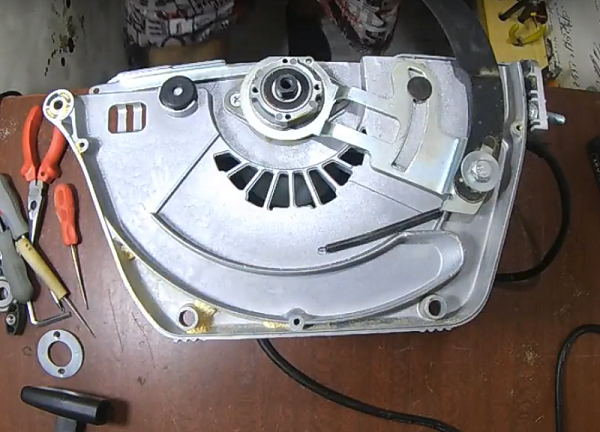
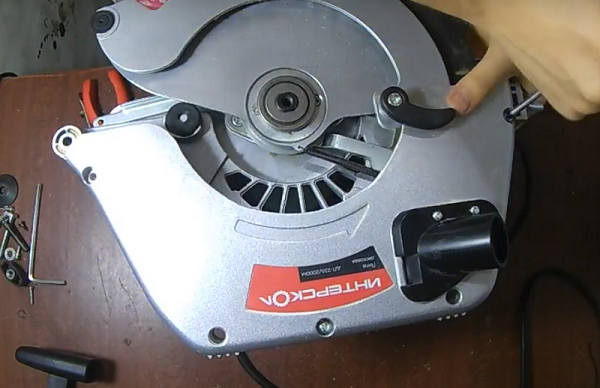
- Using the open-end wrench, unscrew the bolt holding the riving knife and remove it.
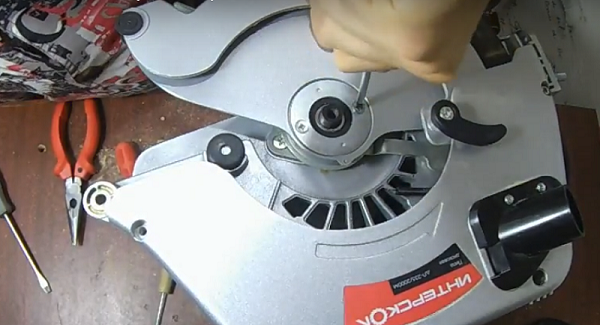
- Unscrew the stem holding the moving mechanism of the case and disconnect all its elements.
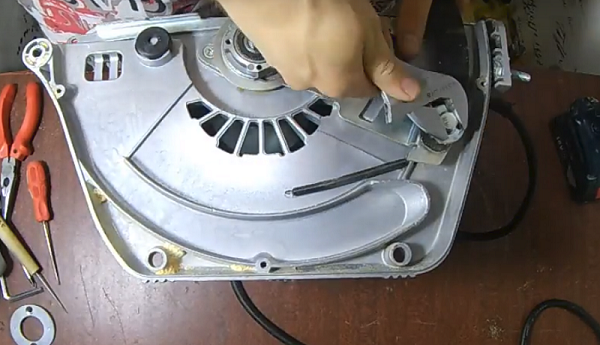
- Next, you should disconnect the gear unit by unscrewing the 2 screws.
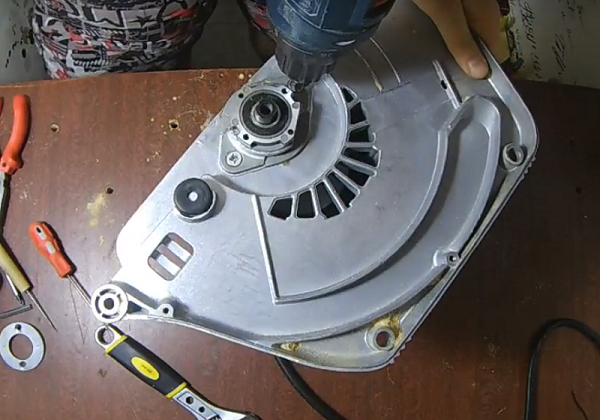
- When the mechanical part of the apparatus is disassembled, you can proceed to disassembly of the electrical part devices.Unscrew the fasteners holding the engine cover and remove it.
- Removing the cover, you will see two electric brushes. If they need to be completely disconnected from the engine, then it is recommended to mark one of them with a marker, as well as the place from which it was removed.

- Next, unscrew the screws that secure the motor housing to the gear housing.
- Unscrew the fasteners, disconnect both nodes.
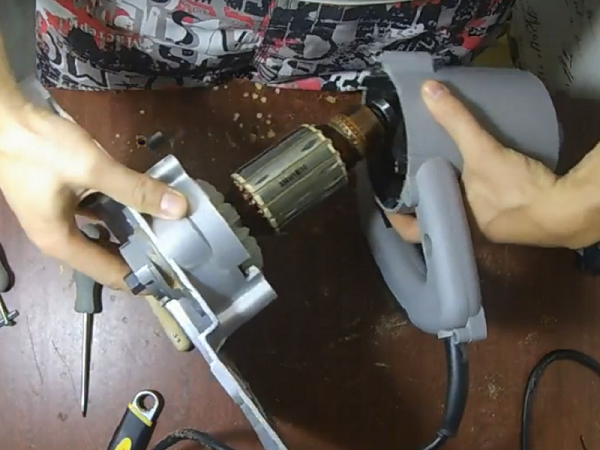
- In the disconnected part of the engine housing, you will see stator coil.

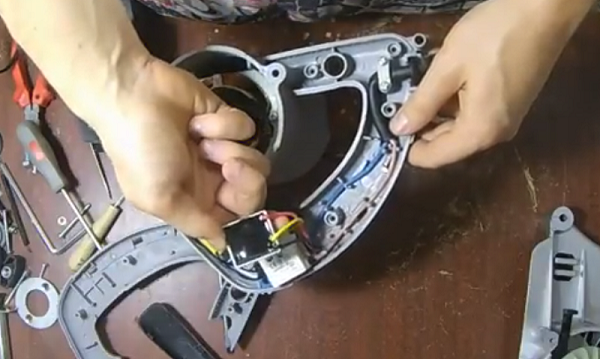
- Next, you should unscrew all fasteners from the handle of the unit. But before its separation it is necessary to remove the rubber pad, prying it with a screwdriver.
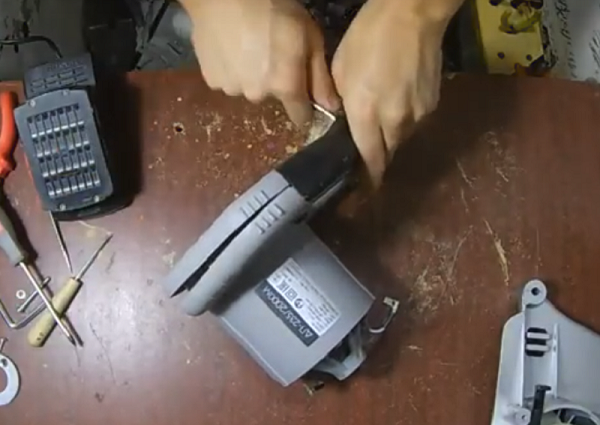
- Removing one half of the handle, you will see soft start module and start button.
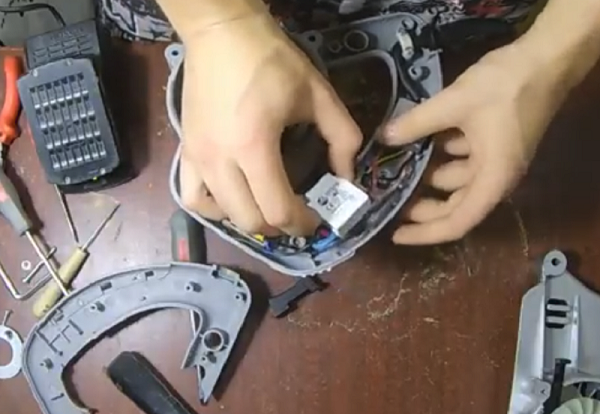
This complete disassembly of the saw blade ends.
DIY circular saw repair
Starting to repair the unit with your own hands, it is not necessary to disassemble it completely to determine the causes of failure. Some malfunctions are characterized by specific symptoms, by which it is possible to identify the problem and already purposefully disassemble one or another part of the apparatus.
Saw does not turn on
If, when you press the start button, the engine of the unit “is silent”, then the first thing you should focus on is network cable, provided that there is electricity in the outlet (to check, connect the device to another outlet).
To check the electrical cable you need to disconnect the handle. This will help to reach the contacts to which the wires of the power cord are soldered. Then, using a tester, ring each wire, pressing one probe to the soldered contact, and the second - to the plug pin.

If the network cable is intact, do the following in search of a malfunction.
- Ring the entire circuit with the tester, starting from the cable entry into the unit to the start button. You should also check the contacts of the button on its input and output while holding down the key. In the normal state, the broken circuit should close. Call all wires after the buttongoing to the engine brushes.
- If the conductors are fine, check how worn brush electrodes. After the electrode is worn 2/3 of its original size, it should be replaced. Brushes, no matter how worn each of them, change pairs.
- If the brushes are in good condition, then, most likely, engine failed. In its windings a break or inter-turn short circuit could occur. In this case, it is better to entrust the repair of the engine to specialists who will rewind the stator coils or armature.
Engine is warming
The unit may become excessively hot, for example, when intensive use of it, as well as when sawing hard wood or using a saw blade with a large number of teeth, when the load on the engine increases significantly. Also, overheating of the motor causes malfunctions associated with the stator and armature windings, which are eliminated only in the service center.
Burn brushes
Strong spark arises from under the brushes. excessive wearwhen the spring can no longer press the electrodes to the collector with the required force. To replace the brushes, you need to detach the engine cover or remove them through special holes in the motor housing (depending on the power saw model).
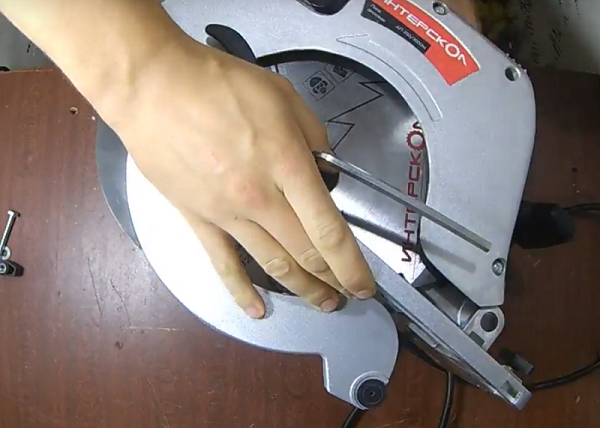
Shaved shaft during operation
This problem may occur when for some reason the tool is pressed while the tool is running.. It is intended for fixing the shaft when replacing the tooling and should be used after the engine is completely stopped. Otherwise, the stopper rod breaks, and its fragments fall into the engine, causing jamming. There are often cases when this leads to deformations of the armature shaft. Also, pressing the stopper can cause the gearbox housing to split, the debris of which can damage the gears and cause them to jam. To solve the problem, it will be necessary to replace the anchor, the stopper, the leading (large) gear of the gearbox and its case.
In some cases, the gearbox may jam when the bearing is completely destroyed.
The saw stops during operation.
In most cases, stopping the engine is caused by a cavity. worn out electric brushes. When the contact between the brush electrode and the collector lamellas is broken, the unit is turned off.
Often when buying brushes for this unit come across products with short conductor, connecting the electrode to the plate. This conductor is located inside the spring and does not allow it to fully unclench. When the electrode wears to a certain length, it is pressed against the collector, because this is prevented by a short conductor.If you inspect the brush, you find that it is not worn out and the spring does not expand, then the part should be replaced.
The gearbox housing is very hot
Rapid heating of the gearbox occurs in case shaft bearing is out of serviceon which the gear wheel is fixed and the equipment is fixed. In this case, in addition to heating, you can replace the appearance of extraneous noise in this node of the apparatus. It is necessary to disassemble the gearbox and change the bearing. Also the gearbox will warm up if it is not enough lubrication or it is completely absent.
Saw not gaining power
If during the use of the unit you notice a drop in its capacity, then it is recommended first check the voltage level in the network. Sometimes even a slight drop in it can negatively affect the power of the power tool.
Also, power loss can occur when wear of armature bearings or gearbox bearing. In this case, you will hear extraneous noises, previously not peculiar to this unit. By their localization, you can determine where the problem bearing is located - in the gearbox or engine. To replace the bearings need to disassemble the circular saw. How to do this was described above.
If during operation of the unit no extraneous noise is heard, and the engine is still developing poorly the speed and power, then pay attention to its collector. You can usually see a circular spark (ring of fire) on it. This may be due to the interturn circuit of the armature coil or the accumulation of dirt between the lamellae of the collector.
Open the motor housing and carefully examine the collector (the place over which the brush electrodes slide). It consists of parallel strips (lamellae). Between them there is a small gap. When this gap is clogged conductive graphite dust formed during the wear of the brushes, then between the lamellas there is a short circuit, and a burning ring appears around them.
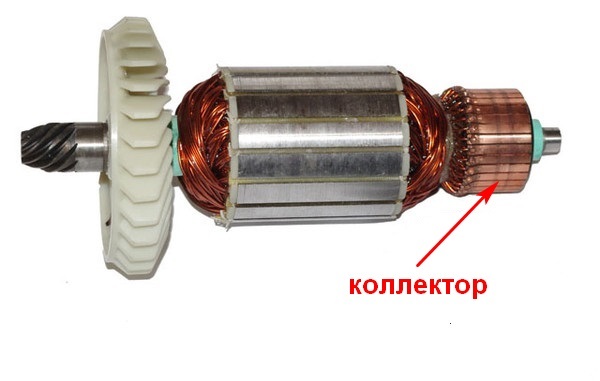
The problem will be solved by replacing worn brushes and clearing the gaps between the lamellas with a toothbrush, cotton wool and alcohol, followed by polishing the plates with fine emery paper.
In some cases, a drop in power may cause a defective start button.If the test tester confirmed its failure, then the part should be replaced with a new one, as it is beyond repair.
There were extraneous sounds when working
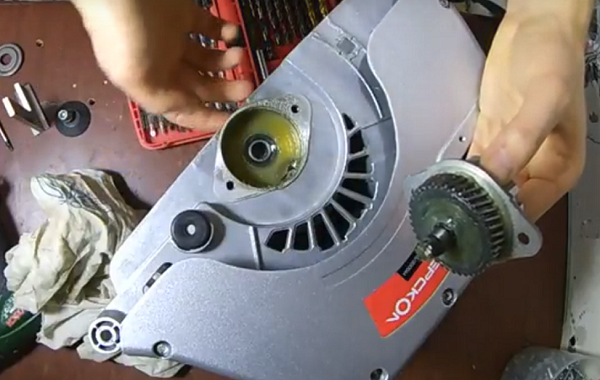
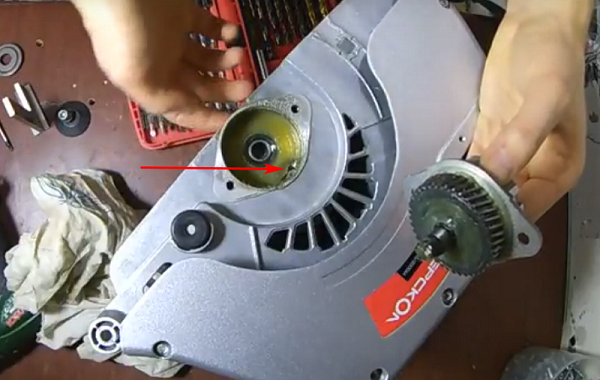
Rattle and other extraneous sounds may cause defective bearings or gears of the gearbox and shaft with worn or broken teeth. The following figure shows the arrow where the anchor gear is.
Gear located on the motor shaft may lick. when jamming the saw in solid or loose wood. Usually gear gear does not suffer. To eliminate this damage, it is necessary to completely change the engine anchor. In case of bearing failures, it is easy to remove them with a puller and replace them with new ones.
/rating_off.png)


