How to make an electric plane with your own hands
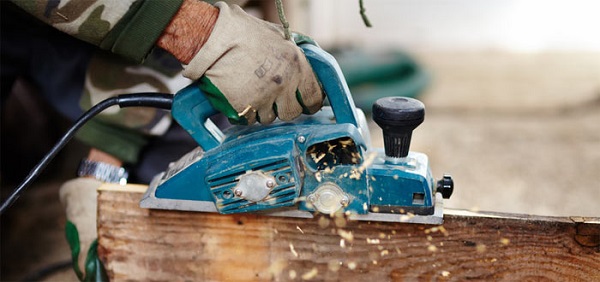
An electric plane is a power tool designed for planing, sawn timber, chamfering at workpieces, and sampling quarters of wooden parts. Its practical application increases the efficiency of labor. Using this tool, experts also do other operations related to wood processing. Modern, especially professional models, have enhanced functionality. When handled properly, they are safe to use. But buying a factory tool is not always possible. In this case, you can make an electric plane with your own hands. This will require available parts and materials.
Content
Structural elements of homemade electrical chopping
Electric planers, having appeared in the middle of the 20th century, were widely adopted. They practically supplanted their hand counterparts. Through their use, hard work has become more productive work. In this case, the final quality of processing turns out to be high if the power tool works correctly.
Factory products are represented by a large variety of models, which, despite the different appearance, consist of common to all structural units. They work with such electric planers in two ways:
- using them as a portable hand-held power tool;
- fixed on a table or work bench in a stationary position (upside down - with a drum to the top).
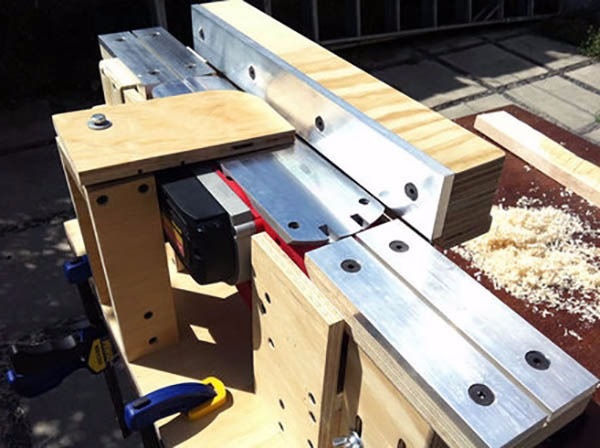
The creation of a stationary fixed electroplane is considered the most suitable (simple) for an independent practical implementation. The assembled device will have structural elements in common with factory-made products, such as:
- electric motor, which is the drive mechanism of an improvised device;
- protective cover that protects the worker’s hands from moving blades;
- on / off button;
- a drum with knives mounted on it, intended for planing wood;
- the transmission mechanism by which the movement of the motor shaft is transmitted to the drum with blades.
Role homemade sole will perform a plate with a flat surface, for example, from metal, plywood or planks, or a table (workbench). In the latter case, no need to do legs for the machine. If you attach the drum to the stove, you will need to make a stand. It must be of a suitable height: to match the height of the woodworking master in order to ensure ease of operation.
Required materials and tools
Consider the manufacture of the simplest design, calculated on the depth of planing up to 1.2 mm and the width of the processed wooden blanks up to 120 mm. To assemble such an electric plane with your own hands, you will need the following materials and parts:
- bearings;
- steel strips;
- pressure plates;
- M6 and M8 screws with nuts;
- spring washers;
- metal corners (20x20x3 mm);
- staples;
- plywood sheet (10 mm) or metal (3-5 mm thick);
- belt pulleys mounted on the shaft of the electric motor and drum;
- a drum (with one or two knives) from an old planer or electric planer, on which the cutting tips can be changed;
- working motor from the grinder, old electric planer or planer;
- belt;
- button (switch) to enable and disable the electrical planer;
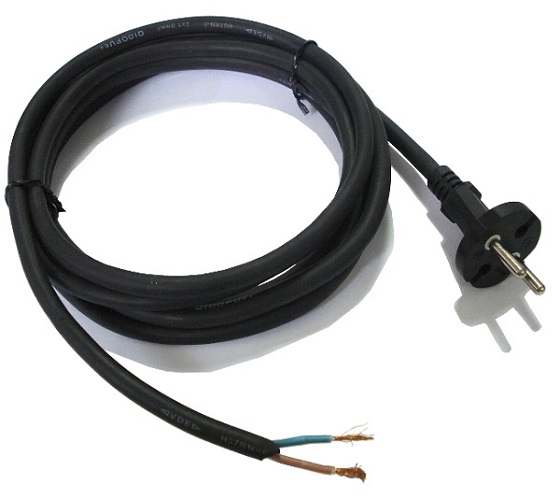
- wires and cord with plug;
- protective shutdown device (RCD);
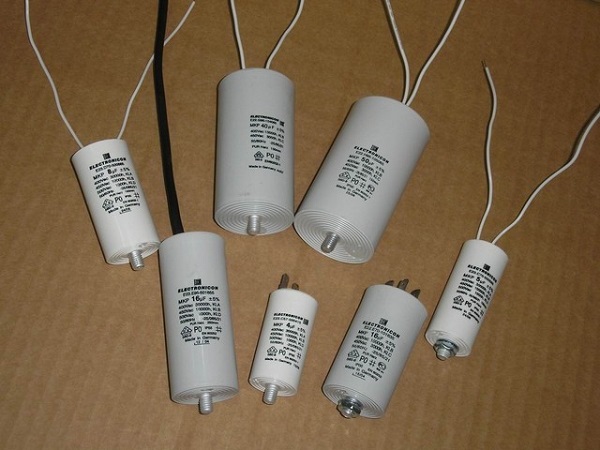
- capacitors (if the motor used is three-phase).
Installation separate RCD for an electric planer in the shield (even directly on the machine) will increase electrical safety when working with equipment. The protection is selected by the power of the working engine. The cord and wires must be suitable, taking into account the power of the installed motor, section.
Phase shifting capacitors must be connected in parallel. In this case, the required total capacity is determined by the power of the installed electric motor: approximately 100 microfarads per 1 kW. Capacitors must be rated for line voltage.
The project will require the following tools:
- several wrenches designed to tighten the bolt nuts;
- roulette;
- building level;
- marker or pencil;
- welding machine with electrodes;
- electric drill with drills and with a cutting circle of small diameter;
- electric jigsaw with files for wood and metal or a similar purpose hand-saws;
- angle grinder complete with circles for cutting metal.
Design drawings
Drawings of the frame to which all the details of the created structure will be attached are shown below.
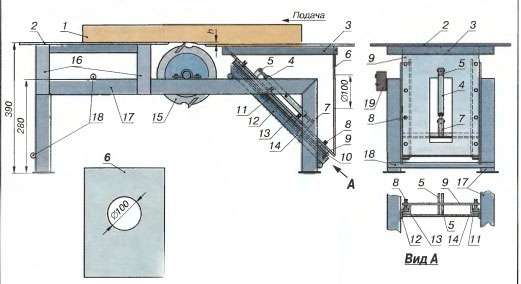
The part that is being processed will be based on plate surfacefastened with 10 bolts to the frame, welded from steel corners. A slot is cut into it under the drum with knives. In order to guide the workpieces and prevent them from lateral displacements, an angle bar is also attached to the support plate with M8 screws.
Shaft with knives (working drum) will be attached under the table top with M6 screws. For this purpose, bearings will be placed on its ends, which will be fixed to the plate with special fasteners. Movement from the electric motor to the working drum will be carried out due to a belt drive.
Motor It is installed inside the frame on a shelf of two steel strips, with holes drilled in them of the appropriate diameter for the bed mounting bolts.
It should be noted that the slots for the engine mounts (mounting grooves) must be made a few centimeters wide (2-3) in order to be able to tension the transmission belt.
Casing, fixed with M6 screws with spring washers to the corner, close the belt drive. The power button is installed in a convenient location on the body of the electric planer.
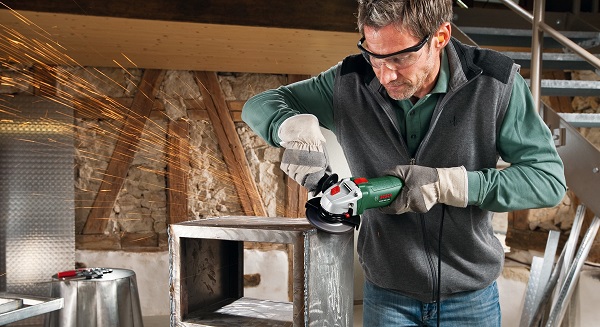
When working with the grinder and drilling necessary wear glasses - they will protect eyes from metal shavings. In general, working with any tool, you should follow the safety rules and use personal protective equipment.
Algorithm manufacturing electroplane
The hands electroplane collect, performing actions in the following sequence.
- Prepare the base plate. To do this, cut out a metal rectangle of the desired size, according to a preliminary marking, make a slot under the drum in it, and also drill holes to fix it.
- Along the perimeter of the slab with screws are screwed steel corners, which are then welded to the joints with each other.
- Cut 4 blanks of appropriate length from the same corners for the legs of the equipment.
- Weld cut the rack to the corners, mounted on the plate.
- It is made of steel strips at the bottom of the frame (considering the length of the belt), a shelf under the electric motor, with pre-drilled holes for its fixing and adjustment of the position.
- Smoothen welds.
- Take off the stove.
- Boil the upper joints of the corners, which were directly under the stove, so that there was no gap between them.
- Formed seams grinder or file compared with the upper plane of the frame.
- Install the stove in place.
- Fixed under the slot drum bearing bearings with clamps or brackets.
- Install the electric motor so that its shaft extends beyond the edge of the table;
- Put the pulleys on the shaft of the electric motor and the drum.
- Put the belt transmission.
- Set the position of the electric motor so that the belt is tight enough.
- Make of plywood or tin casing. It is fixed to the corners of the frame with screws, closing the belt transmission and protecting the electric motor from debris, dust, moisture.
- Sheathe the frame with plywood from the side of the starting button fastening and assemble it.
- If necessary, fixed on the wall of the housing capacitor unit.
- Perform electrical circuit assembly: connect the power cord, control button, circuit breaker and capacitors (if required).
- Carry out a trial inclusion of equipment.
When starting a power tool, its drum must rotate in the direction from which the sawn timber will be fed.
Additional build recommendations
Metal for the slab is cut with a grinder or electric jigsaw. To cut a groove, it is convenient to use electric jigsaw, pre-drilled a hole under his file in the stove, or electric drill with a corresponding nozzle. The edges of the slot are treated with a file in order not to get hurt about them afterwards.
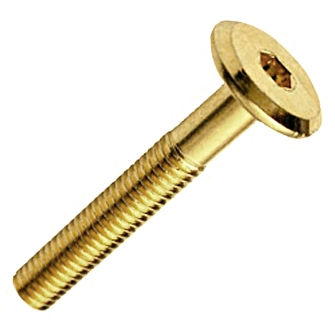
You can fasten the metal support plate with screws with flat caps (so that they do not interfere with the work) or by welding it. The first option is preferable, because if necessary, an electric plane is easy to disassemble.
Before installing the drum is recommended to check the quality of sharpening his knives. If it is bad, then it is better to sharpen the blades, using, for example, an ordinary grinding stone. It is necessary to constantly monitor that the cutting tips are well fixed without distortions.
The basis for the independent production of knives are steel plates or hacksaw blades for metal, sharpened at an angle of 30 degrees.
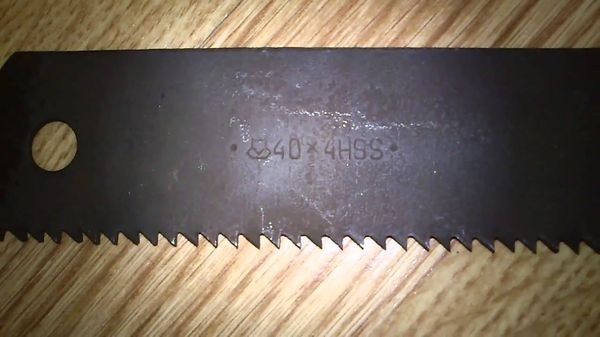
The blade is hacksaw
The sequence of manufacturing electric planer from the grinder with the placement of the working drum in a vertical position is shown in the videos below. It also shows possible errors in the assembly of homemade.
Another option to create a self-made electric plane from an old, inoperative model is shown in stages in the video below.
With the help of power tools, you can handle boards, rails and other workpieces. Assembled with his own hands electrical planer must be used, be sure to observe safety requirements. Parts should be properly fed to prevent fingers from falling into the drum.
There are many options for homemade electric planers. They have different degrees of complexity of execution, as well as different functionalities. In this regard, the limitations are mainly related to the technical thinking of the inventors and the parts and materials “at hand”. If necessary, the equipment can be equipped with automation tools.
/rating_off.png)


