Do-it-yourself well pump replacement
Submersible pumps used in autonomous water supply systems, sooner or later, even with proper operation, have to be removed from the source for routine inspection or repair. Sometimes the unit fails completely and requires replacement of the pump in the well. But you should know that in some cases it is quite difficult to do this operation.
Content
When a well pump needs replacement
The most common situations in which a pump must be removed from a well in order to replace or repair it are as follows:
- burned out the engine of the unit, setting its blades in motion (in the case of a diaphragm immersion apparatus, the electromagnetic coil may fail);
- an improperly selected pump for a specific well;
- damage or burnout of the supply cable equipment;
- silting or zapalochivanie wells;
- breakage of the cable holding the pump in the well;
- failure of the pressure pipe connected to the nozzle of the unit;
- failure of the device due to improper installation;
- decreased equipment performance;
- seizure of the unit in the well due to the twisting around of the electrical cable, etc.
Dismantling the old pump
Replacing a well pump, namely, removing it from a well, is a rather complicated procedure, despite the seeming simplicity of the process. The complexity of dismantling equipment is affected by the depth at which it is installed. Experts decided to separate 3 levels of difficulty raising the pumping equipment.
- Lifting apparatus from a depth of 30 m. This is the easiest option to dismantle the pump. In this case, the weight of the unit with the pipe connected to it is insignificant. One person can cope with the extraction of such equipment from the well.
- Dismantling of the unit located at a depth of 30 to 100 m. At such depths, artesian pumps, for example, ECV brands, are already working. It is more difficult to lift the unit from such a depth, since the length of the pipe connected to it is longer than in the first case, and accordingly, the whole structure is heavier. In addition, you should consider the mass of water in the pressure pipe. Therefore, to extract the equipment alone will not work. We'll have to resort to the help of several people. Also, for lifting the entire structure, you will need to use lifting devices, such as a winch or a manipulator.
- Removing equipment from depths over 100 m. As a rule, galvanized or stainless steel pipes are connected to the depth unit. Sometimes instead of metal pipes use pipes from PND, withstand a pressure of 16 atmospheres. Ultimately, the weight of all the equipment is very large. To extract it from an artesian well, one cannot do without a crane or a winch.
The extraction procedure itself is fairly simple theoretically:
- disconnect equipment from the mains;
- disconnect the pressure pipe from the house water system;
- pull out the pump (by the cable) slowly and carefully, disconnecting the sections of the extracted pipe (if it is metal).
Problems when dismantling
But sometimes the removal of equipment becomes impossible due to various problems.
Pump silted up
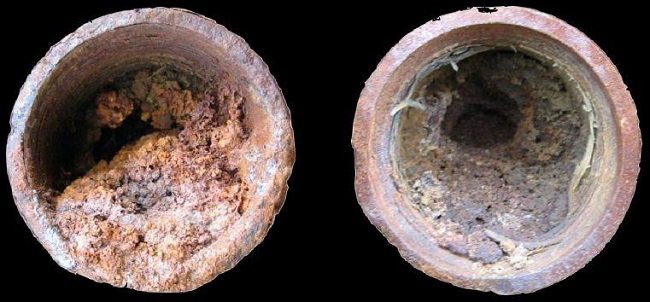
The silting of the body of the unit in the casing is a fairly common problem when removing the device. Silting occurs when the apparatus for supplying water from a source is rarely used. It is the silt layer accumulated in the casing tube that interferes with the removal of the device from the well.
In this case, to get the equipment from the casing, apply rocking method. The essence of the method is the forced movement of the pump up and down, thanks to which the space around the unit will be flushed with water and freed from accumulated sludge.
It is very important to perform the swaying process without haste, so that the flushing occurs evenly. Pull the cable should also without undue effort. Otherwise, the device will jam in the pipe even more, or the cable will simply break.
If rocking fails to release the equipment, you will have to resort to the help of firefighters. They, having lowered the fire hose into the well closer to the pump, with a strong pressure of water erode the accumulated layer of sludge.
If the well in which the unit is stuck is drilled in limestone, then the possible cause of equipment seizure may be limescale on the casing.
The unit got stuck in the well while lifting
Often when lifting equipment from a well due to cable slack or cable slack, it is firmly stuck in the casing. In this case, the cable (cable) wraps around the body of the unit and does not allow it to move freely. The pump is “released” according to the following algorithm.
- Try lowering the machine to the bottom. After that, unwind the loop formed around the apparatus by slowly swinging the cable in different directions with simultaneous pulling of the cable (cable).
- While lifting the unit do not forget to tighten all the elements connected to the pump synchronously: hose, cable and cable.
- Fix all items with hose clamps every meter.
- Lift equipment slowly and with utmost care.
The pump fell into the well
If, when removing the unit, it fell into the well, then it is not always possible to get it. But try, of course, worth it.
- Make from steel wire hook "cat".
- Weld the steel wire to the hook. Its length should be equal to the depth of the well plus another 50 cm.
- Lower the hook into the hole and, when it reaches the fallen pump, start rotating the wire to try to hook the hose.
- If you hook up the hose, try to slowly and gently pull the machine out of the well. To retrieve it, you can use a winch or other lifting equipment.
When a pump cannot be removed, it can be left in the well, provided that it does not interfere with its filling. Sometimes non-removable aggregate destroy using zhelonka (see picture below)
The unit is broken into small pieces and either removed in parts or left in the well.
You can also call the drillers, who with the help of a special drill will make the well again suitable for use. You should know that this operation is not cheap, but it will be much cheaper than the cost of drilling and setting up a new well.In addition, after cleaning the well, it will be necessary to replace the submersible pump with a new one.
Rules for installing a new pump
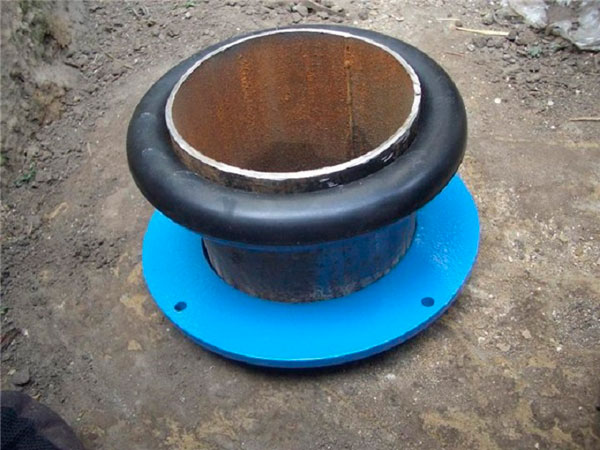
Before installing the pump into the well with your own hands, it is necessary to prepare the casing.
- Cut the top of the casing with a grinder. The pipe should protrude above the ground about 20 cm.
- Slide the bottom of the cap over the casing, then tuck the O-ring onto it.
Next, you need to prepare the unit itself. Check the pump for operationby dropping it into a container of water.
It is important to know that it is prohibited to check the equipment “for dry”, that is, without immersion in water. Even at short-term inclusion it will fail.
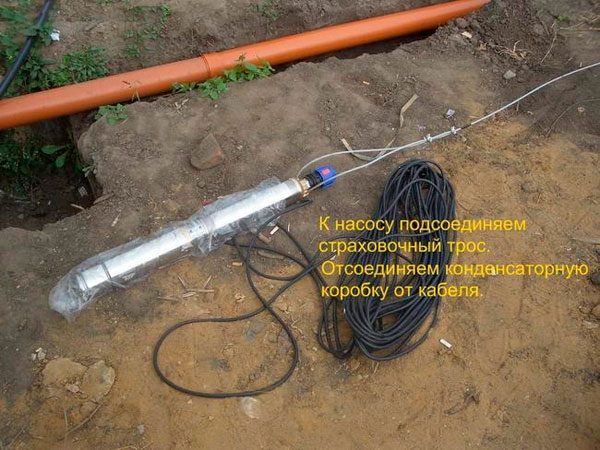
Then connect cable to unit. It is needed in order to lower the device into the well or, if necessary, to get the pump out of it. Usually use a cable made of stainless steel or coated with plastic. Also as a safety cable, you can use a nylon cord. The tensile strength of the cable must be at least 5 times the weight of the equipment. The cable is inserted into special holes located in the upper part of the unit, after which the loop is fixed with metal clips.
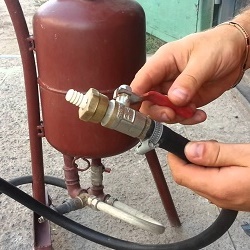
Connect the pressure pipe to the unit with a fitting.
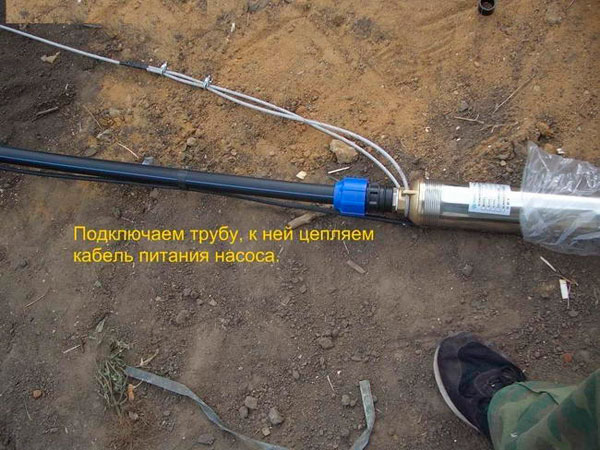
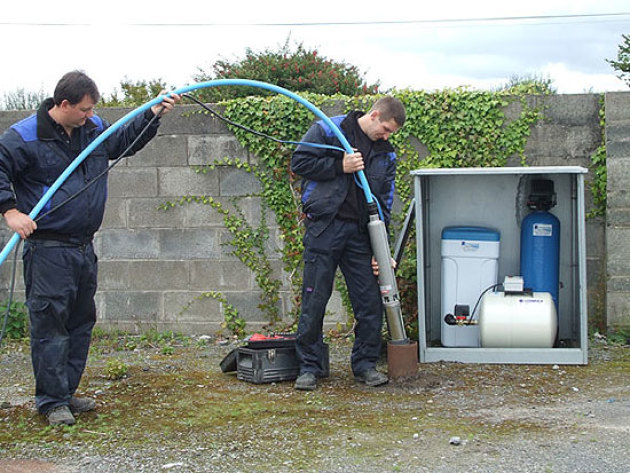
Tie the power cord and cable to the pressure pipe (without tension) with plastic clips. Next, begin to lower the unit into the well, holding it by the safety cable. This operation will require the help of at least 1 person.
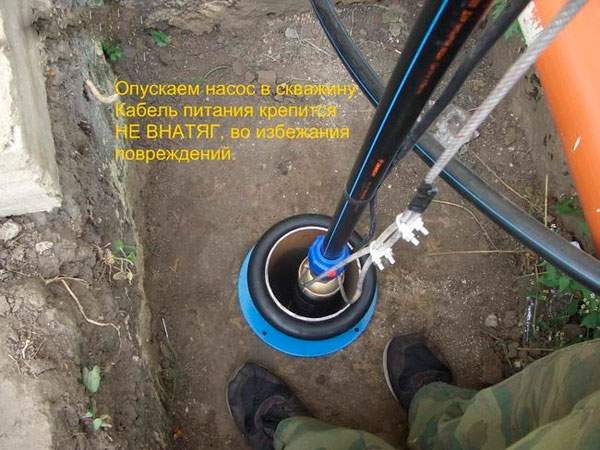
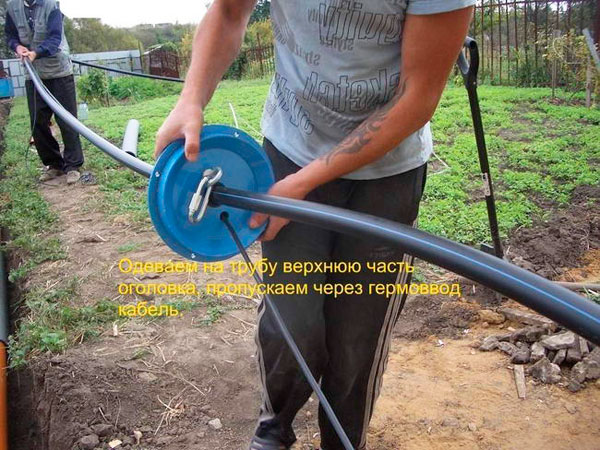
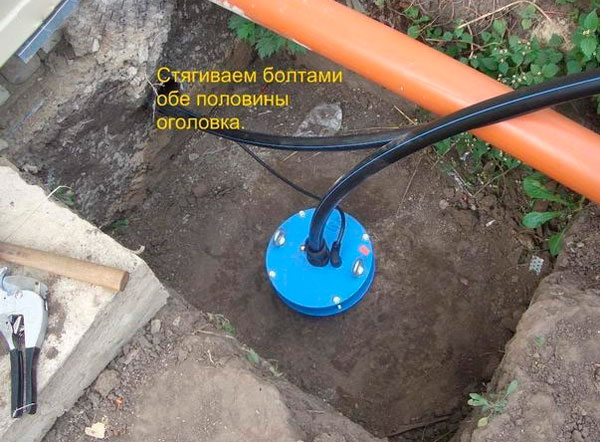
After the equipment is submerged to the required depth (it is calculated in advance), you should put the upper part of the top of the casing on the casing, having previously connected a safety cable to it.
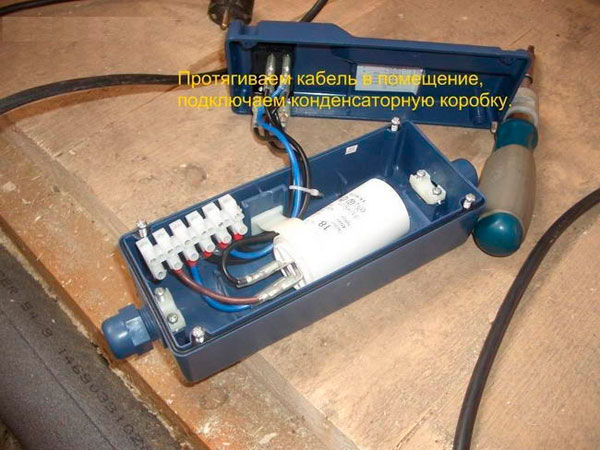
Connect to the electrical cable from the unit condenser box.
Turn on the unit and check its operation for 30 minutes. At the very beginning of the launch of the apparatus, the water may be turbid. But after a short time, it should go clean. If when testing the pump failures were not found, then you can continue the installation of the unit.
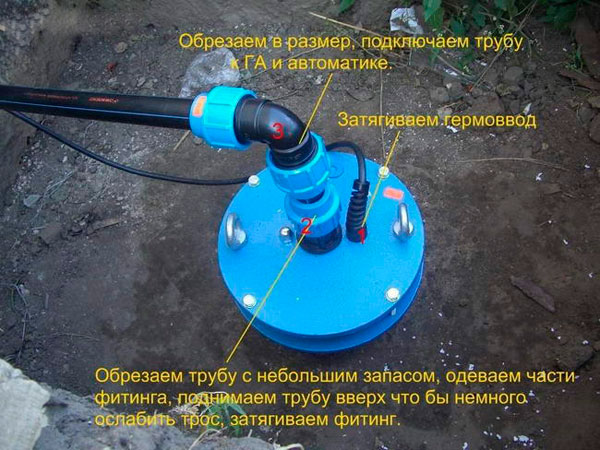
Cut the pressure pipe leaving the wellhead to the required size (with a small margin), put the fitting on it and connect it to the surface (underground) pipeline system. The final stage of the installation of the device is seal the power cable in the sealed cable.
This completes the installation of the depth unit. Further, it is possible to connect a storage tank or a hydraulic accumulator with a pressure switch to the pipeline. In the latter case, you get a full pumping station, which will be able to ensure uninterrupted supply of water to the water supply system of private housing.
/rating_off.png)