How to make the most air wash
Today, more and more people are thinking about the level of humidity and clean air in an apartment or house. And this is right, because air is life, and the health of all households, especially young children, depends on its condition. The appliance stores have a huge selection. devices for humidification and purification of air from dust (the so-called air washers), and they differ in the applied technology. But, since the price for them is quite high, the craftsmen did not leave this topic unattended and came up with simple tools that you can make with your own hands at home with minimal financial costs.
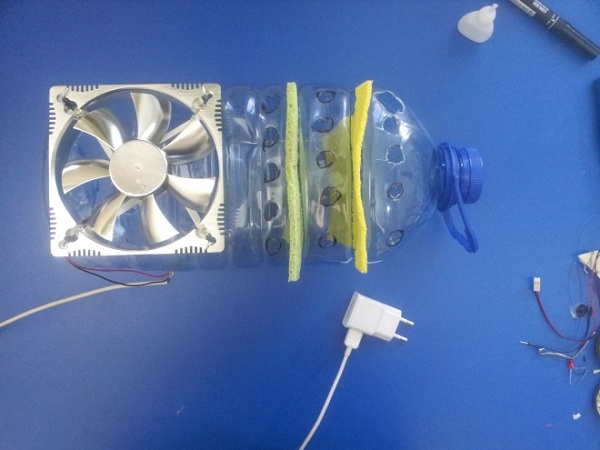
Simple apparatus of PET capacity and fan
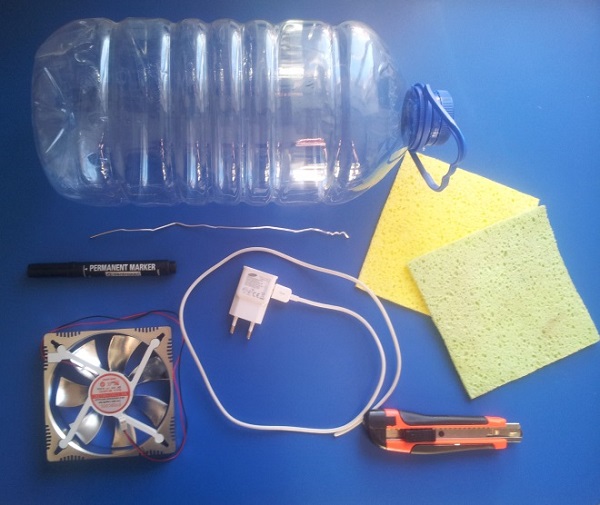
From PET capacity of 5-6 liters can be built simple homemade humidifierwhich will also have a cleansing function. You will need to prepare the following components of the future apparatus:
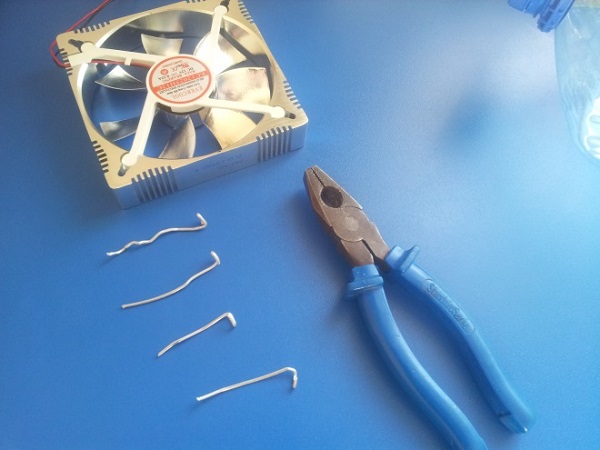
- computer fan;
- charging from the phone (if the cooler speed is not enough, buy a 12V power supply);
- stationery knife;
- marker and moisture absorbing wipes (microfiber can).
When all the components are ready, you can begin to assemble the appliance.
- On the side of the bottle, make a markup for the cooler using a marker.
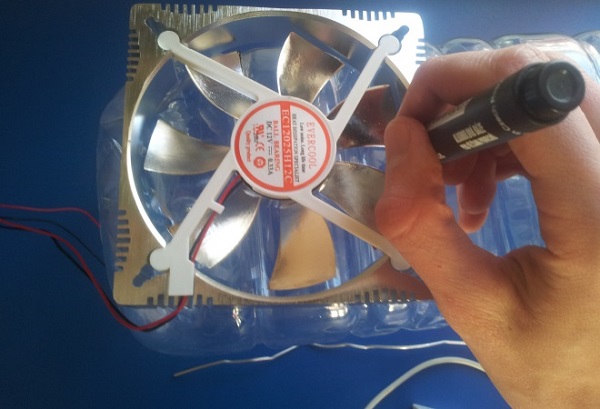

- Cut with a stationery knife a large hole for the fan.
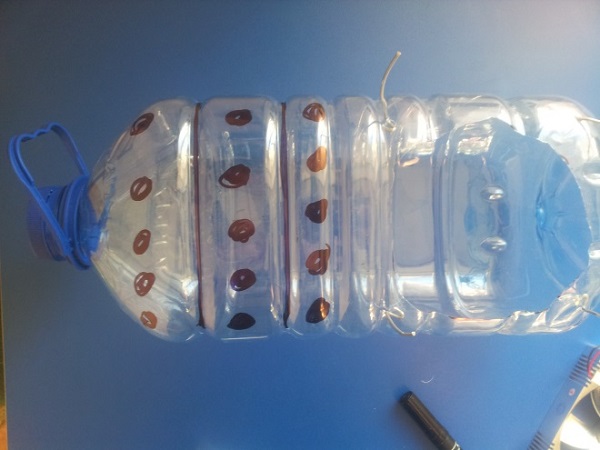
- Mark up under the small holes for the release of humidified air and markings for napkins that will be inserted into the slots across the tank.
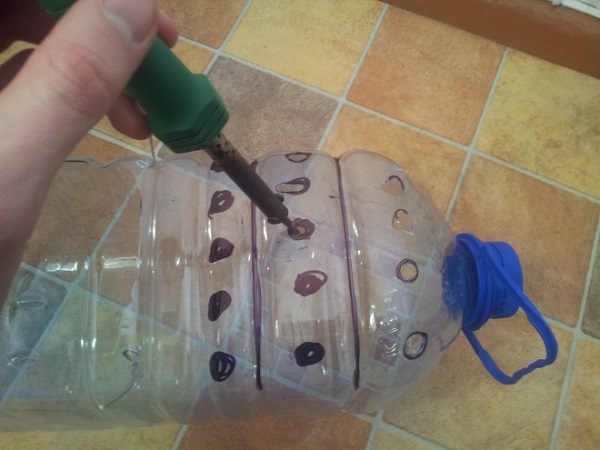
- Using a soldering iron, burn through the ventilation openings and wipe slots. This should be done in a well-ventilated area or on the street, because during the combustion of PET very toxic gases are released.
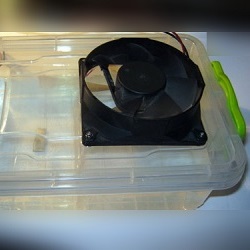
- The cooler can be fixed with the help of a wire with a hook (loop) from below. The wire is inserted into the previously marked and burned holes at the bottom, inserted through the mounting holes of the cooler and bent.
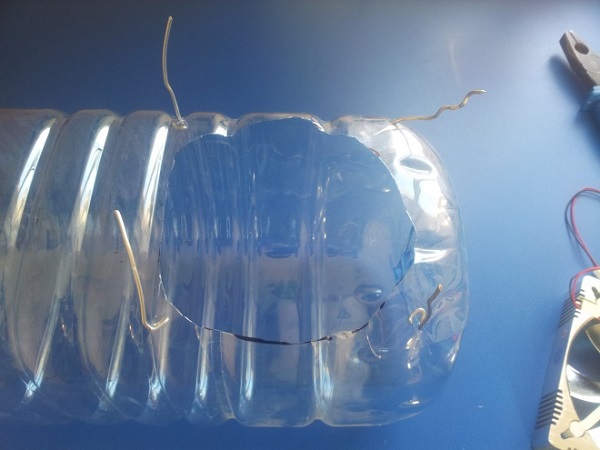
- Next, install the cooler and secure it with wire.
- Connect the power supply to the fan.
- On the sides of the napkins should make a small cut, so that air can pass between them.
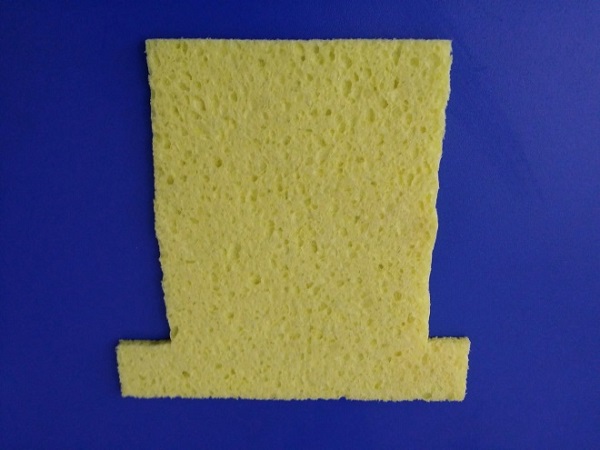
- Fill the container with water (half) and put napkins in it, as in the following photo.
As the liquid evaporates, it should be poured, but be sure to change daily, washing the napkins and the container with running water. You can use the device without wipes, but with their use significantly increases the area of evaporation of moisture. In addition, the dust particles in the air stream will partially stick to the inserts, and the device can work as a cleaner.
For better air purification, you can additionally lay on napkins carbon filterwhich is sold in home appliances stores.
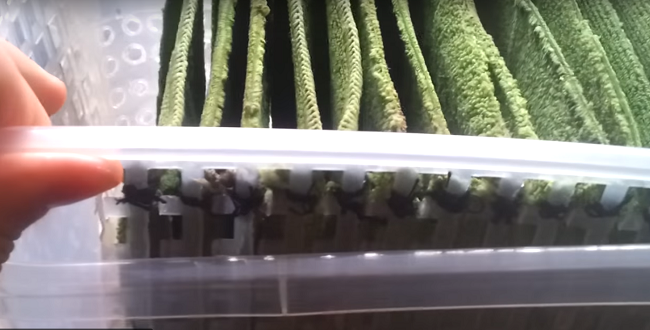
By the same principle, you can make the unit more attractive in appearance if you use a plastic container for 10 liters. Only exhaust vents are drilled on the sides of the container, and microfiber (you can use regular fabric) is hung on metal or plastic needles (wire) or taut fishing line. .
To reduce the noise of the cooler, you can put foam rubber under it (with a cut out hole). But better choose a fan either with bearings or hydrodynamic, with low noise.
To prevent various bacteria from forming in the water, some users recommend adding several manganese crystals to it (the solution should turn out with a faint pink tint).
From CDs
The photo below shows how air wash It looks from the inside in the factory version.

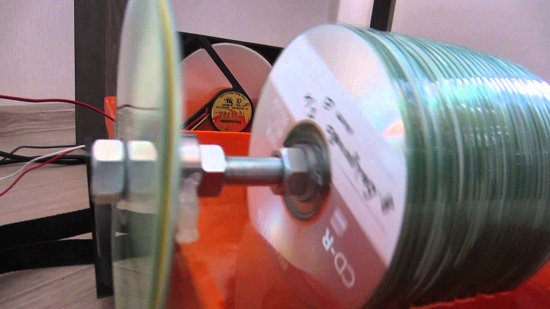
Cleaning and humidification occurs due to the use in the unit of a large number of plastic discs, which increases the area of evaporation of moisture and the area of contact with the air flow. Due to this, the unit works as an aqueous air purifier, since most of the dust is glued to the discs and washed into the water in the pan. A similar design can be done at home from a CD.
It will take a lot of compact discs - from 50 to 80 pieces, depending on the size of the water tank.
You also need to choose the axis on which these discs will be strung. There are plenty of options for what this shaft is made of: it can be a plastic tube of a suitable diameter or a metal tube, but the simplest solution you can buy on the market isis a stud with a diameter of 10 mm threaded.
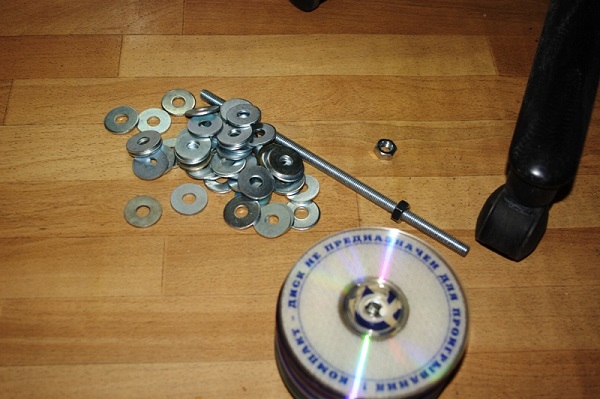
You will also need to purchase the required number of washers (you can make yourself out of a piece of plastic), 2 bearings with a suitable diameter of the seat and a nut.
Next, follow the algorithm of the work.
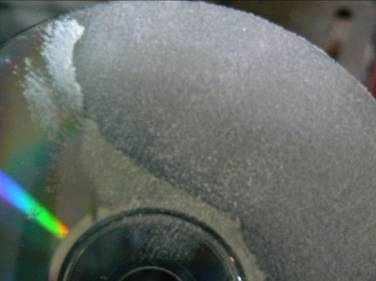
- Using sandpaper, grinding wheel or drill bit Remove the top (shiny) layer from the discs so that they become rough and better moistened with water.
- Put the discs on the stud, laying the washers between them.
- Secure the discs at the edges of the shaft with the nuts. If you use a plastic tube, the discs are fixed with a plastic washer and glue gun.
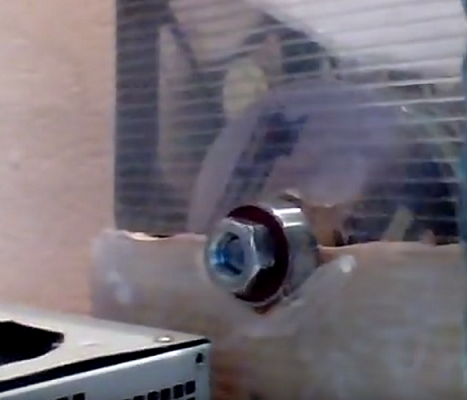
- Put the bearings on the ends of the shaft and fasten them with nuts (in the case of a plastic axle, they are glued with a glue gun).
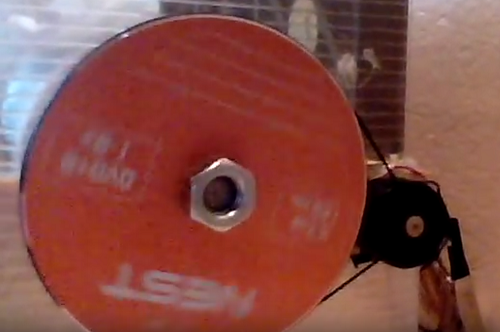
- On one side of the shaft it is necessary to fasten a pulley. It can be made of three disks glued together, the central one of which has a diameter 2-3 mm less than the lateral ones. On this pulley will be dressed belt of gum for money.
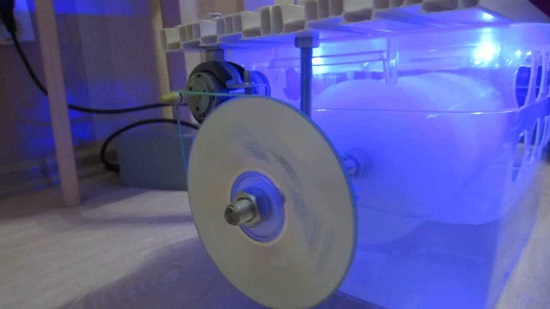
But before you assemble the shaft with the discs, you need to decide on the capacity on which the whole structure will be installed.The length of the shaft should be such that the bearings extend beyond the container and are installed on the corners glued to it, as in the following figure.
It is also necessary to calculate the place on the shaft where the pulley will be fixed. It must be strictly opposite the motor pulley so that the belt does not fly off.

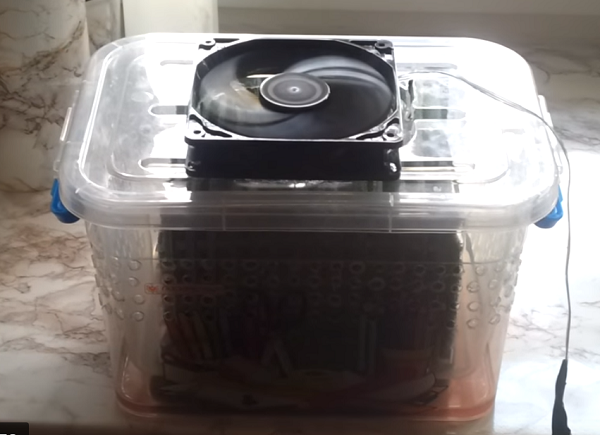
As the case of the sink, you can use a plastic container with a lid in which the cooler is mounted from the computer.
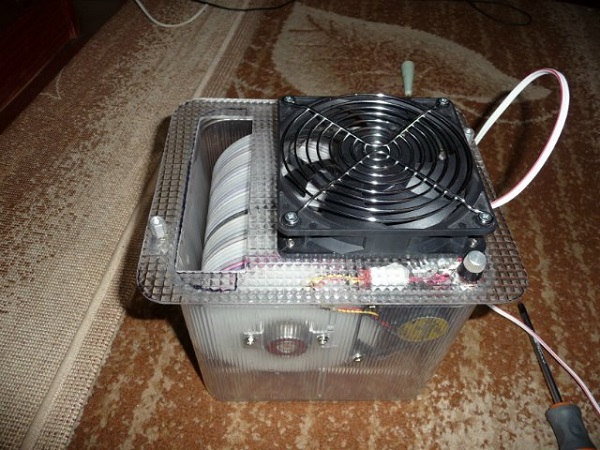
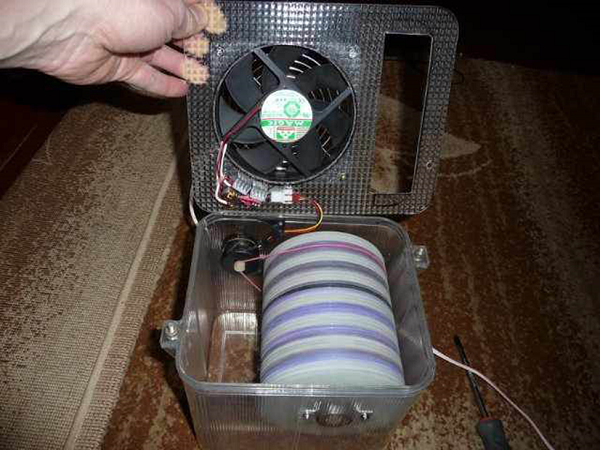
To connect the fan to the network, if you are not strong in electronic circuits, you can use any ready-made 12V power supply.
To change the speed of the cooler, some “creators” of sinks and humidifiers use a TV power supply unit with a voltage regulator.
Rules of operation of such equipment
Do not forget that during operation of the device, either distilled water or liquid passed through a good water filter to remove salts should be poured into the container. In addition, no matter what humidifier you have made (or bought), with the exception of apparatuses, where the formation of steam occurs as a result of boiling liquid, you should be aware of such a danger as legionellosis.This is an acute infectious disease, which in its symptoms at first resembles the flu or ARVI, which causes severe pneumonia - pneumonia, also called “legionnaires disease”. Such pneumonia often has a severe and malignant course, and can be fatal.
This disease is caused by the bacterium Legionella, which multiplies very well in a warm and humid environment (water). Infection can occur:
- if a person inhales air from an unpurified air conditioner (meaning centralized systems with air ducts in which moisture accumulates),
- breathes moist air in the showers,
- is in the room where humidifier works or air washing, in which water has not been changed for a long time and the tank for it has not been disinfected,
- inhales aerosol from water, being near a fountain, etc.
Therefore, you need to change the water in your device every day, and rinse the container well under running water. In addition, 1-2 times a week, the tank should be treated with disinfectant solutions. Do not forget to rinse the container thoroughly after processing so as not to inhale the vapors of the disinfectant solution during operation.Read more about the nuances of operation of such devices can be read. here.
/rating_on.png)