Independent creation of an infrared heater
Due to the constant increase in the cost of heating homes, people are forced to look for an alternative to expensive heating devices. An excellent option are infrared heatersthat have gained immense popularity due to their economy. After reading this article, each person will be able to figure out how to make an infrared heater with his own hands.
In order to make room heating cheaper, domestic craftsmen learned how to use infrared rays in their own devices. There are many options for the design of the heater using IR radiation. Consider a few of them.
Content
The main elements and principle of operation of IR heaters
Homemade heater has a significant advantage over the store - it will cost you much cheaper. Before you start making it, you should understand the basic elements necessary for work. And the infrared heater consists of the following parts:
- heating element (heater), emitter;
- heat resistant casing;
- reflective element (reflector);
- cord with 12 V plug for connection to the socket.
Almost all IR heaters consist of such basic parts. The principle of operation of an infrared heater is as follows: the incoming electrical energy is converted to heat radiationwhich transfers heat to the environment.
The main feature of such devices is that the radiation heats not the air, but the objects (appearing on the way), and then from the objects the heat passes into the air space.
In order for the self-made scheme to function, a number of requirements must be met. First, be sure to prepare radiation source, which can be the following elements:
- incandescent lamps (halogen, carbon or quartz);
- special multi-layered panel.
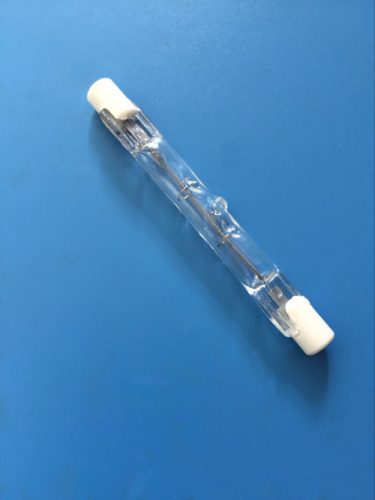
Panel heater is made as follows: between each layer is a thin metal filament that creates resistance to electrical current, resulting in heating to the required temperature. Heat rays coming out of the panel produce heating of the room.
Another important part for the assembly of the heater with his own hands is reflector. For its manufacture will need polished steel or aluminum. The main function of the reflector is the formation of heat flow and its direction to a given heating zone. Thanks to him, it is possible to form certain active heating zones.

The self-made infrared heater will be cheaper and will give invaluable experience to the beginning master. Below are instructions for making various types of appliances in the home.
Manufacturing infrared heater from the old reflector
For the manufacture of such a device will require the following materials:
- old reflector;
- a refractory dielectric (if it is absent, then a conventional plate of any diameter made of glazed ceramics will be suitable as a replacement);
- steel rod;
- nichrome thread.
Works must be performed in the following order:
- Initially, the old reflector should be cleaned of adhering dirt and dust.
- Inspect the power cord and plug for any mechanical damage, and also check the integrity of the connection terminals with the helix.
- Measure the length of the old spiral (wound on a ceramic body) and take a steel pin equal in length.
- It is necessary to wind a nichrome thread with a spacing between the coils of 2 mm onto the rod.
- Upon completion of the winding, you should remove the spiral from the base and lay it (the main thing is that the coils do not touch each other) on the dielectric.
- At the ends of the helix, you must connect the power of the electric current from the outlet, and check for operability.
- The heated coil of nichrome filament should be placed in a recess in the ceramic cone of the future heater and connect to the power terminals.
These are the actions that must be carried out to make your version of the IR heater from an old Soviet reflector.
Reflective Heater
This method is one of the easiest and cheapest. To make the heater, you will need several sheets of foil. It looks like this: behind the central heating radiator, a foil is attached, thereby reflecting heat from the inside of the battery, and without it everything is absorbed by the wall.
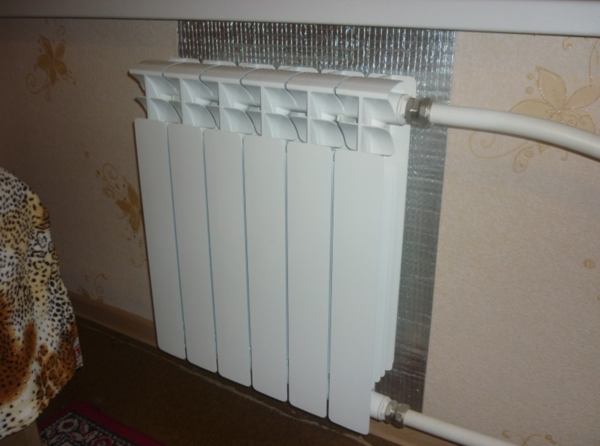
This modification allows to increase the heat transfer by about 10-20%, and the cost required for this method will be mere pennies, because you only need to buy foil and glue.
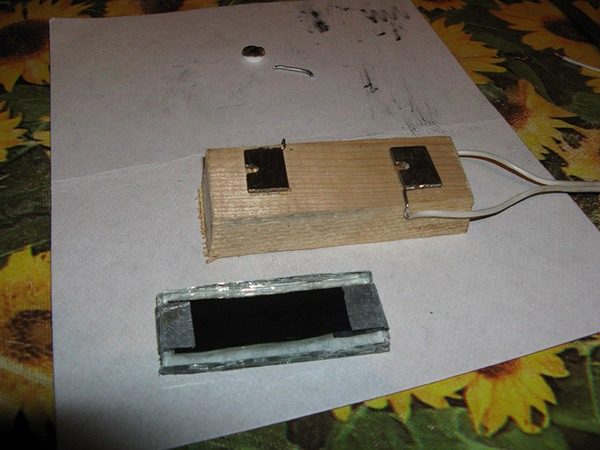
IR heater made of plastic and graphite glue
To make such a heater will need the following materials:
- two sheets of laminated plastic, whose dimensions should be 1 * 2 m;
- graphite powder;
- epoxy adhesive;
- wooden frame;
- plug the plug into a 12 volt outlet.
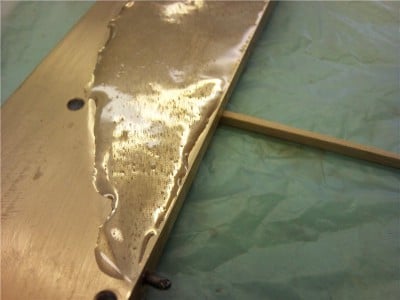
The first step is to make adhesive solutionThe basis of which will be a small amount of graphite powder and epoxy glue, in a 1: 1 ratio. After preparation, it should be applied in a zigzag motion to the plastic sheet, on the sidewhere the surface is rougher. The applied graphite treatment serves as a conductor with high resistance.
Next, you need to glue these two plastic blanks together (by the sides where the graphite solution is applied) with epoxy glue. The resulting scheme is placed in a wooden frame to give it rigidity and static. Copper terminals are attached to the graphite mass from different sides of the structure. After the solution has dried completely, the wiring cord is connected to the terminals and the device can be plugged into an electrical network.
Safety
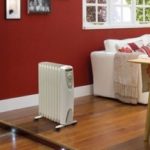
During the manufacturing work should be careful and cautious, because you are dealing with electrical appliances. If suddenly a home-made heater fails, it will not be difficult to repair it, as it is made with your own hands, and you understand its structure. You may also find useful information on how make an oil heater do it yourself.
/rating_off.png)