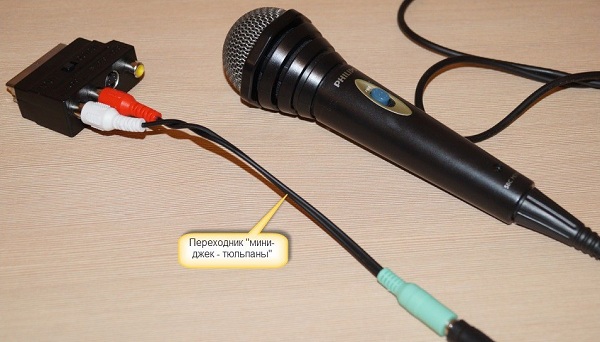
Connecting a microphone to a home theater
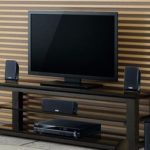
Many home theaters have karaoke function. It is useful to those who love to sing to your favorite tunes at home. You can invite friends, relatives and arrange an unforgettable concert. To do this, a little - connect the microphone to your home theater. But connecting the device is not an easy task, since it is necessary to create high-quality audio output without distortion and noise.
Content
What is needed
To properly connect, you must have 4 components:
- home theater with karaoke function support;
- microphone;
- cable;
- the presence of a MIC connector on the central unit of the speaker system.
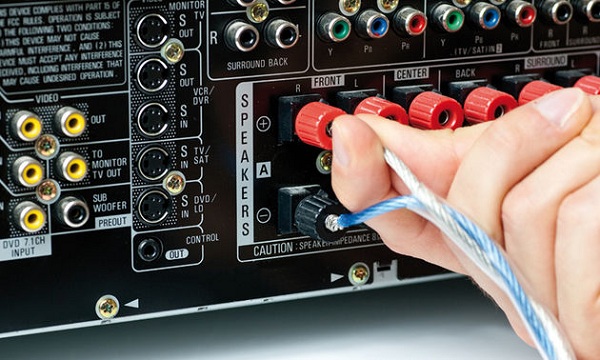
On the front or rear panel is 3.5 mm TRS connector (in home theaters it is referred to as MIC). Nest can be located on some models on the side.If two devices can be connected, MIC 1 and MIC 2 are written on the connectors. A plug is connected to the TRS jack.
The main stages of connection and sound settings
- Reduce the volume to the minimum level to avoid sound distortion.
- Connect the device plug to the connector
- Use the MIC VOL button to adjust the volume.
- Set the device echo level by pressing the ECHO button.
- Set the pitch of your voice.
- With the VOCAL button, you can change the audio channel to turn off the vocals.
- Check on the AV-processor (central unit) in the main menu the connection of the microphone.
If extraneous sounds (howling or screeching) are heard from the speakers, move away from the device or turn down the volume.
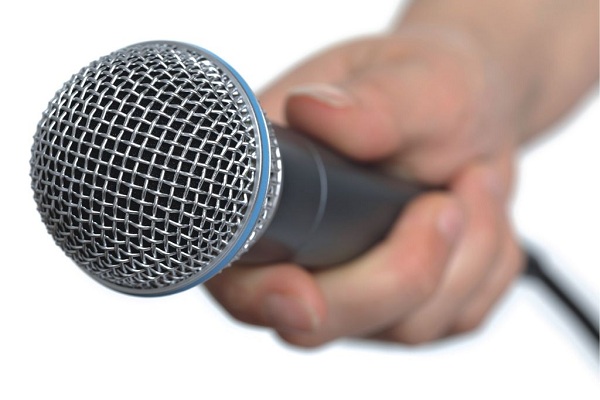
Microphone selection is an important component of high-quality sound.
Consider the most important points and criteria for selecting a device to connect to acoustic system.
- For home karaoke choose dynamic microphone - it removes extraneous noise and is convenient to use.
- For solo singing, a unidirectional instrument deserves attention; an omnidirectional device is intended for choral performance.
- For a home, a wired device with a cord about 3 meters long is enough.
- Notice whether there is additional effects at the device.
- Choose semi-professional models of well-known companies (Sennheiser, AKG, Shure, etc.) with a capacity of 72 to 80 decibels.
Important! Before connecting the microphone, make sure that all devices are disconnected from the power outlet.

Safety
Microphone kits are designed in such a way that their use is safe for human health. However, if improperly connected, the risk of electric shock or short circuit increases, which will lead to breakage and, of course, home theater repair. To avoid unpleasant consequences, follow the basic terms of use device.
Before connecting the microphone to your home theater, read the safety instructions.
- Ensure that the power cord and connectors are not damaged.
- Do not expose the device to heat, water or heat. If liquid gets on the surface, immediately turn it off.
- Do not insert third-party items into the connectors.
- Make sure that the voltage of the power source and the connected device.
- Do not sharply pull the plug out of the connector.
- Watch the wires - they should not be twisted.
- Do not drop the microphone on the floor or subject it to mechanical shock.
- Do not repair or disassemble the device yourself.
When buying a home theater, choose a speaker system with karaoke function and connect a microphone according to the instructions. And in the choice of technology will help you top home cinema rating.
/rating_off.png)