We disassemble the vacuum cleaner from Samsung do it yourself
How to disassemble a Samsung vacuum cleaner with their own hands, not many people know. Meanwhile, this is not very complex. Having a special tool and the ability to handle it is often a sufficient minimum for success.
Content
Main malfunctions
There are not many of them. As a rule, they are quite trivial, but if they do occur, it is necessary to disassemble the vacuum cleaner. Without it, can not do and in the diagnosis of faults. The main reasons for the breakdown of the vacuum cleaner are the following:
- failure of bearings;
- motor brush wear;
- engine failure;
- faults in the electronic system.
Along with the above, there may be other deviations in the work, but, as they say, they lie on the surface. For example, the fuse burned out. In this case, it is enough to replace it with a new one, and the vacuum cleaner will work again.
Preparing for disassembly
Before proceeding with the repair, it is necessary to prepare everything for this. First of all, you need a toolkit. Nothing unusual in it is not included: a set of screwdrivers, pliers, a set of heads, an awl, a small hammer - this will be enough. Additionally, you need to have a liquid WD-40, lubricant EP-2 or Litol -24, a soldering iron and clean rags. For paging electric circuits you will need an ordinary tester.
Those who are engaged in disassembly for the first time, it is desirable to have a camera with you - to fix the sequence of disassembly.
Stages of disassembly and repair
Disassemble the vacuum cleaner is not so difficult as it may seem at first glance. First you need to unscrew the mounting bolts from the housing.
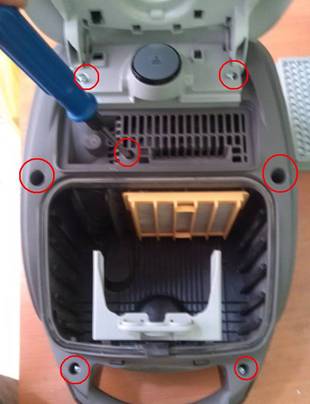
After that, it will be possible to remove the cover. Having disconnected the wires from the electronic board, the controls carefully separate the case. At this, the main part of the disassembly work can be considered complete. Next, carefully pull out the engine and gently remove it from the plastic case in which it is placed.
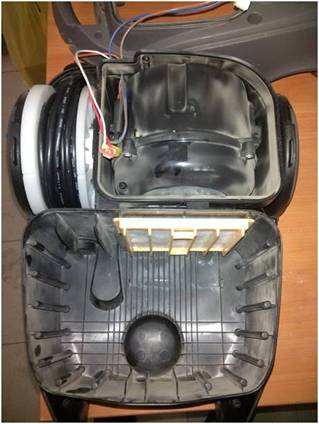
All work must be carried out without the use of brute force, so as not to break the fragile plastic parts.
Engine disassembly
Since the main part of the malfunctions of a vacuum cleaner arises due to the engine, it is often necessary to disassemble it for repair.
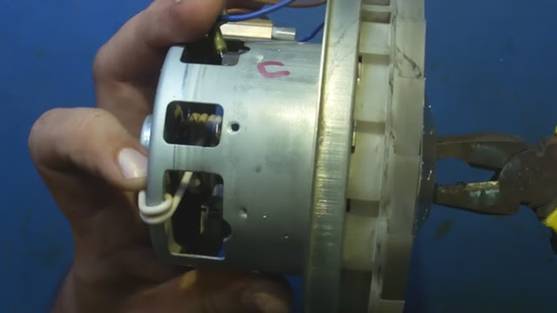
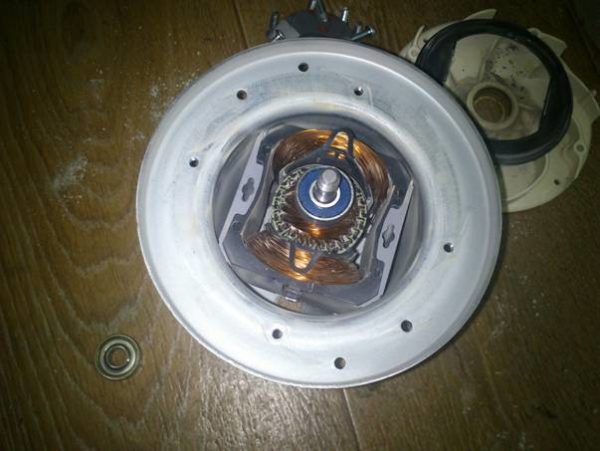
This process is not difficult and looks like this. Use a thin screwdriver to carefully remove the impeller cover. As a result, access to the nut of its fastening opens. Unscrew this nut to remove the engine brushes and loosen the housing clamping screws. It remains to carefully remove the anchor, and you can begin to remove the bearings. As a result of the work done in the workplace, you should get something like this (pictured).
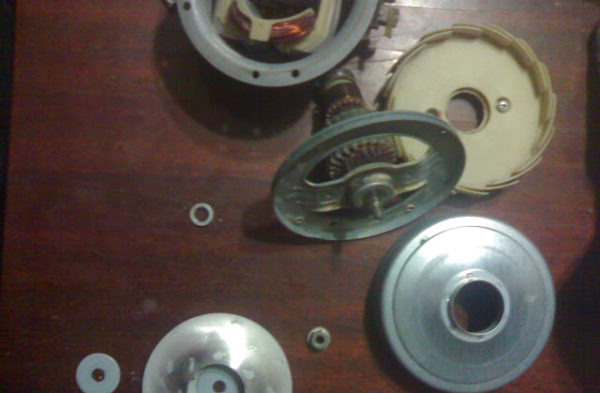
For the removal of bearings, an accessible tool is usually enough, but sometimes a special puller is required. After disassembly, all parts are thoroughly cleaned from dust and dirt. Special attention is paid to the bearing surfaces of the bearings and the engine manifold.
The impeller fastening nut has a left-hand thread. Exceptions are found, but very rarely.
Trouble-shooting
Sometimes it happens that the vacuum cleaner suddenly stops performing its main function. It seems everything works, but the dust is not sucked. In this case, first of all, you need to get and inspect the filters. If filters are clogged with dust, they need to to clear. In case the cleaning does not work, the filters must be replaced. Before replacing you need to turn on the vacuum cleaner without filters, and make sure that the suction power is at the proper level. If it is still small, you will have to examine the impeller. It may happen that it is completely clogged with debris.
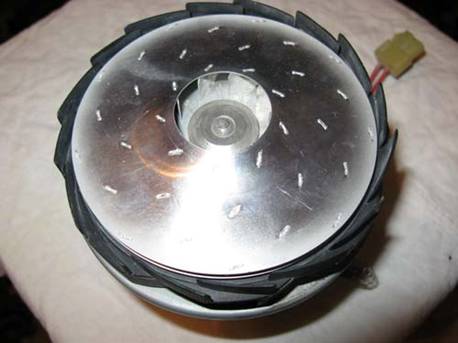
At the same time, check the condition of the brushes and the engine manifold. Worn brushes need to be replaced and the collector cleaned. The tightness of the hoses may also be affected, especially in the places where they are attached to the nozzles. At this, too, must pay attention.
Council The collector can be very carefully cleaned with fine sandpaper No. 0 or No. 00.
The following common malfunction is - the vacuum cleaner does not turn on. There are three main reasons for this:
- blown fuse;
- break in the network wire;
- malfunction in the switch.
About the fuse already mentioned, but to check the remaining faults will need an ordinary tester. With it, you can easily ring the wires and find the place of the cliff. Further the soldering iron is connected to the case and the malfunction is eliminated.
Before you start searching for a broken wire, you need to make surethat the temperature sensor did not work in the vacuum cleaner and did not forcibly de-energize the engine.
This happens in the case of prolonged operation of the vacuum cleaner. Repair is not required here. After cooling, the vacuum cleaner will be restored automatically.
If during operation the vacuum cleaner vibrating or screeching, gnash, it means that there is a problem with the bearings. They need to lubricate, and it is best to replace immediately. The presence of sharp sounds in the bearing assembly indicates the development of its motor potential.
And the last trouble - power lead is not drawn. Repair in this case is also not very difficult. Here the problem may be most likely in the spring. You need to get to the accessory drum and inspect it. Possible weakening of the spring, or vice versa, its tightening. If everything is normal here, you will have to remove the drum and unwind the wire from it (or vice versa, reel). This adjusts the tension force of the drum.
During the inspection, it is necessary to check the performance of the pressure roller. Vacuum cleaners of any brand are not insured against such a malfunction when the engine speed is no longer regulated. In this case, the problem must be sought. in the electronic control unit. Repairing it yourself is simply not recommended.
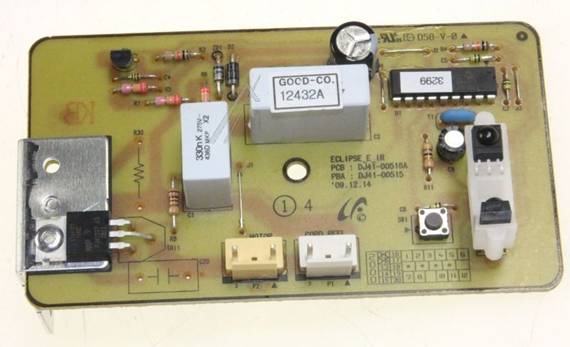
The process of disassembling and repairing a Samsung vacuum cleaner is not a big deal. It can be done independently with minimal knowledge of electrical engineering and the ability to use a plumbing tool.

/rating_on.png)
/rating_off.png)


