How to troubleshoot the airbrush
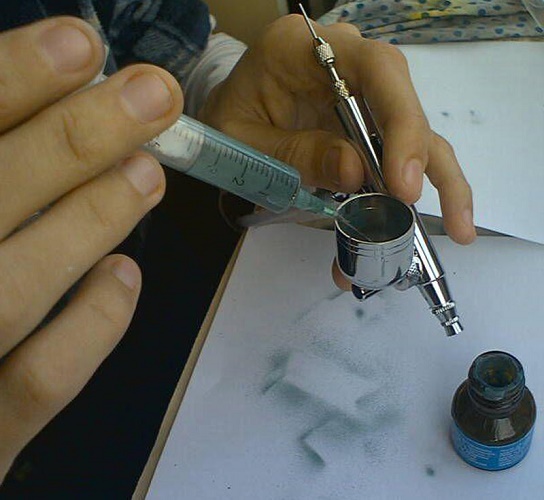
Airbrush is a very effective and convenient tool. It is suitable for painting large enough areas, as well as for artwork with the application of very thin lines and the formation of halftone transitions. However, the airbrush malfunction is not just an ordinary nuisance. This is a chance to damage the components of the device during the repair, especially if it is carried out by an inexperienced person. To avoid unpleasant consequences, it is better to know exactly why the airbrush does not spray paint, or other abnormal behavior of the tool occurs.
Content
- 1 Airbrush does not spray paint
- 2 Airbrush spits paint or gurgles tank
- 3 The air continues to flow even after the trigger is released.
- 4 The torch is shifted from the central axis of the nozzle
- 5 The needle starts to walk hard
- 6 The paint flows behind the needle compactor and flows until the trigger
- 7 Conclusion
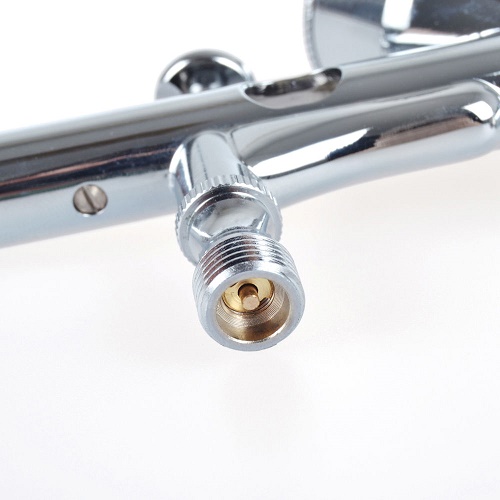
Airbrush does not spray paint
Most of the trouble for beginners who do not follow basic rules of care for such a delicate tool like an airbrush. They are pretty simple:
- it is necessary to fill only the paint recommended by the manufacturer of the airbrush texture into the tank;
- after completion of work, it is necessary to remove the paint residues from the tool;
- the device must be thoroughly flushed and purged;
- storage of unwashed tools is prohibited.
It is because of the violation of the rules of operation that there is a case when the air goes and the paint does not. This often happens in workshops where several people work with the tool. The tool is poorly rinsed or completely left with paint inside. In this case, sticking of the needle occurs. She is prevented from moving by the dried remnants of the working mixture.
To eliminate such a malfunction, airbrush repair will be required. The device must be carefully and carefully disassembled, it is extremely not recommended to apply excessive force, use pliers or a vice when working. All parts of the construction are washed and cleaned of paint residues. Especially carefully need to handle the needle.
Important! Bringing the tool to its original state should also be done very carefully. Some models of airbrushes have a nozzle design that can break if it is too tight. Therefore, the rule "do not exert excessive effort" is valid during assembly.
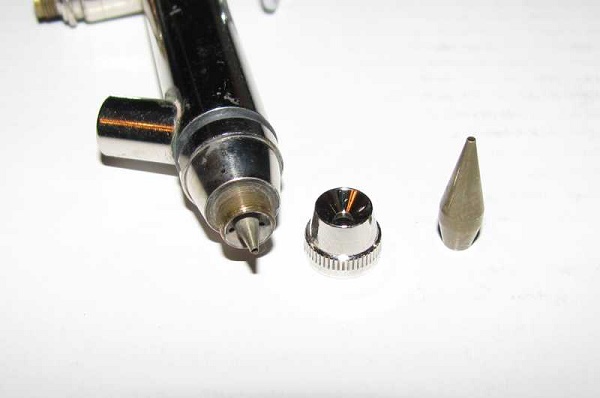
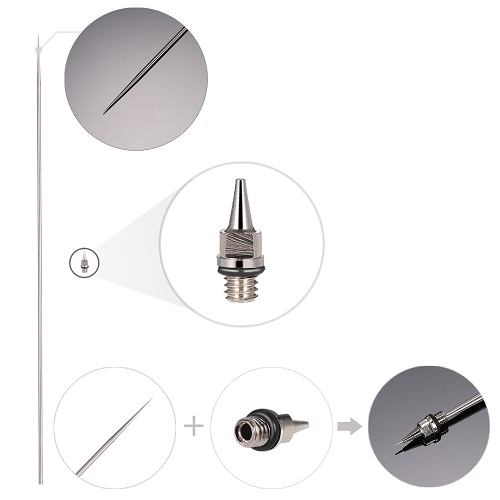
Another reason that there is no paint supply - incomplete nozzle and needle. For example, installed various parts of the sets. Most often this happens when the master is working on a new instrument and changes only the exit nozzle, unaware that it is complete only with a certain needle.
The last reason for the lack of paint supply - instrument malfunction. For example, the needle collet is not fixed or air from the compressor does not flow due to a malfunction of the valve or trigger block.
Airbrush spits paint or gurgles tank
Problems, when the airbrush is spat paint, or air gurgles in its tank, are always associated with wear or damage to the elements of the mixture supply circuit. May occur:
- violation of sealing or loose tightening of air, material nozzles;
- destruction of the material nozzle;
- air goes into the tank through the cracks in the walls of the material nozzle.
The last two cases are eliminated only buying a new component. The problem of sealing can occur not only due to the wear of the gaskets, but also insufficient tightening of the clamping devices or misalignment of the gasket. If the airbrush splashes paint, the first thing to do is to stop work and check the condition of the sealing connections. In the case where a seal failure occurs due to wear sealswill have to buy new ones.
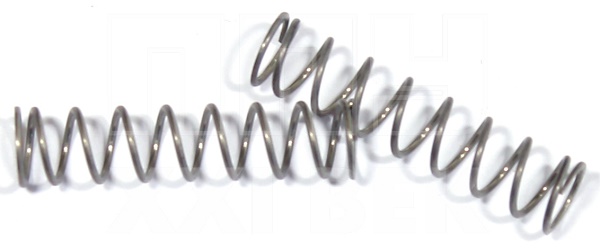
The air continues to flow even after the trigger is released.
Problems of sticking of the spring of the check valve or its slow travel occur in the following cases:
- penetration of paint particles into the air valve design;
- clogging and oxidation of the spring, as well as related parts.
Ink is most often the result. negligence master. For example, some do not consider it necessary to install a protective cover on the tank. As a result, in certain positions of the airbrush, the working mixture spills, getting not only on the hands, but also in the trigger zone, where it tends to dry out and block the movement of the stem spring.
The second reason for abnormal tool behavior is poor air. This phenomenon is present if the master uses a powerful compressor. When working, it heats up, hot air enters the airbrush. When it gets on the cold metal parts of the air valve, condensate forms. This can cause corrosion, changes in structural gaps and other negative effects.
Important! The cleaning and water retention system is an extremely desirable part of the equipment of any airbrush. When using compressors of different types in the air may be moisture, oil, rust particles (from the receiver), burning.Therefore, filtering at the outlet of the supercharger and moisture retention at the airbrush inlet will avoid damage to the tool and changes in paint characteristics.
All problems with the air valve are solved by its disassembly and cleaning.. If in the course of these procedures elements damaged by corrosion are found, it is desirable to treat them with a rust inhibitor. If this is not possible, or such an operation will affect the geometric, physical characteristics of the parts - they are replaced.
The torch is shifted from the central axis of the nozzle
Another consequence of the rough handling of the elements of the airbrush design is the knocking down of the torch centering. In this case, the reason lies in the needle. Most often, the spraying alignment is lost due to damage to its tip. This can happen:
- as a result of the fall of the tool;
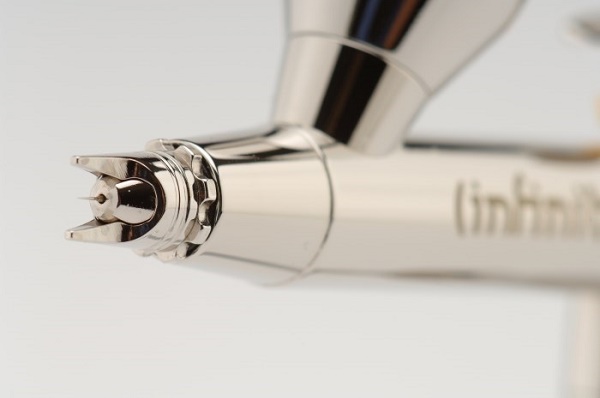
- due to the touch of the painted surface, when drawing thin lines without a protective tool crown;
- when cleaning parts with excessive effort.
In some airbrush models, especially in the budget segment, the needle is made from enough soft alloys. When washing the tool and then wiping the parts, it is easy to bend it.
To prevent damage is quite simple. To do this, you need to clean it carefully, using a good solvent, leading the fabric from the blunt end to the sharp one, since the reverse movement can damage the tip of the part.
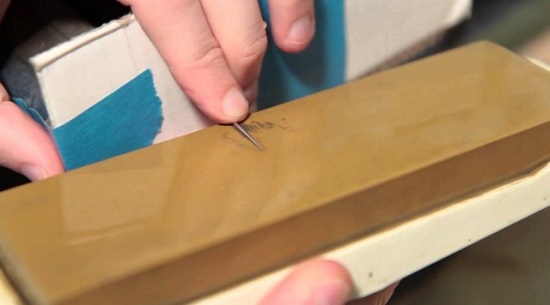
Not deformed needle, knocking the centering, is likely to be repaired. To do this, carefully examine its tip. If it is damaged - fine sanding is performed. For best results, it is recommended polish metal with GOI paste or other small abrasive. When carrying out processing it is impossible to make efforts capable of bending the needle.
The needle starts to walk hard
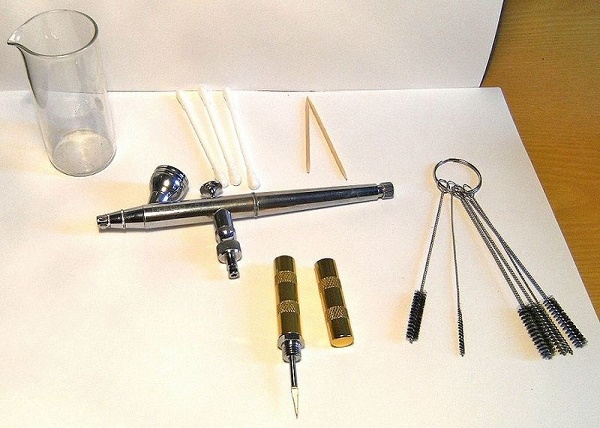
Hard needle travel is only associated with blocking the airbrush channel. Most often this happens when the tool is poorly cared for. To clean the canal, it is worth using special brushes if the model of airbrush is equipped with them. Or flush the canal with a tool recommended by the tool manufacturer. The needle must be wiped with a cotton pad dipped in a flushing compound, moving only in the direction of the sharp tip.
The paint flows behind the needle compactor and flows until the trigger
The reason for the abnormal occurrence is in instrument leakage. To eliminate the trouble, you should:
- check the condition of the sealing elements in the needle unit;
- check the condition of the pinch sleeve of the needle block.
Airbrush gaskets wear when working with enamels due to the aggressive action of the working mixture. They must be periodically changed. If the needle bushing is not tight enough, it should be tightened. To do this, use only the complete fixtures provided by the manufacturer of the airbrush. Adjustment can also be made with a special tool for working with watch movements.It is prohibited to use fine-nose pliers, pliers or other clamps that can deform the sleeve.
Conclusion
Most cases of abnormal behavior or poor functioning of the airbrush are directly related to the failure to follow simple rules for caring for the tool. It should be thoroughly cleaned of paint after work, rinsed, blown, dried and stored in a place without dust, excessive moisture. For any operations, follow the instructions of the instrument manufacturer.
Despite the fact that most problems can be fixed with simple repairs, you should not overestimate your abilities. All work must be carried out carefully and carefully. And if there is the slightest doubt about one’s own competence, in order to avoid damage to structural elements and material waste, it is recommended to apply for repair of the airbrush to specialized workshops.
/rating_off.png)


