How to make a spray gun
Often, home craftsmen have a situation when they urgently need to paint any part or surface, but they don’t have an airbrush on hand, and there’s no point in buying it for one-time work. In this case, the only correct solution is to make a spray gun with your own hands.
Content
The simplest version of the aerosol can
The simplest paint sprayer can be done at home in just a few minutes. from aerosol can, plastic bottle and car nipple (with nut). The manufacturing process of the spray is as follows.
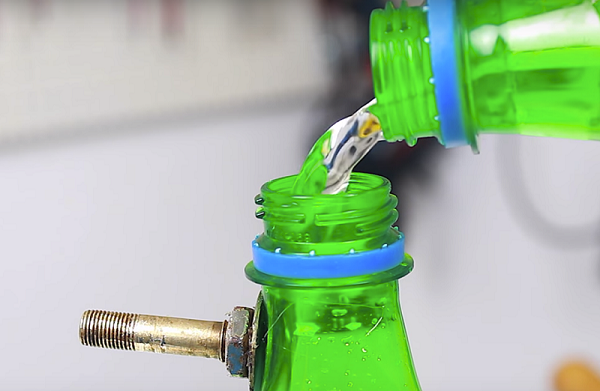
- Drill a hole in the neck of the plastic bottle corresponding to the nipple diameter.
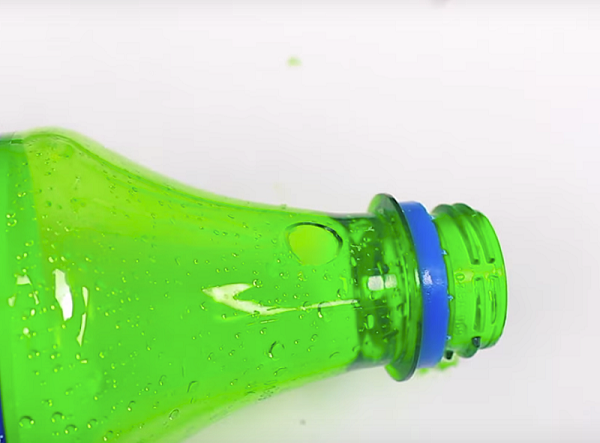
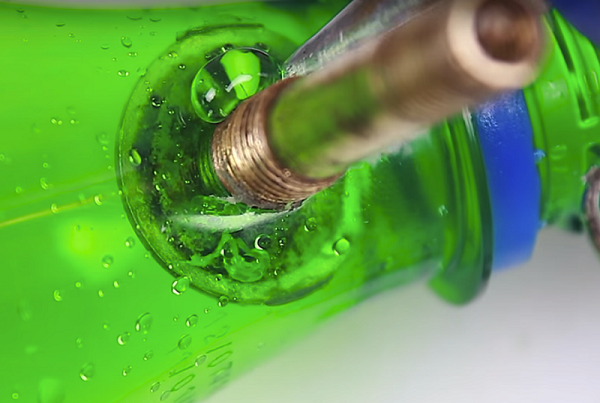
- Insert the nipple into the hole on the inside of the bottle.
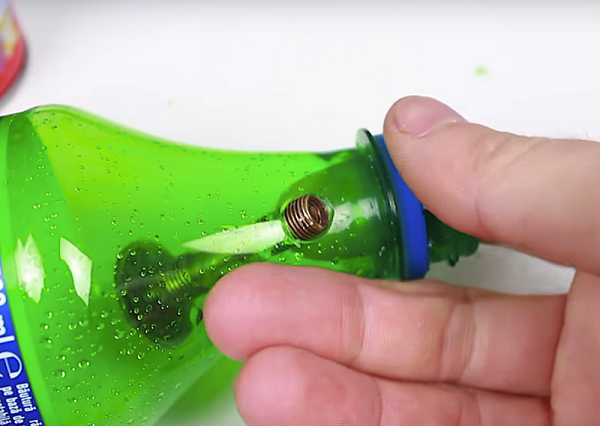
- Apply glue from a glue gun around the thread of the nipple.
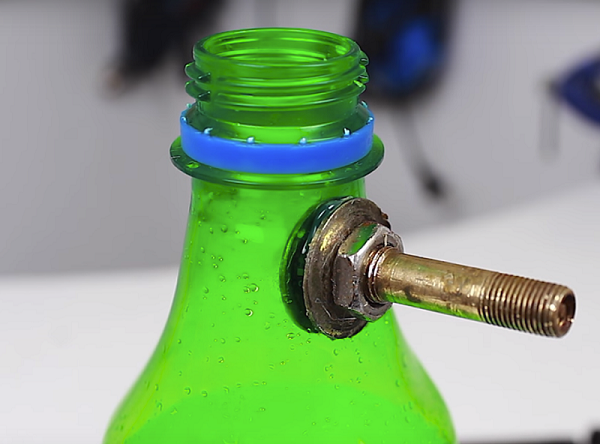
- Before the glue hardens, put the washer on the nipple and tighten the nut well. Instead of glue under the puck can be installed rubber gasket.
- Next, cut off the top of the aerosol can. This is done with a hacksaw.
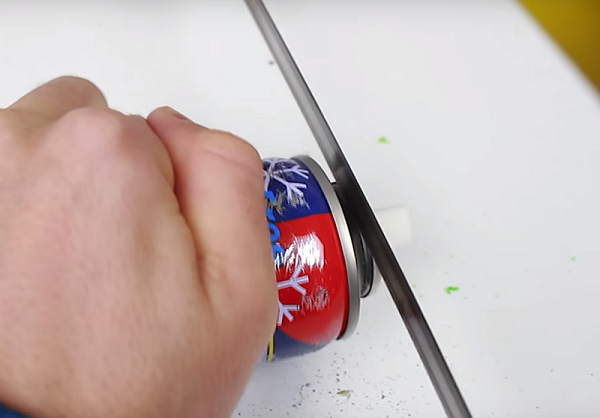
- Sawed off the upper part, remove the part from the cylinder. It should have a tube connected to the sprayer.
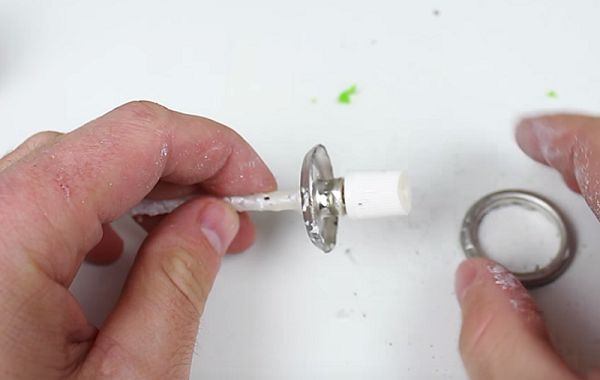
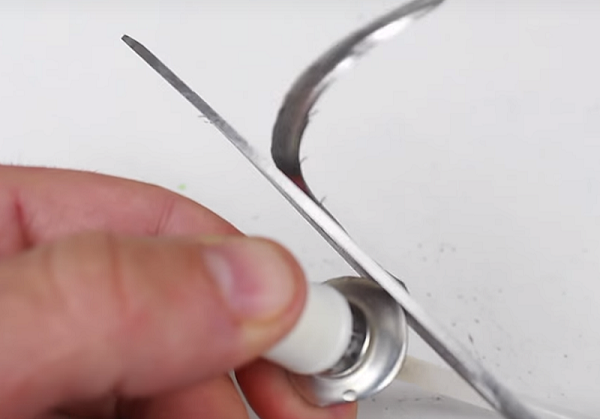
- Cut the metal around the sprayer so that this part can enter the bottle cap.
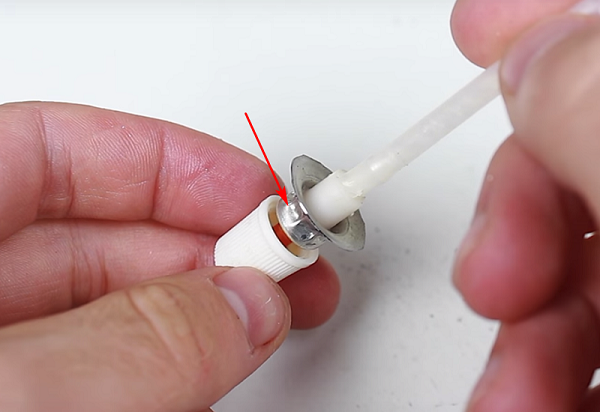
- Drill a hole in the lid that corresponds to the diameter of the top of the part with the sprayer (indicated by the arrow).
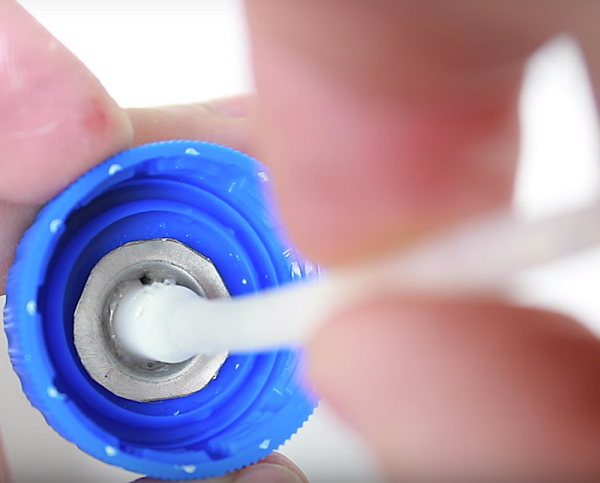
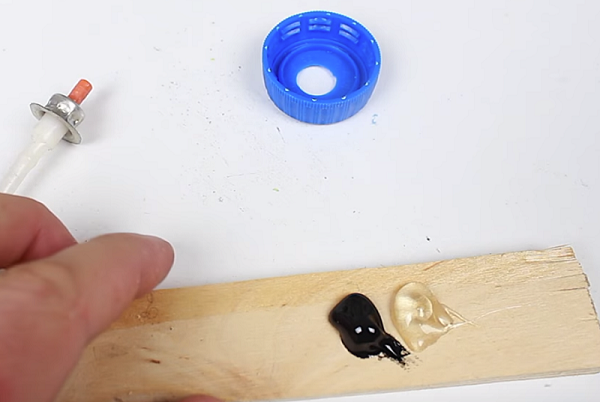
- The next step is to cook two-component adhesive, mixing both parts well together. With the help of glue spray will be fixed in the lid.
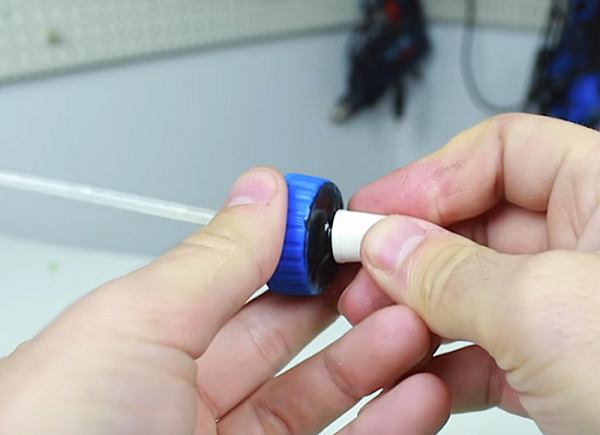
- Apply glue to the metal part of the sprinkler and insert it into the cover.
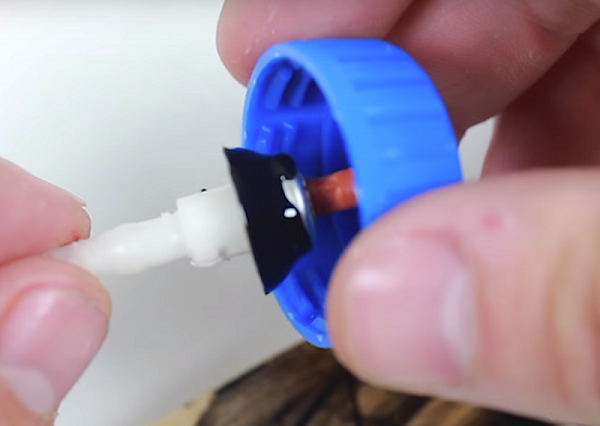
- If required, apply some more glue around the inserted part. It is also necessary to apply glue to the top of the cover.
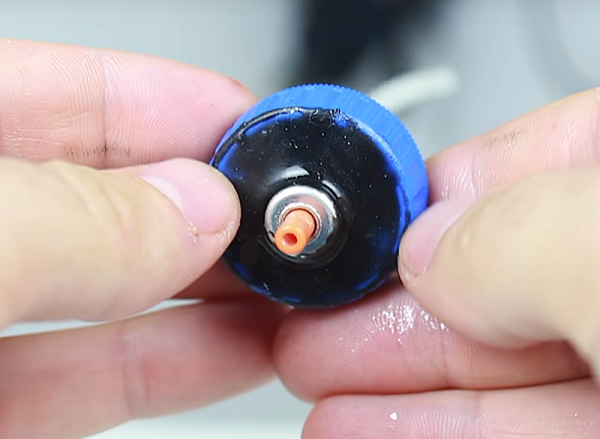
- After the glue dries, wear a spray cap.
- Extend the existing tube with a cocktail straw and cut to size. The tube should reach the bottom of the bottle.
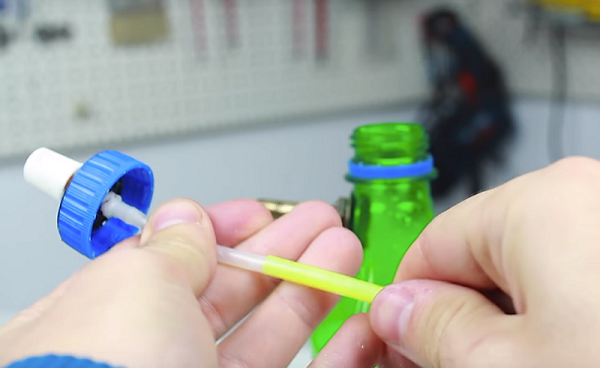
- Next, fill the bottle with paint or other composition intended for spraying.
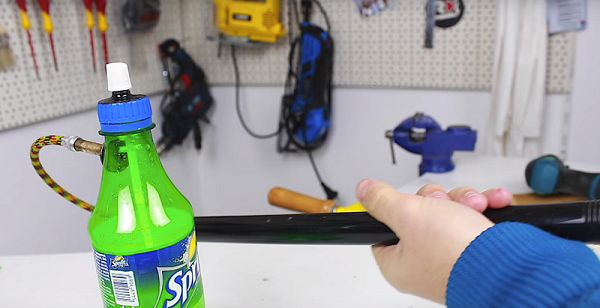
- Screw the spray cap onto the bottle and connect the hose from the pump to the nipple.

- Use a pump to pump air into the bottle. After that, the spray gun will be ready for painting.
Spray gun from vacuum cleaner
For spraying paintwork compositions, as well as materials for whitewashing, you can use a vacuum cleaner as an air blower. The airbrush from a vacuum cleaner is manufactured in 2 stages: first you need to “make” the vacuum cleaner to work on blowing, and then to make a spray gun.
Reworking a vacuum cleaner
In the old models of vacuum cleaners, a fastening was provided for connecting the hose in the place where the air exits the unit. Also to such vacuum cleaners in the configuration was a paint sprayer in the form of a lid for a can, having a nipple for connecting a hose. In modern vacuum cleaners, on the place where the air comes out of the vacuum cleaner, there is a grill that covers the filter.To connect the hose instead of the grille, you can make special adapter, shown in the following photo.
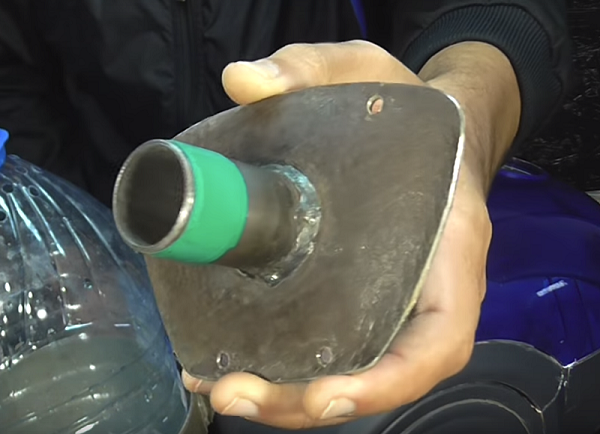
The adapter is installed with the extracted grille with a filter and secured with four screws.
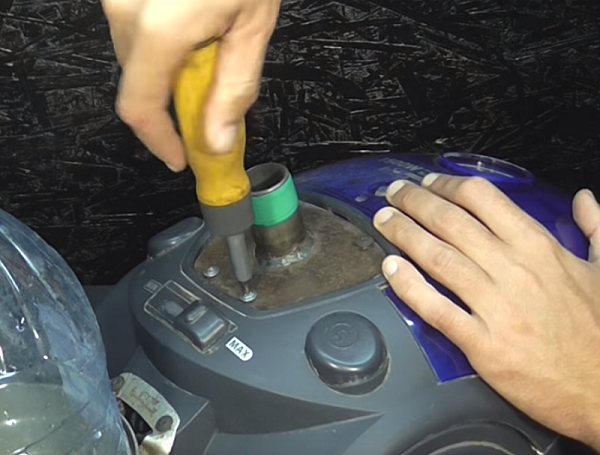
A vacuum cleaner hose is worn on the adapter. To seal the connection, a little electrical tape can be wound on the adapter nipple.
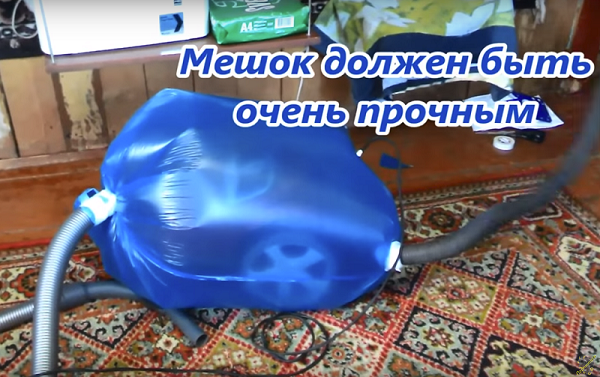
There is also a simpler version of how to make a blower out of a vacuum cleaner. This will require high density garbage bag.
Important! The bag must be of such size that a vacuum cleaner can fit into it.
To make a blower, do the following:
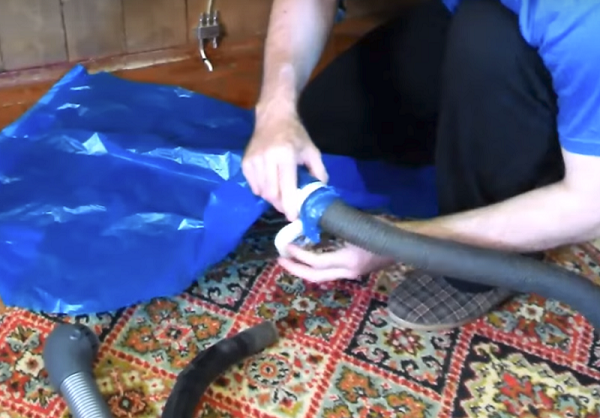
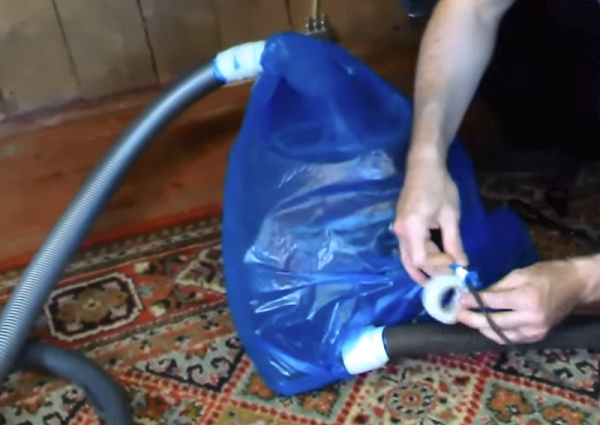
- Cut the corner of the package.
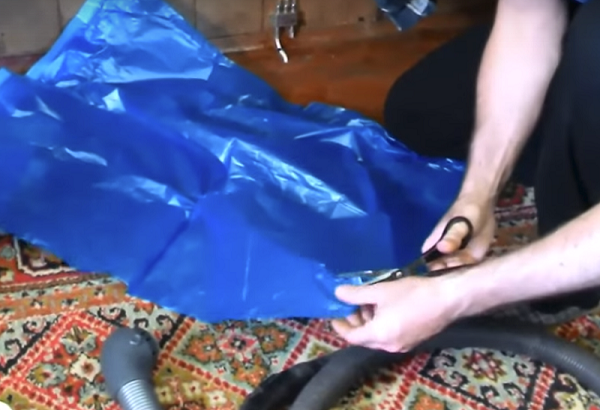
- Insert the hose from the vacuum cleaner into the hole and seal the connection with tape or tape.
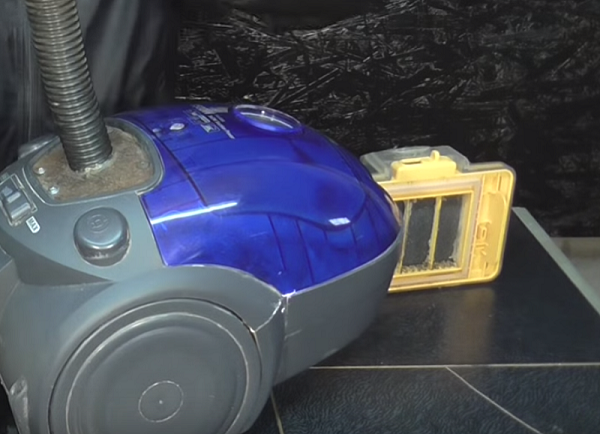
- Remove the filter bag from the vacuum cleaner.
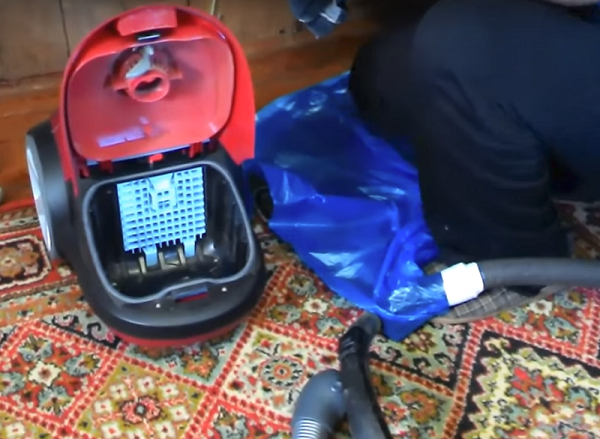
- Connect the second hose to the vacuum cleaner.
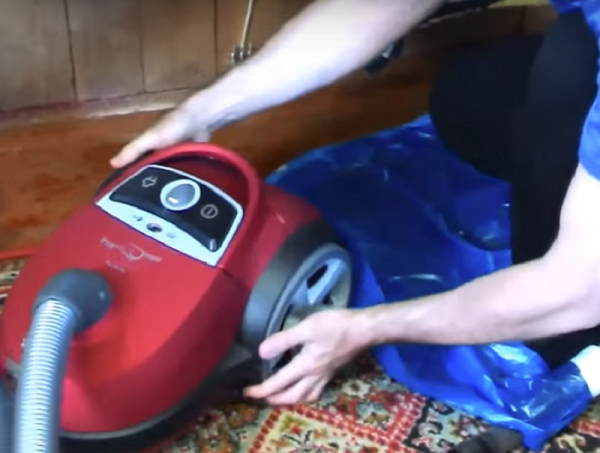
- Next, put the package on the vacuum cleaner and place around the hose well wrap tape.
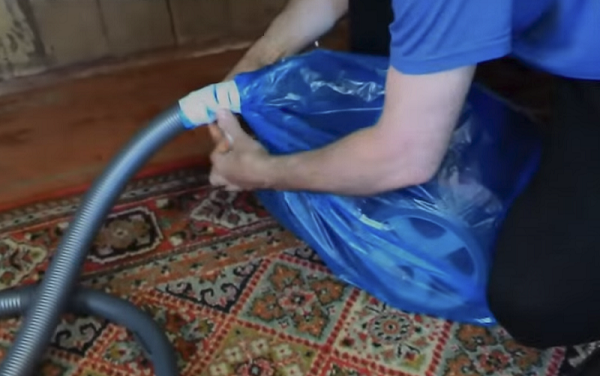
- Also in the package should make a hole under the electrical cord and seal the place of its release.
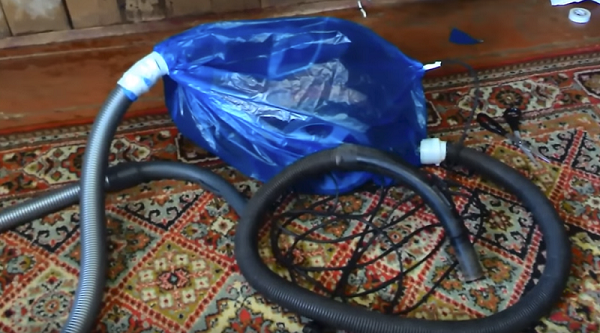
- Connect the power cord to the outlet and turn on the vacuum cleaner. Air gun for spray gun ready for operation.
Paint Sprayer Making
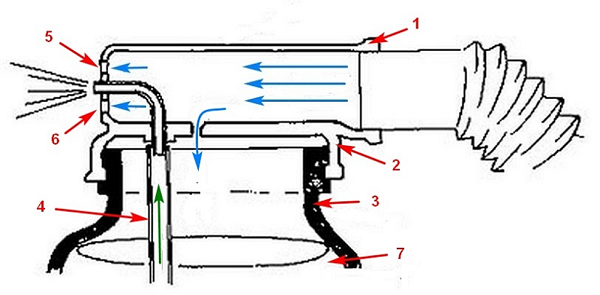
Homemade spray gun for vacuum cleaner can be done by analogy with the sprayer, which were completed units of old models. Below is a drawing of the spray gun, according to which it is easy to make it from simple and inexpensive materials.
The device is made as follows.
- Pick up plumbing pipe (1) made of PVC of such diameter that a hose from a vacuum cleaner can be connected to it.
- On one side, plug the pipe.
- Drill one hole in the center of the cap and several holes (5 and 6) on the sides of it. The more holes around the center, the better the paint (7) sprayed into the can (3) will be sprayed.
- Next, you should drill 2 holes in the cap and in the side of the pipe. A tube (4) for supplying paint from a can will be inserted into one hole, and air will flow into the second, due to which the pressure in the paint container will increase.
- You should also pick small plastic tubewhich will serve as a nozzle. It must be bent, as shown in the figure above, and insert one of its ends into the central hole of the plug, and the other through the tube and lid, and connect it with the delivery tube (4).
- In this position, you should fix all the elements on the lid with a glue gun.
- When the glue hardens, it should be done in the lid on either side hole size of 8-10 mm in diameter. It will serve as a kind of start button. When you close the hole with your finger in the can, the pressure will increase, and the paint will flow through the tube (4) into the nozzle. Due to the presence of holes near it, the paint will deflate and sprayed. If this hole is opened, the pressure in the tank is normalized, and the paint will stop rising through the tube.
Also, a device for coating walls and ceilings with various waterborne dyes can be made from garden sprayer. In this case, no alteration of the apparatus is required. It is enough to dilute the paint to the desired thickness, strain it and pour into the tank. Next, air is pumped into it and whitewashed or painted, like an ordinary spray gun.
Airbrush from the compressor from the refrigerator
Work with the spray gun connected to the compressor from the refrigerator differs noticeably in the noise level from working with the same device, where a vacuum cleaner is used as an air blower. Included unit from the refrigerator produces a barely audible noise. For this reason, many craftsmen prefer to make a compressor from a refrigerator not only for connecting pneumatic tools, but also for painting works. But the process of manufacturing the compressor is quite complicated.
- It will be necessary to saw off the necessary pipes from the unit and to muffle them.
- Since the compressor from the refrigerator has a low capacity, it will require connect a receiver to it. It can be made from a fire extinguisher, gas cylinder and other containers that can withstand high pressure.

- You will also need to install a check valve, pressure switch (pressure switch), a gearbox with pressure gauges and a moisture separator. Only after such a configuration will the spray gun work properly.
When the compressor is ready, it remains only to make the gun itself. It can be made of parts from a pen and a jar with a plastic lid. The drawing of the device is shown in the following figure.
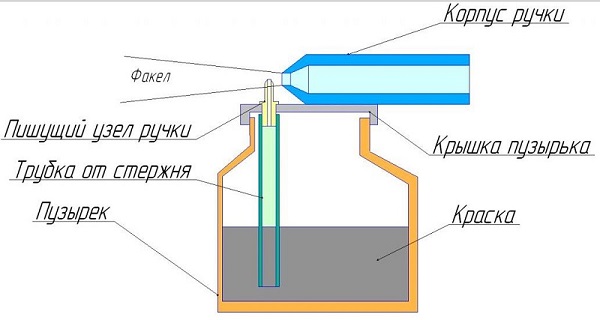
A paint sprayer is made as follows.
- The ball is removed from the writing unit of the rod from the writing pen.
- Next, the rod is inserted into the pre-made hole in the lid and secured with glue gun.
- Opposite the rod on the lid from the can or bubble is fixed the handle body also with a glue gun. The hole in the body of the handle will serve as a nozzle. If necessary, it can be expanded with sandpaper. The writing part of the rod must be installed strictly in the center of the nozzle opening.
The hose coming from the receiver is connected to the body of the handle, after which the spray gun will be ready for operation.
By the same principle can be done and mini spray gun. For its manufacture you will need a medical bottle, for example, from under a brilliant green, 2 corks and 2 rods from a fountain pen.
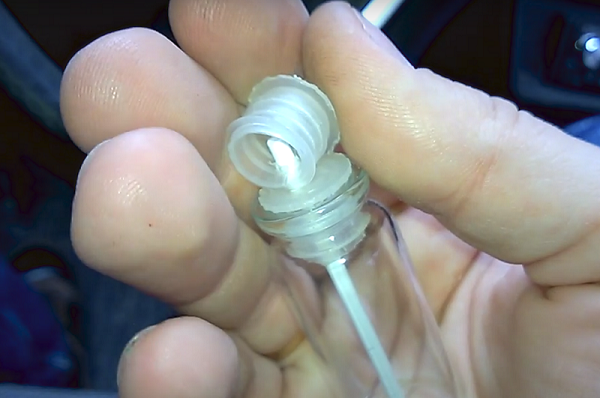
Holes are made in traffic jams, as shown in the photo above, into which the rods of pens are tightly inserted without a writing piece. The tube through which the paint will flow must be aligned with the center of the air tube.
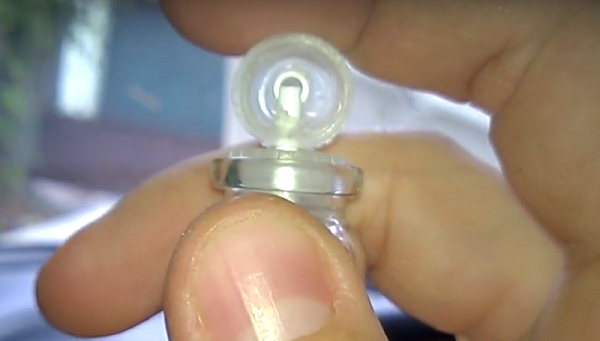
The resulting small paint sprayer can be useful for small paint work.
Powder spray gun
The airbrush for powder coloring allows to make high-quality painting of details and surfaces of a difficult configuration. Basically, powder spray guns are used when painting cars and various parts to them.
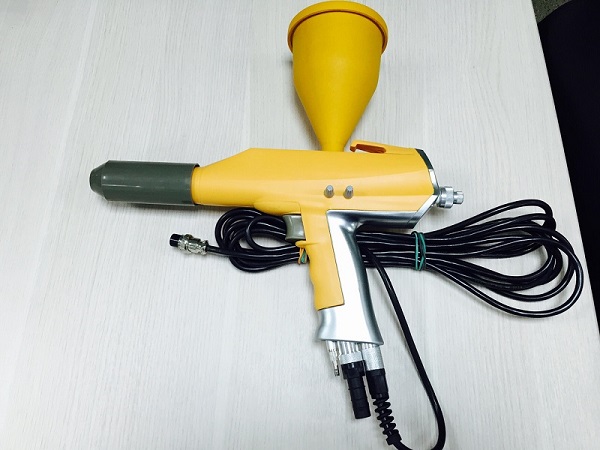
The process of making powder paint sprayer is quite complicated and difficult to describe. To understand how to make the device, you can watch the tutorial. video.
Holder for spray gun do it yourself
Important! Stand under the air-type paint sprayer involves fixing the paint tank in it. An airless spray gun in such a holder cannot be installed due to the lack of a paint container in the device.
The holder for the gun with his own hands most often made of thick wire or metal rod with a thickness of about 6 mm.
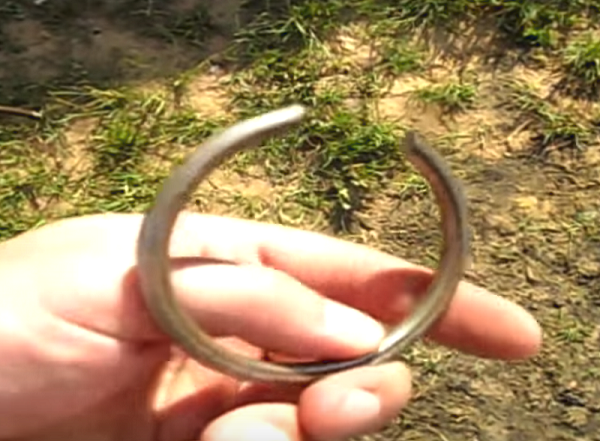
- Measure the diameter of the spray bottle and make a few bar rings. The diameter of the rings should be slightly smaller than the diameter of the tank.It is possible to bend a bar around a pipe of a suitable diameter using a vice and a hammer.
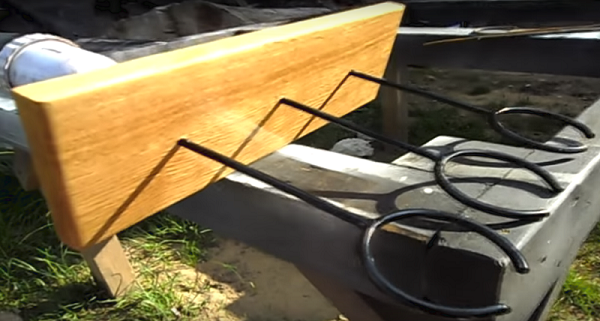
- Further, these rings must be welded to a straight bar.
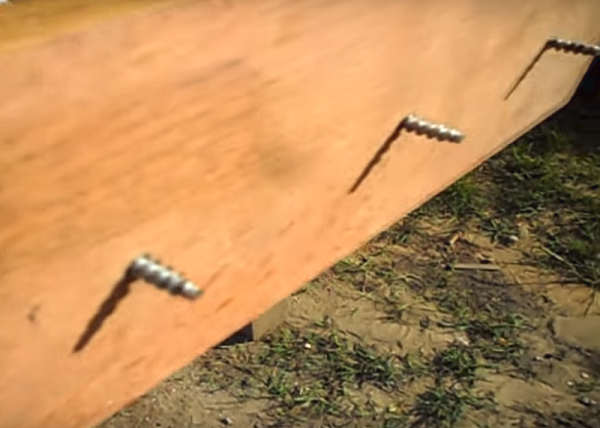
- To the other end of the straight bar you can weld screws, with which the holder will be screwed into the board, as shown in the following photo.
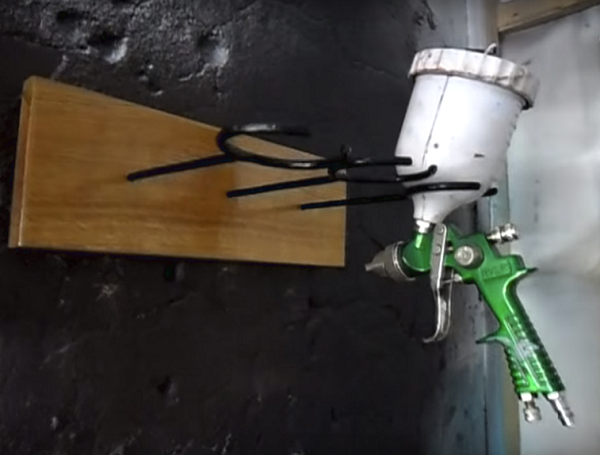
- Board with holders attached to the wall. It is necessary to make a marking for the screws on the wall, drill holes in it and insert them plastic dowels.
- It remains only to twist the holders into the dowels through the board, and the stand for paint sprays is ready.
/rating_off.png)


