Build a fan with your own hands
How to assemble the fan yourself? This question is particularly relevant in the warm season, when there is unbearable heat outside, and there is no possibility or purchase of an air conditioner or split system. It occurs due to the fact that the instruction incomprehensibly describes the process of assembling the product or there are parts that seem superfluous or unknown where they are installed. To solve this simple problem every person, even a person who is far from technology, can do it. Work does not take much time, and the result will be the long-awaited coolness.
Content
Varieties of fans
Fans of different systems remain a popular way to solve the problem of creating more favorable conditions for life. By the method of installation, they are divided into the following types:
- floor standing;
- ceiling;
- desktop
The last two species, in most cases, do not require assembly after purchase. Ceiling options must be installed in the place prepared for their installation.
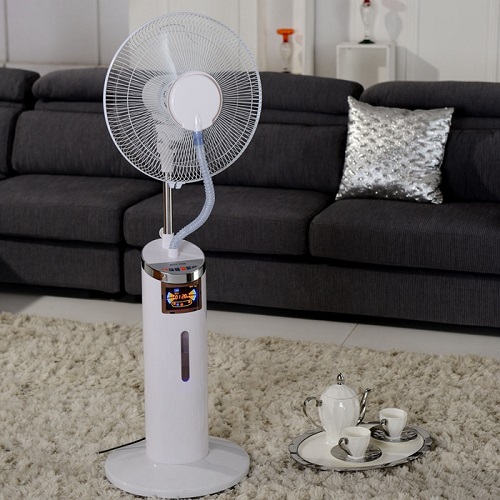
Models differ in power, size, airflow area, number of speeds, level of noise produced during operation and various additional functions. Floor fan remains one of the most common ways to cool, improve comfort. Extensive use is associated with the low price of this type of product, ease of operation and installation, low energy consumption, mobility, versatility (the wind blowing from the fan refreshes even on the street). In this technique takes very little space.
The following types of floor fans are distinguished according to the method of operation:
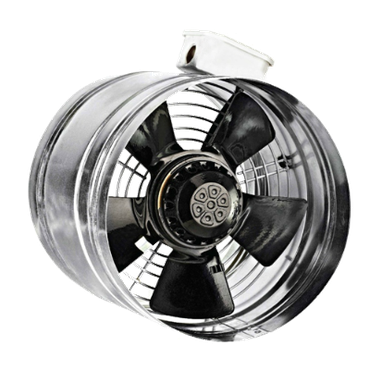
- axial - these are devices equipped with an electric motor and blades (encased in a grid) that, when rotated, set the air in motion;
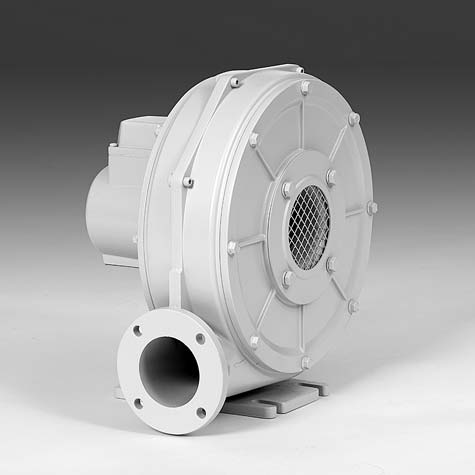
- radial - mechanisms made in the same housing, into which air is drawn in by a rotor with blades and then pushed back;
- blameless - This is a round frame with a motor that sucks air and pushes it out with acceleration.
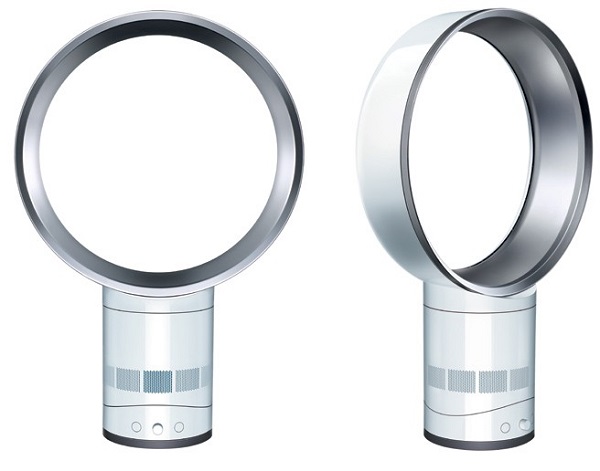
The first option is the most common form. It does not affect the whole room, blowing into separate areas. The issue of assembly is raised precisely when buying an axial version of the fans
Step-by-step assembly guide for floor fan
There are products from different manufacturers on the market. Installation of models differs slightly, for this reason, we can distinguish its general scheme. Conventionally, the process of how to assemble a fan can be divided into 3 stages:
- mounting the bottom of the device;
- assembly of the upper section;
- performance check of the acquired equipment.
This is due to the design features of the product. One of the options shown on video on video. You can start the process from the assembly of the bottom or top - there is no difference.
Axial floor devices consist of the following elements:
- supports (for example, crosses);
- telescopic tube;
- protective casing;
- paddle wheel;
- electric motor.
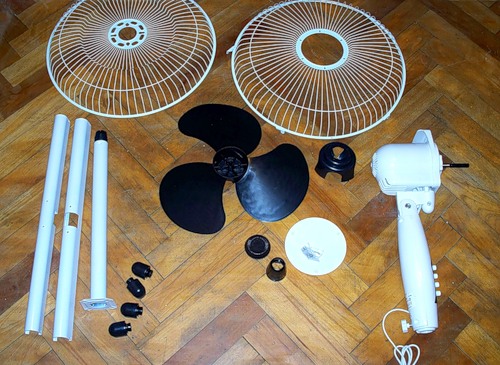
Additionally, models may contain air ionizers, a remote control, but this does not affect their installation.
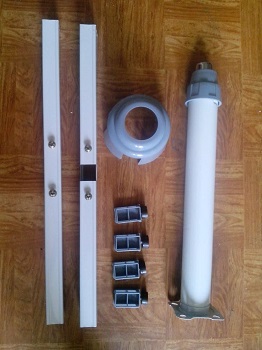
Mounting support
Instructions for assembling the bottom of the product comes down to such actions:
- unpack the device;
- if the support is made in the form of a cross, then the crossbars are inserted perpendicular to each other;
- they are connected to the bottom of the vertical riser with the four bolts inside the tube;
- on the ends of the supports install plugs, which the device will come into contact with the floor;
- push forward telescopic tube and fix it with a plastic nut at the required height level.
Another type of base - disk - is also bolted and nuts.
Assembling the top of the structure
Next, collect in the following sequence:
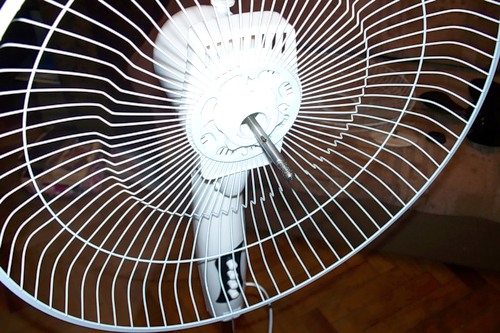
- rear mesh casing fixed on the drive part, seated in the grooves and pulling the nut;
- impaled wheel with blades on the motor axis exactly on the connector;
- fix it with a special nut;
- set and fix front grill cover;
- Insert the tube into the motor unit and fix it on the rack with the help of a locking screw located at the junction of these parts.
There are options where the shaft seat without grooves and then the impeller is fixed with a screw.If the engine is disconnected from the block with the buttons, then they are connected with a screw (or a bolt and nut).
Assembly of fans from different manufacturers is identical. You can see this by watching the following videos:
After all the considered manipulations, the device is ready for operation. The blades of the assembled fan should rotate easily “by hand”. When turned on, the device should work without unnecessary noise and odors (burning rubber), in the modes provided by the instruction. If this does not happen, then you should contact the store to replace or return the goods. In order to avoid any misunderstandings, it is necessary with the purchase to immediately understand the availability of all the required components and the performance of the product.
/rating_off.png)