Connecting a digital set-top box to the TV
The rapid development of technical progress in the field of television provides great opportunities for digital television for better reception of television programs in comparison with the outdated - analogue. But in order to watch digital TV broadcasts, you need to connect the receiver (special set-top box) to the TV. Before you connect a digital set-top box to the TV, you will need to decide on the choice of the receiving device - the antenna. So, in order to watch digital terrestrial television (CETV) without any problems, you will need:
- antenna;
- receiver (prefix);
- channel setup.
Content
Antenna
The type of antenna is selected depending on the distance to the transmitting TV tower. Therefore, you should install indoor antenna or outdoor.But, regardless of the type of location, it should work in the decimeter range, namely, to receive frequencies from 470 to 860 MHz. Indoor antenna will work well within the city where the transmission tower is located.
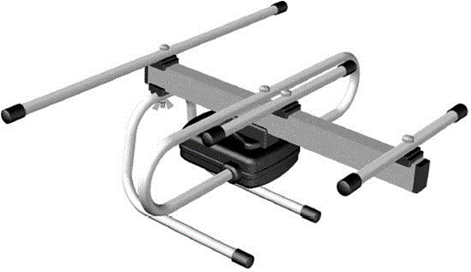
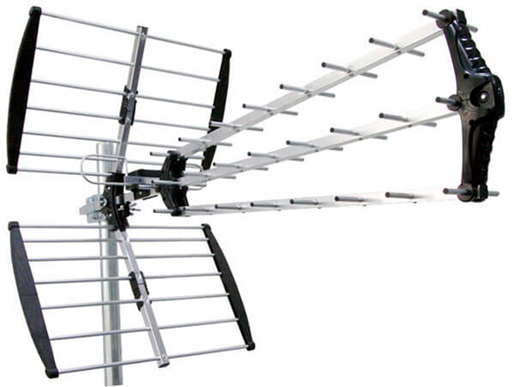
If the distance from the television receiver to the TV tower is more than 15 km, it is required to use outdoor antenna.
Dvb t2 antenna You can buy in the same outlets where the tuners themselves are sold. In this case, guaranteed high-quality reception of the television signal, since the receiving device is designed specifically for the digital tuner.
If you are going to install a TV set and configure the DETS, then before connecting the set-top box, it is recommended that you first consult with your neighbors. They can tell you what type of antenna you should choose for this area.
Also at choosing antenna for country accommodation, you should inquire about the presence of a built-in amplifier, without which, if you are far from the transmitter, connecting the set-top box of digital television to the TV, you will not achieve good image quality. If you can not buy an antenna, then its power do it yourself
Prefix (receiver)
As already mentioned, in order to be able to watch DETs, you need to buy a TV set-top box, which is also called a tuner or dvb receiver. On the electronics market is so much wide selection such devices that it is easy to get confused and overpay extra money for unnecessary functions in the device. The model of the tuner is recommended to choose based on your needs, since they catch the TV signal, they are, in principle, the same. The difference may be, perhaps, in the established additional options.
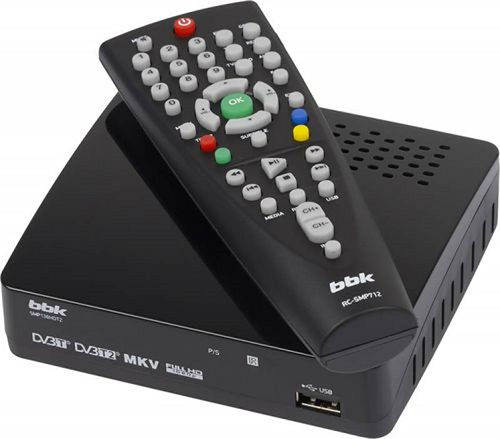
For example, if the prefix will be used not only as a receiver of TsETV, but also as media player To view video from a flash drive, then this is the model that you need to purchase. But if you do not need it, buy a simpler model. The figure, for example, shows the model of an inexpensive bbk receiver.
More expensive models of digital TV tuners have “Onboard” options “Scheduler” and TimeShift. These features allow you to record any broadcast at a given time, moreover, your presence is optional. You only need to set the start time of the recording of the program on the desired channel, and the time when the recording should stop.
Currently gaining popularity consoles from “Rostelecom”which have modern stuffing: large size of RAM and a powerful processor. The tuner from “Rostelecom” to the TV is connected in the same way as other similar devices. Comes with special remotewhich can be configured to control both the set-top box and the TV itself.
If you are going to buy a TV, then look in the technical characteristics if it supports DVB-T2. In most models of modern TV tuner for viewing CETV is already built in, and you do not need to buy a prefix.
Types of connections
Connecting the dvb t2 to the set-top box is not much different from connecting a satellite receiver or av-receiver. There are several methods for connecting t2, and they depend on the types of connectors located on the two mating devices. Connect the tuner can through:
- RCA-cable (in the people, the interface is called “Tulip”);
- HDMI connector;
- antenna cable
The figure shows the general scheme of connecting the tuner to the receiver.

RCA cable
This is the easiest and standard way to connect a digital tuner to a TV.The picture quality, of course, will differ from the connection via HDMI, but the difference will be imperceptible on television sets with small diagonals.
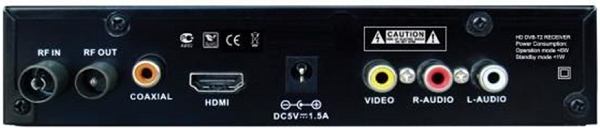
So, before you connect the cable, you must de-energize both devices. After de-energizing, insert the cable plugs into the slots on the console. Since each plug has its own color, they are inserted into the connectors of the corresponding color. The cable with the yellow plug receives the video signal, and the white and red - 2 channel audio. Next, the outdoor or indoor antenna is connected to the tuner to the corresponding socket (on the console it is designated as “RF IN”).
There are cases when there is no Tulip interface on the TV, but there is SCART connector which is popularly called “Comb”. The figure below shows how it looks (for example, the Samsung television receiver is taken).
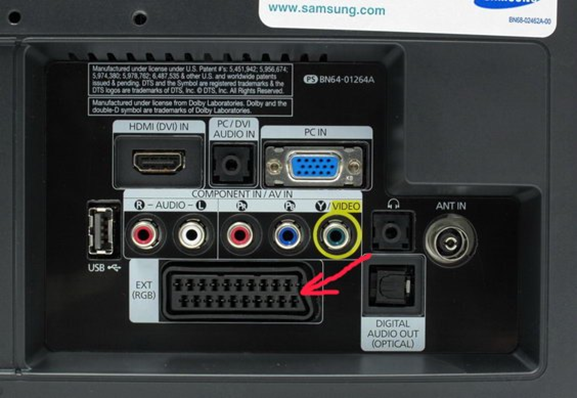
How to connect the receiver to the TV in this situation? In this case, you must purchase a special RCA to SCART adapter. In the same way, you can connect and satellite receiver.
HDMI connector
HDMI interface is capable of transmitting high quality signal. For example, the quality of the transmitted video signal can be up to 1080p, and the audio signal - 192 kHz.Such capabilities meet the highest standards in multimedia content.
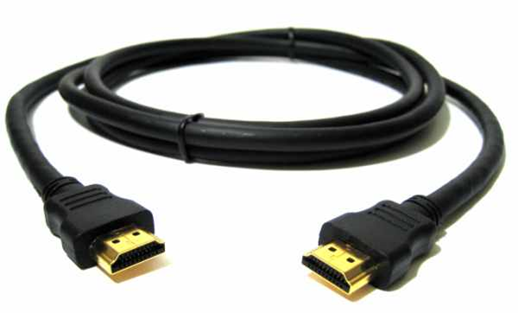
If you have a modern television receiver, and it has an HDMI connector, then it would be better to connect the receiver to the TV through this interface. The same recommendations are relevant for satellite tuner to watch TV in high resolution.
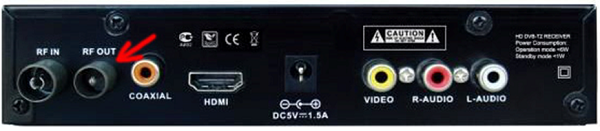
Antenna cable
This type of connection is used to connect a digital receiver, if on the TV receiver, in addition to the antenna input, no more connectors are provided. For example, this way you can connect the tuner to an old TV by plugging a cable into the jack called RF OUT.
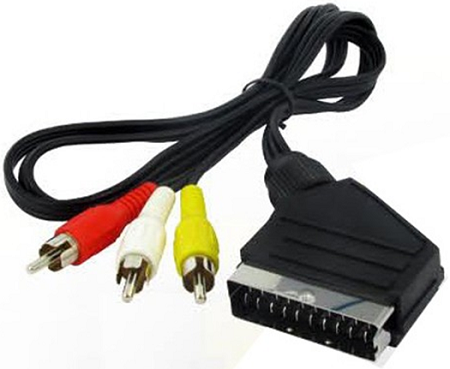
Before you connect the t2 digital tuner to your TV, you will need to purchase the cable shown in the figure below.
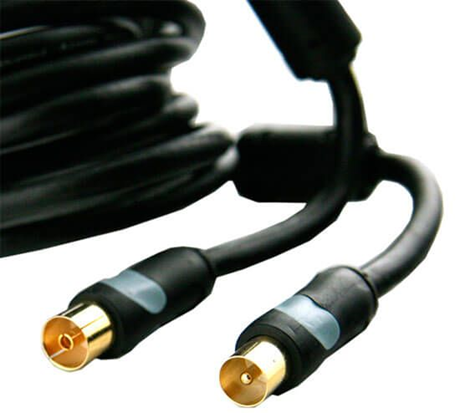
This method of connecting to the receiver can not give a good quality picture, and you shouldn’t compare it with the image transferred via the connected HDMI interface. But given the fact that the TV is old - the image can be considered acceptable for this situation.
Channel Setup
After connecting the receiver to the TV, it's time to think about how to set up TV channels.For many users, when you connect the receiver to a TV, the question arises: how many channels can you watch if you set up a digital tuner? In reality, it all depends on whether you will use the paid service package of a particular provider, or will be enough for you broadcast television. About 20 free TV channels are available for TsETV. If this little 20 TV programs are not enough for you, then to view the coded broadcasts you will need to purchase CAM modulewhich is inserted into the television receiver.
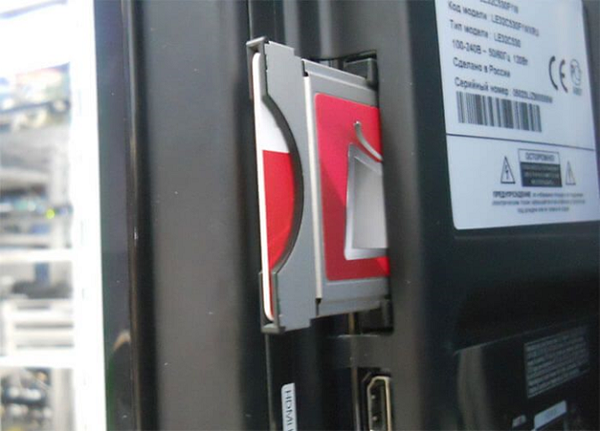
And already in the CAM-module is inserted the card of your chosen provider CETV. In this scenario, you get access to a huge number of television channels for a certain monthly fee.
So, in order to start tuning DET, turn on the TV (the set-top box must be connected), switch it to AV mode and go to the tuner menu.
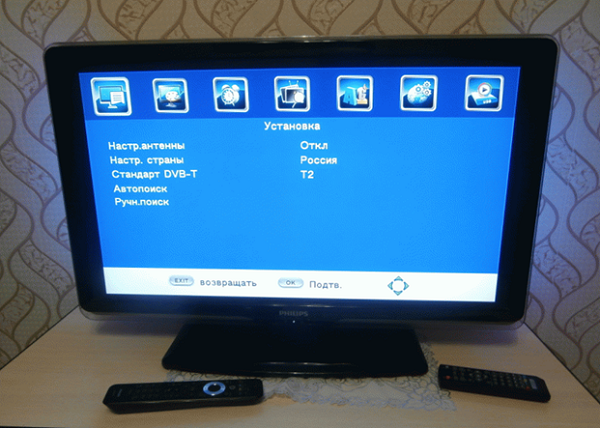
Since the default console does not contain a list of TV channels in its memory, you will have to find them yourself. For this recommended use “Auto Search”.
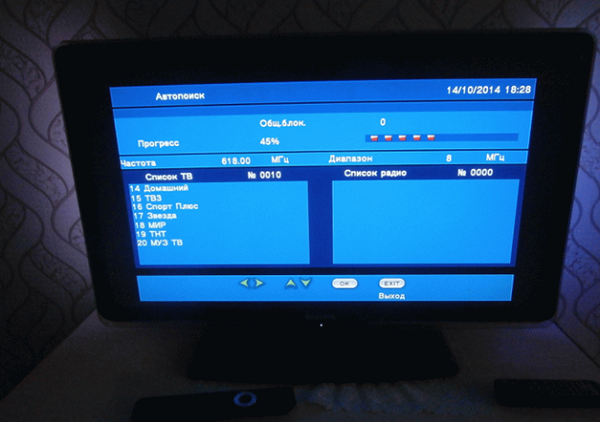
After a while you will see that the receiver has found from 10 to 20 TV channels.
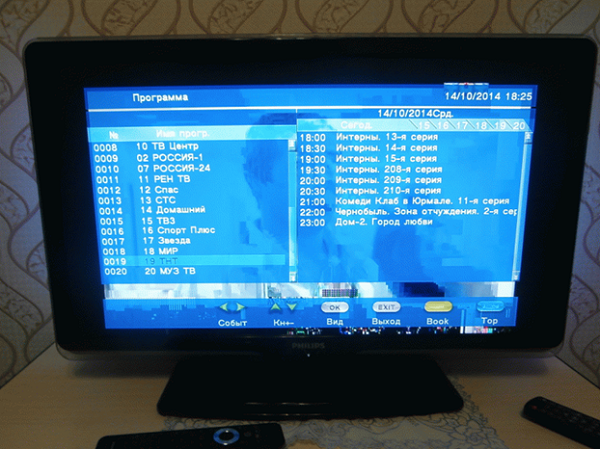
When the search is completed, the tuner will offer to save the list of broadcasts found, after which you can begin to view the ETSI. The detailed configuration algorithm is similar for different manufacturers, however there are certain nuances of the settings. tv samsung and Philips.
As you can see from the above recommendations, connecting and configuring digital TV broadcasting is not such a difficult task, which any owner of a television receiver and DVB-T2 prefix can handle.
The most reliable TVs in 2018
LG 43UJ634V TV
Samsung TV UE50MU6100U
TV Hyundai H-LED24F402BS2
LG TV 22LH450V
Samsung TV UE22H5600
/rating_on.png)
/rating_half.png)
/rating_off.png)


