How to properly scan and photocopy on a printer
Printer and scanner are quite common types of office equipment. The need for them is extremely high, because it is sometimes necessary to take a document or send information from a printer to a PC almost every day, especially when it comes to document flow. In this article we will learn how to use additional useful features of the printer and scanner - we will learn how to optimally photocopy documents and scan them.
Content
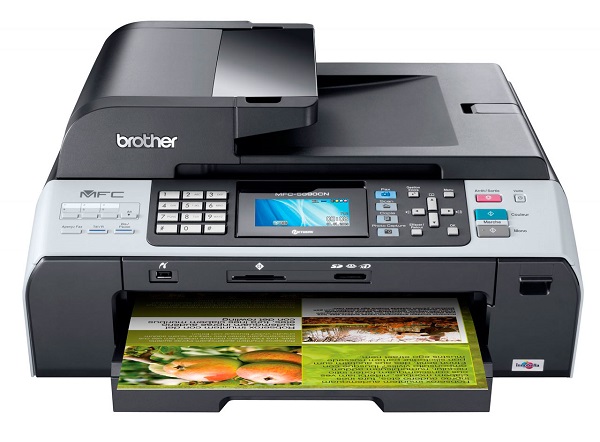
Models that can copy and scan documents
To otkerokopirovat one copy of the passport or scan an important document on the computer, it is not necessary to run to the nearest kiosk with a sign "photocopy-print", it is enough to have on hand a modern device that can copy information. To date, many models support this feature. The printer has long ceased to be a device with limited print functionality. Most often, the modern MFP is not only the printer itself, but also a scanner and a copier.
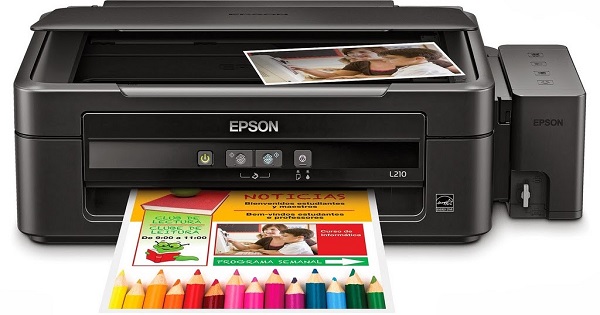
The majority of photocopiers, including both inkjet and laser printers, can transmit scanned information to a computer. Today the question sounds a little different: what devices can not make a photocopy and send scanned information from the printer to the computer? Most often only the most inexpensive models of printing equipment are limited to printing. Any manufacturer produces models of different price categories and, consequently, opportunities, this should be remembered when choosing such equipment. The product line of the medium and high price segment has the whole range of possibilities.
To find out whether a scanner and a copier are in the design of a device, it is best to look at its characteristics. However, sometimes quite superficially examine the body. If on the top of the device there is a cover under which there is a glass surface, then this device has the functions described above. The printer, as a rule, is equipped only with a blank paper tray and prints it vertically upwards, whereas in the MFP the printed output comes out from the end, below the scanner area.
Important: if you are not sure about the capabilities of the device, it would be best to examine its documentation, where all the characteristics without exception are indicated. By spending a few minutes to study the document, you can get much more information than a superficial examination of the apparatus itself.
Learning to use the scanner yourself
Scanning is one of the most frequent procedures in office work; it concerns everything: documents, business literature, filing of articles, photos, etc. It is difficult to imagine an enterprise in which they do not know what a scan is and which does not use it in their daily activities.
At home in everyday life, a scanner is needed no less, sinceIt helps to quickly and easily digitize pictures, photos and documents, transferring them to a computer. But even being quite common and familiar device, the scanner requires the right attitude to itself. Do not try to use the device without having the appropriate skills, it can lead to costly breakage.
Preparation for work
So, to use a scanner, you need to perform a few simple steps.
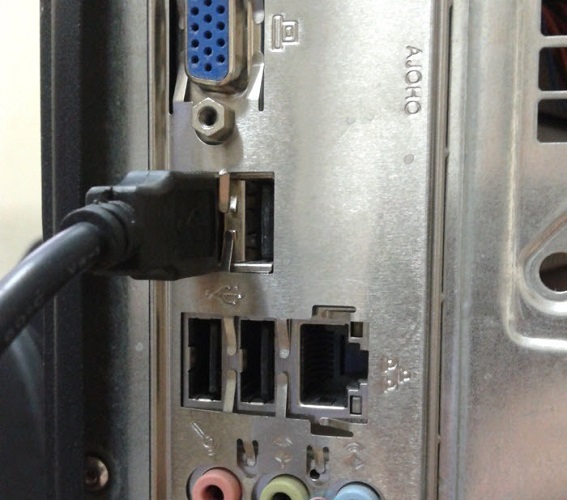
- The first thing to do is to check if the scanner is connected to a computer (PC or laptop). Attention: USB-cable is often not included in the package of the device itself, so you should take care to purchase it beforehand.
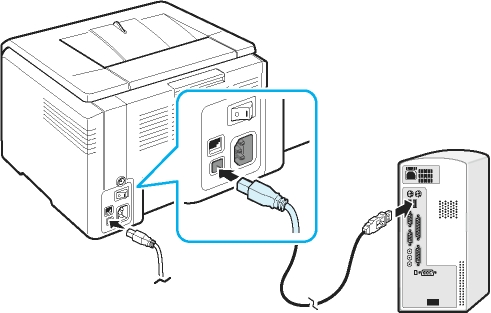
- Next, you need to turn on the device itself in the network and press the power button on the case.
- After switching on, you need to insert into the drive a disk (or flash drive) with software (drivers). Usually such a disk or USB flash drive comes in a packaging box and is part of the package.
- If there is no disk for some reason, then you need to proceed to the manufacturer’s website, enter the full name of your scanner in the search window, after which you will see a list of all available drivers for downloading to your computer.You will need to choose the most up-to-date (by release date), download and install it by clicking on the distribution with the .exe extension with a double click of the left mouse button.
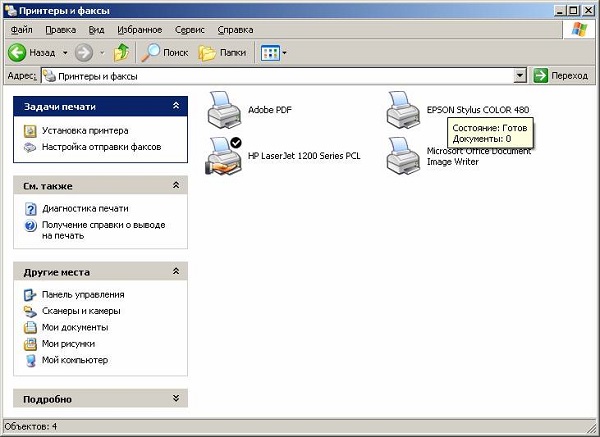
Once the driver installation process is complete, the device is recognized by your operating system. It can always be found in the appropriate section (printers and faxes, etc.). Usually, the device name is the full designation of its model, including the alphabetic and numeric index. If desired, the name can be changed to any other through the system settings.
After installing the drivers and synchronizing the device with the system, you need to decide what software you will use. The Windows OS family offers programs built into them by default, but this is far from the only solution. In any case, it is important to understand that you cannot do without a specialized program that will be responsible for the scanning process. It remains to choose from among the most popular: Adobe products, the XnView product line and the equally well-known VueScan. Of course, the list of programs that allow scanning is much longer, but the ones listed above are the most relevant.
Scanning
To check the capabilities of your scanner (and, if necessary, configure it), in the interface of any of the running programs, click on the “file” parameter. After it opens, find the "import". If the last branch has the full name of your device, everything is in order, it works properly. Next you need to do the following.
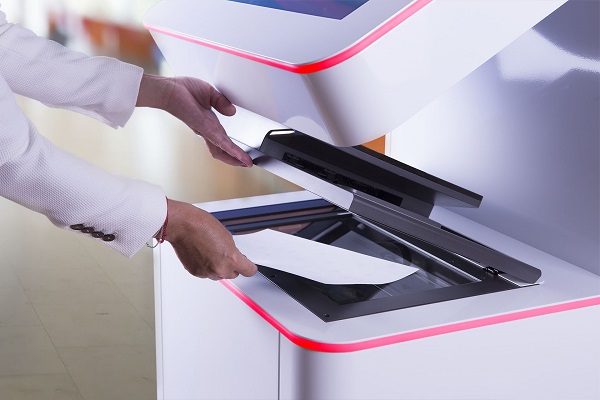
- Carefully open the top cover of the device and carefully (by the marks) put the document on the glass surface. The image to be printed must be bottom.
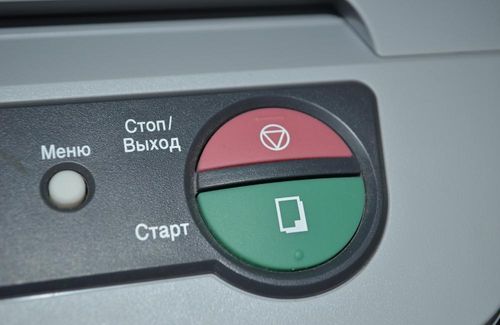
- On the device itself, press the “scan” or “start” button (you may first have to press the first, then the second, the combination differs depending on the model of the device). Some models (eg, HP) have features quick start on click on the corresponding item in the menu.
- After the transfer of information from the printer (scanner, MFP) to the computer is completed, a copy of the image will appear on the monitor. Using the horizontal and vertical dotted lines, you can set scale your document, cut off the excess or leave the file unchanged.
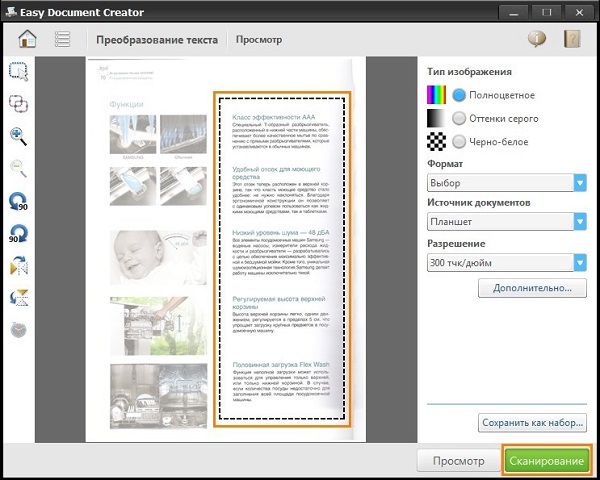
- How to use the scanner? It would be best if you optimize image parameters. There is no need for step-by-step instructions; managing basic parameters is intuitively simple: you can change the resolution (the bigger it is, the more space the final file will take on the disk), experiment with tones and brightness.
- The file you have been working with so far is preview version. If you prepared it properly and were satisfied, click "start" or "accept".
- Now it only remains save the resulting image. To do this, click on the "file", find the item "save" or "save as" and select the place (folder).
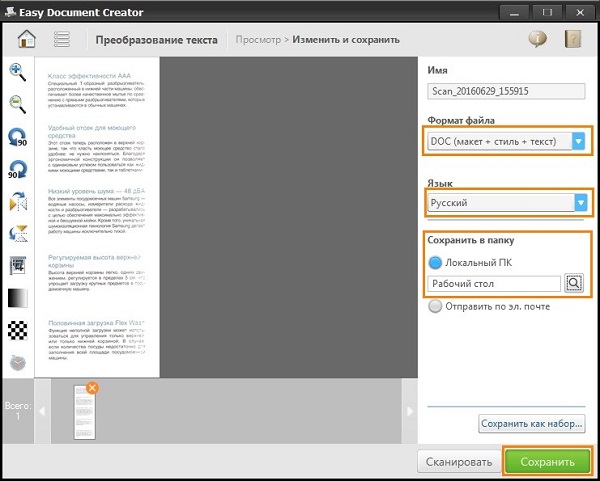
After saving, your image remains digitized and at any time will be ready for use. It can be sent by mail, published on the website or set as a background image on the desktop.
Scan options in text or photo mode
Despite the fact that drivers for all manufacturers are different and do not have one universal scheme, there are a number of basic settings that are present in all devices without exception.
The first thing worth mentioning is it's DPI. This item when working with text should not be in the value below 300 (the same with the printer or multifunction printer). The higher it is, the more accurate the picture will be. With a high DPI value, scanning will take a little more time, but more likely the text will be readable, and you will not have to resort to recognizing it. The optimal value is 300-400 DPI.
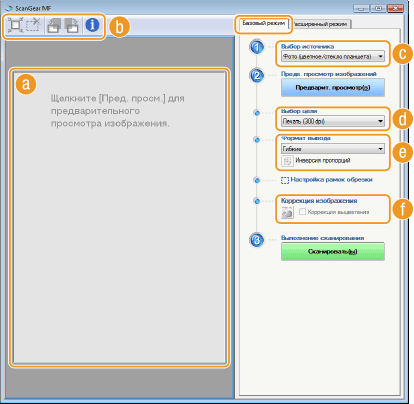
The second thing you should pay attention to - color saturation (color). Here there are only three options: the option of scanning black and white text, gray and color (magazines, documents, posters, etc.). The higher the chromaticity, the correspondingly, the longer it will take to scan.
In photo mode the most important thing is to avoid the blurring of the picture, and also make sure that all the edges lie flat on the surface. Color and tonality are set in the settings in the preview mode, before starting the scanning process from the printer.
It should be noted that for digitizing photos, not only the scanning process itself is important, but also the process of post-processing of the finished material using specialized programs.
To scan a photo, it is advisable to use the maximum definition settings, this will minimize possible inaccuracies during the process itself, although it will take 10-15 seconds longer.
We make a photocopy on the printer
One of the most common office tasks is a photocopy of documents. You need to copy documents (passport, driver's license, etc.), important papers, books, notes. Learning to copy is quite simple, for this you need to adhere to the following algorithm of actions.
- Make sure the device is plugged in.
- Check the driver for the printer.
- Check the condition of the documents for dirt, jamming, faded and fingerprints.
- Open the top cover of the device.
- Place the document carefully. copy side down. Make sure that the paper lies exactly on the labels on the device.
- Press the “start” button (on the printer and the copier) or “copy”, in case it is an MFP, and then “start”. Pick up copies from the receiver tray, extract the source from the scanning compartment.
Important: the number of copies is controlled by hardware, using the buttons (most often in the form of arrows).
The printer has a number of additional features. For example, you can make multiple copies of pages, fitting them on one sheet. How to make photocopy of passport on one page The easiest way to learn from the following video:
What to do if the device does not scan
The reasons why this is not so much.
- The program does not respond. Everything is simple here, we reboot the device and wait for the system to boot. If the task is repeated, then turn it off for at least 60 seconds, then turn it on.
- Mistake. If a mistake is made in the work of your scanner, then you should eliminate it, having first learned its code. In order to find out the error code, it is necessary to make a diagnosis, which is different for each model. It is important to remember that the scanner can work in the service mode, however, it will not be able to scan and copy this MFP, at least until the error is fixed. Canon scanners need to press the reset button five times to activate this mode.
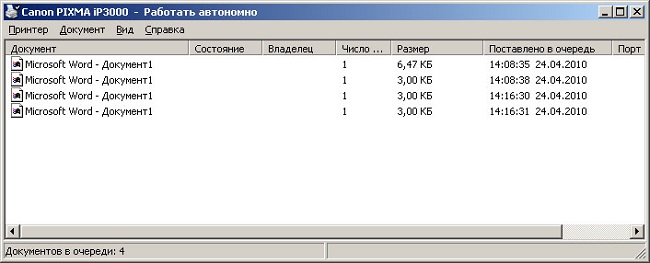
- Your device at the moment performs another assigned task. The MFP can expect a copy that has been queued for printing at the very moment when you need to scan something. To do this, simply complete the current task and start a new one.
- The scanner driver has flown. If the above methods do not help, try reinstalling the scanner driver, maybe it's in it.
- Cord connection problem. Unplug the power cord from the PC and scanner, then reconnect, in some cases this may help solve the problem.
- Maybe, damaged common device driver (both on the printer and on the scanner). In this case, reinstall all the software. The easiest way to find it on the manufacturer's website.
- We reset settings. If none of the above helps, you can try to revive the device by resetting the settings to the factory settings. This is done in the OS menu, by clicking on the appropriate item "reset settings", or by hardware (see the instructions).
Before you carry the device into service, try connecting it to another PC, install drivers and scan something. If it does not work, then the breakdown is possibly serious, and it is difficult to fix it with improvised means.
Technique of operation of scanners and multifunction devices
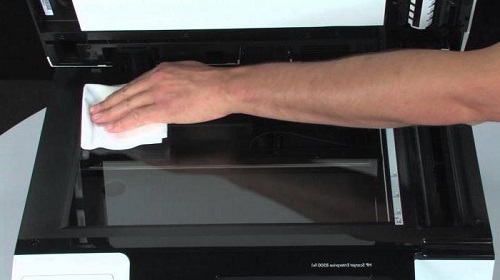
It is important to remember that the scanner costs money, and not small ones, so in order for it to serve you as long as possible, you need to follow some rules. Where to start? Be as careful as possible when working with glass - this is the most sensitive element of the scanner. If it is worn, scratched and dirt, it will certainly affect the quality of the digitized material.Periodically wipe the glass from dust with a soft material (for example, synthetic suede).
- Whenever you are going to scan a particular document, make sure that the piece of paper is clean and free from dirt and dust. In no case can not scan dirty objects, as well as use abrasive.
- Even if your device does not scan, do not rush to fix the problem yourself.
- Do not press or press on the glass surface.
- Never try to clean the glass with a powder or a lot of moisture, the first can scratch the surface, and the second wet the electrician.
It is best to prepare a scanned document in advance. For example, if the document is not preserved in very good condition, then at high resolution all the flaws will be visible on it. Study document statusbefore you set the required resolution. Also make sure that there are no pieces of masking tape or other binding materials (brackets, etc.) on a piece of paper. If there are obvious fingerprints on the paper, it is best to remove them with an eraser or flannel tissue.
Learning to competently use all the scanning and photocopy features is not so difficultit is enough to show perseverance and patience, and then you will obey any technique. If you are not self-confident, at the first stage it will be better to follow simple instructions until you feel that you can use the scanner and photocopy yourself.
/rating_off.png)


