Assembly of mechanical and electric grinder
One of the most demanded kitchen appliances is the meat grinder, which could not be forced out of the kitchen by all modern combines and blenders. With the meat grinder, you can make not only minced meat and pies, it is used for making home-made sausages and sausages, squeezing juice, cooking vegetable puree, original cookies and pasta. All this will be available to any hostess, but for this you need to know how to properly assemble a meat grinder, so as not to call her husband to the kitchen when you need to grind meat or squeeze juice.
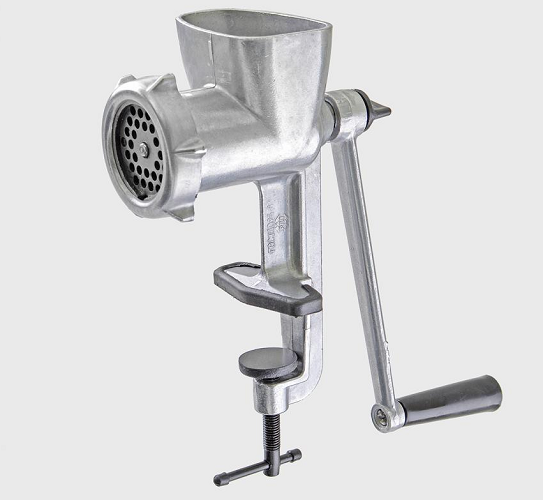
Mechanical grinder
Electric meat grinder
Content
Design
Before you assemble the meat grinder, you need to examine its design. Since Soviet times, we have been well aware of the old, but very reliable Soviet construction - a manual version that helps users in the kitchen even today.Then its analogues began to appear, but only with an electric drive, the main parts remained the same.
- The one-piece body was made of cast iron, then transferred to various alloys based on lightweight and durable aluminum. At the top of it is meat receiver neckwhere the processed products are laid.
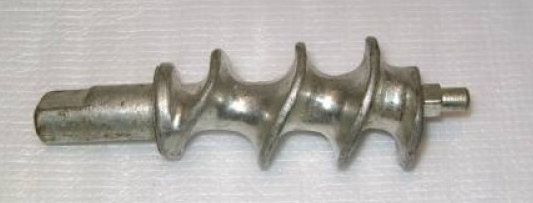
- Screw - a special shaped shaft, which, while rotating, pushes the products to the exit from the product.
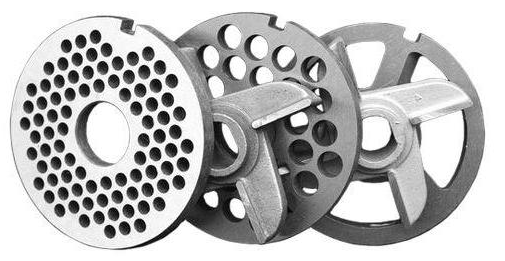
- At its end is worn knifewhich makes grinding - it can be disk or with wings.
- Lattice regulates the degree of grinding of products, instead of it, figured devices are inserted into the meat grinder when working with dough.
- Round shape clamping deviceWith the help of which a reliable fixation of all elements in the housing is made. On it made special projections for ease of fastening.
- Behind a shaft fastens the special screw with a lamb rotation handle the whole mechanism.

In electromeat grinders, the set of the main parts is identical, they should be assembled in the same way, the only difference is in the drive and the body, which is made of hard plastic. The control of such a device is carried out with the help of keys located on a special panel, and the rotation is performed by an electric motor.
Important! The manual version of the product is installed on the edge of the table and secured with a special threaded device. Under the metal base it is necessary to enclose the material to eliminate the movement of the product on the table.
Phased assembly algorithm
How to assemble a mechanical meat grinder? To do everything right, you need to follow the instructions for use, which is attached to each product. If it is missing, then we will give you a step-by-step assembly method.
Manual meat grinder
- The main shaft or auger should be inserted into the body, while the attachment point of the handle should come out on the opposite side, and the remaining parts should be installed at the thinner end.
- To set the knife is the most important task, one side is flat and polished to shine, therefore this part should be turned to the latticein order to slide on it while working. Many users are confused about which side they need to put the cutting tool - as a result, the device is going wrong.
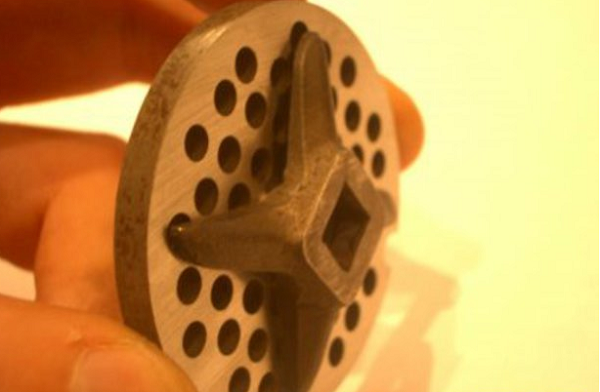
- When installing the disc option, the cutting edge is also always facing the grille. This moment is of great importance - it all depends on how to set the knife correctly, so that the meat grinder can grind products and not crush them.
- Now it's the turn to install the grid correctly - it has special groove, which must be inserted into the protrusion on the main body. The grille should fit snugly to the cutting tool.
- The final stage will be the tightening of the clamping device, which securely fixes all the parts inside the case.
- Now you can install and secure the handle to rotate the mechanism. The meat grinder is assembled - you can fix it on the edge of the table and cook stuffing.
We told in detail how to properly assemble the manual meat grinder, the main task is to install the knife and the grid correctly, otherwise the product will not work. How to put the product to work, shown in the photo below.

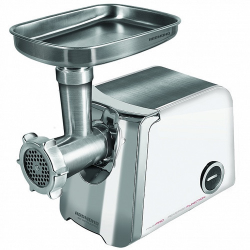
Electric meat grinder
How to assemble a manual meat grinder, we figured out, now it remains to find out the nuances and differences in the assembly of its electrical counterpart, which is much more complex in principle, but the assembly process of the main body is identical.
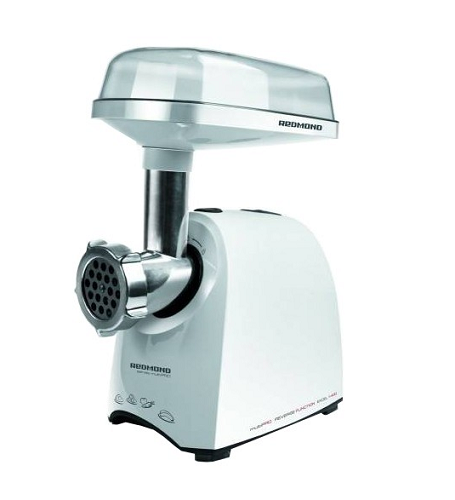
To assemble an electric meat grinder, for example, the most popular and common brand Moulinex, it is necessary to take into account some of its features.
- Installation of the product should be carried out according to a similar procedure, as was done when assembling a manual meat grinder. Then the housing with all the main parts must be connected to the electrical part. To do this, insert hex auger in a special hole and turn in the counterclockwise direction until it clicks.
- Then install a special bowl or food tray in the socket on top - the grinder is ready for use.
When assembling different models, there may be minor differences. To find them out, you need to consult the instructions. For clarity, there is a video where the process is gradually and clearly demonstrated:
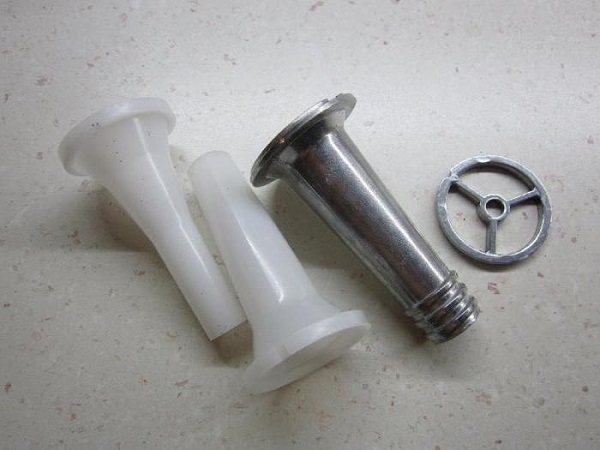
For the preparation of homemade sausages or sausages exist conical nozzles, and instead of a lattice and a knife it is necessary to insert a special washer (see photo). All the parts are assembled in the same way: the nozzle has a groove identical to the grille, then everything is fixed by the clamping device. The conical part can be made of a similar alloy as all internal parts.If it is plastic, it is attached with a nut made of a homogeneous material.
It is worth remembering that for sausage, wieners and other similar products need a special shell, which is made from the intestines of large animals, without it, they will not work.
Sausage Tips
Proper care
Having figured out how to assemble an electric meat grinder, now you need to find out the correct dismantling process, because all the insides of the mechanical unit must be cleaned of residues after grinding. Disassembly of the product is carried out in the reverse order:
- First, remove the bowl, then press the spinning lock button in the upper part of the main body and disconnect the mechanical part;
- Now you can unscrew the clamping nut so that it does not slip in your hand (use a clean rag);
- then the internal parts are removed and cleaned of the remnants of the crushed products;
- Now you can wash all parts with warm water and detergent;
- after rinsing, the parts are placed on a towel until completely dry.
Disassembling a manual counterpart is practically no different from the process of dismantling the mechanical part of an electrical product described above.Many, after the parts have dried, keep the device assembled until future use. Experts also advise to keep all parts in an unassembled state, and during assembly, lubricate the auger with vegetable oil before use. Such care, as a rule, prolongs the use of the product.
/rating_on.png)
/rating_off.png)